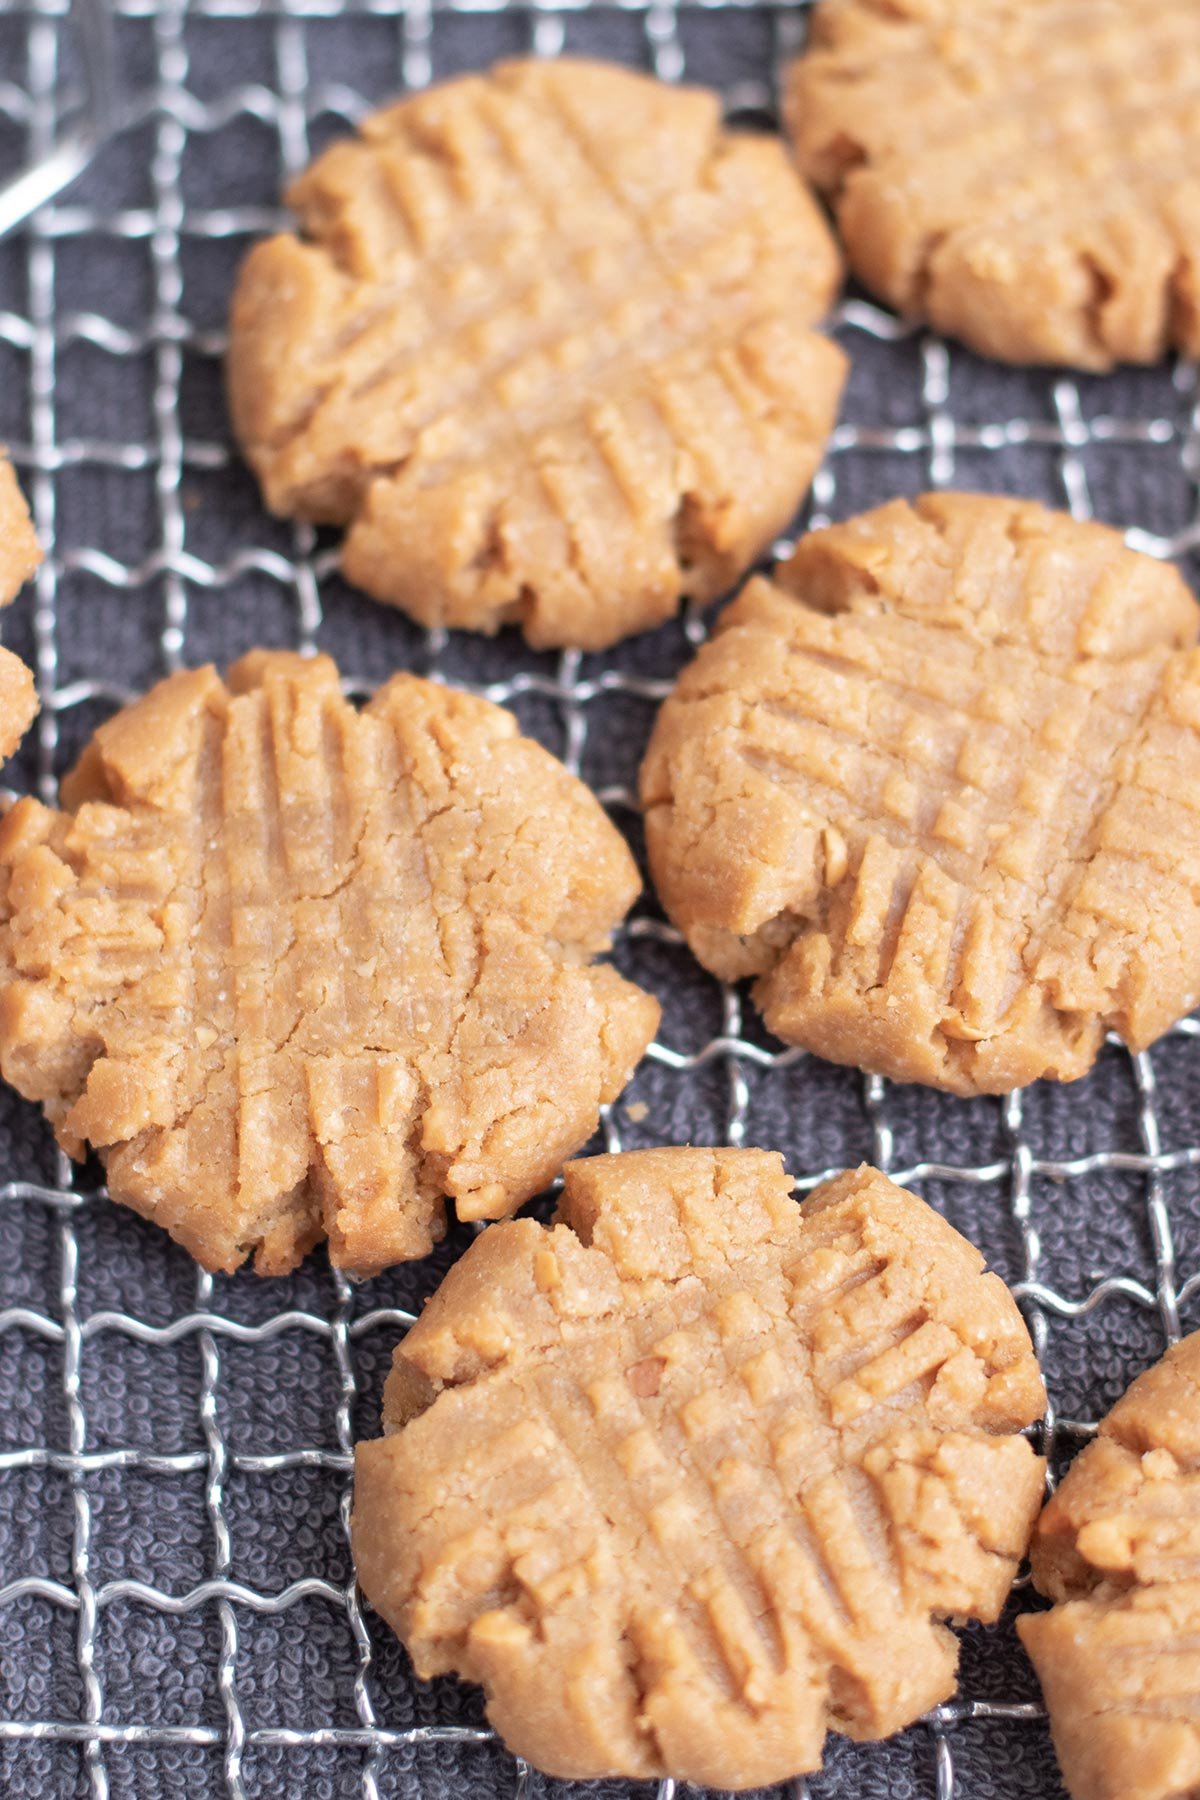
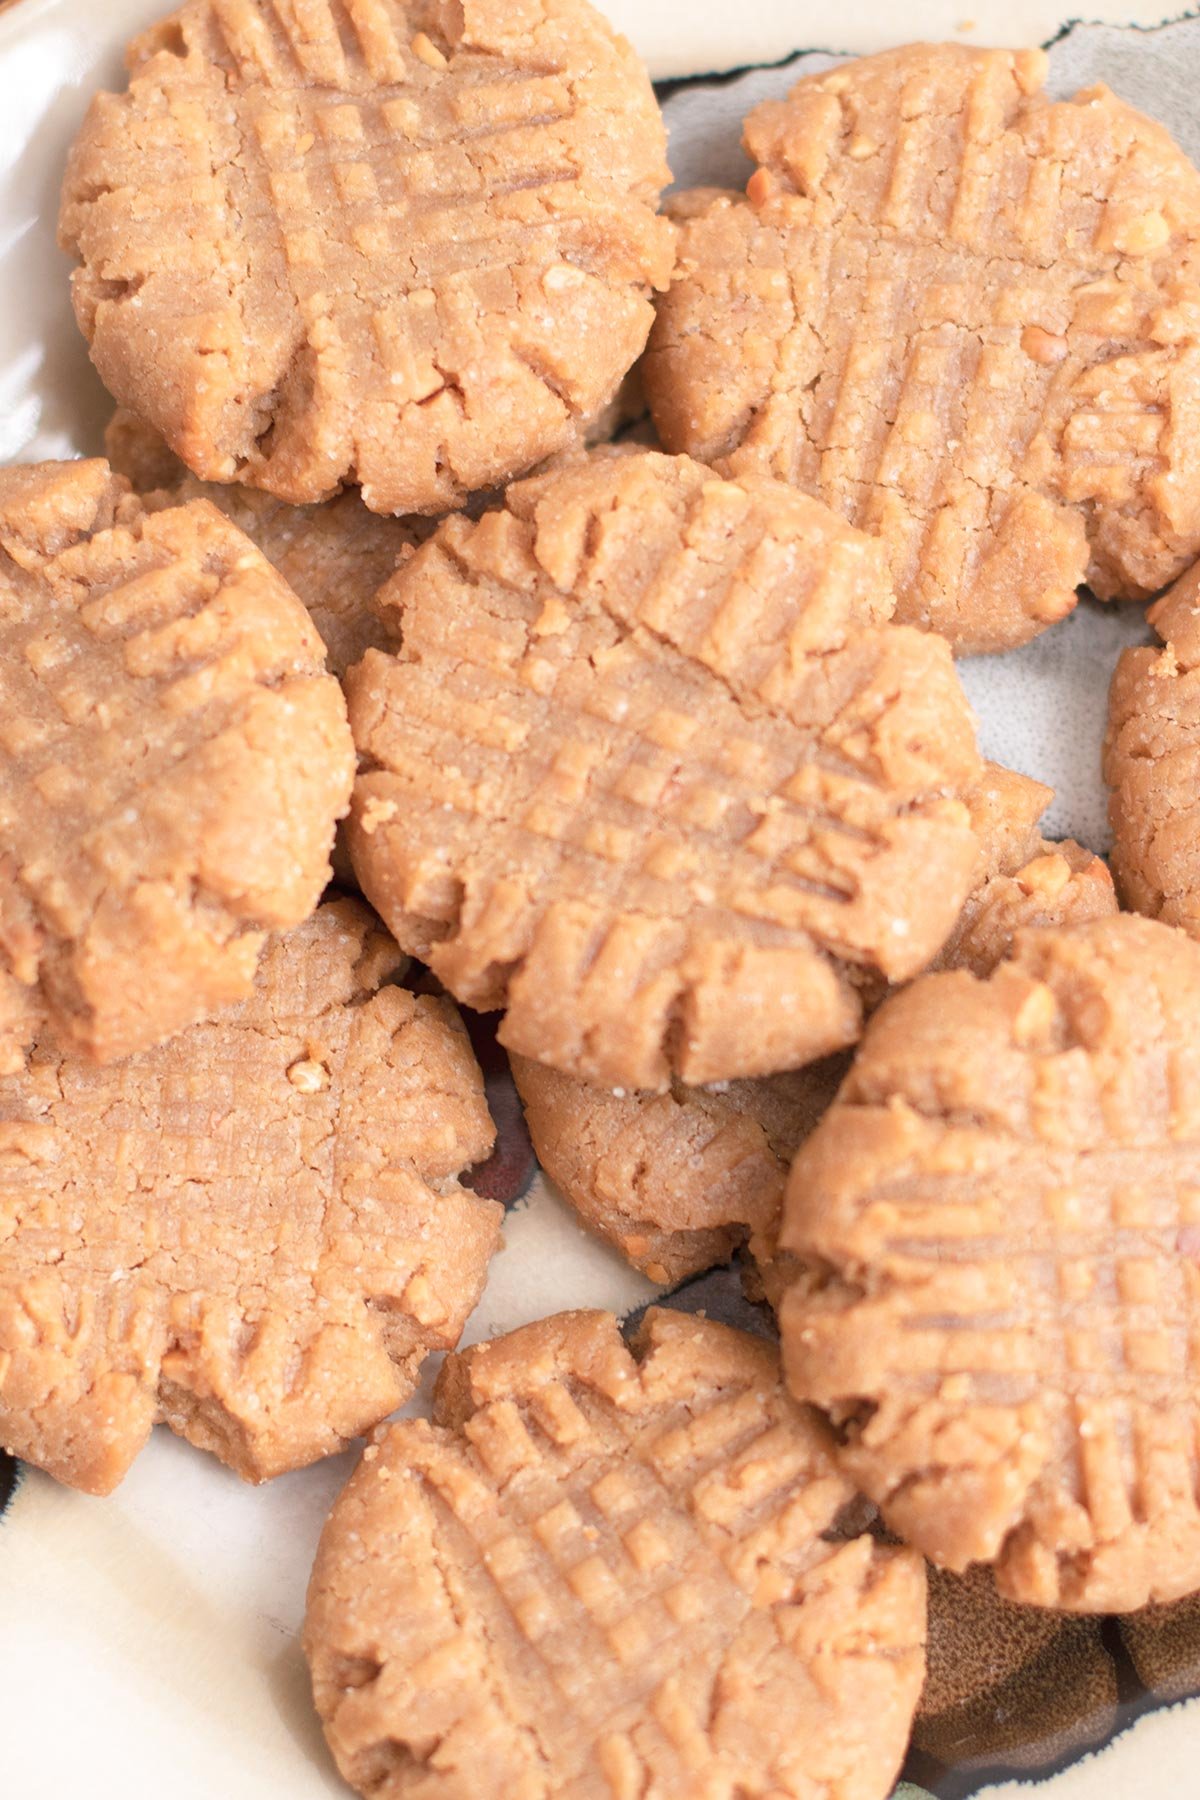
These soft, thick, melt-in-your-mouth peanut butter cookies are the ultimate comfort treat, bursting with rich flavor and a perfect balance of sweetness. There’s something truly nostalgic about the aroma of peanut butter and sugar baking in the oven—it instantly brings back memories of cozy afternoons and homemade treats. But these cookies aren’t just about nostalgia—they’re a little piece of culinary magic that everyone can enjoy, from kids sneaking one straight from the baking tray to adults looking for a sweet pick-me-up.
What makes these cookies so special is their perfect texture—they’re thick enough to hold their shape but soft enough to practically melt in your mouth. With the right balance of ingredients, including creamy peanut butter, just the right amount of sugar, and a touch of vanilla, you get cookies that are rich, flavorful, and deeply satisfying.
In this recipe, I’ll show you step by step how to achieve that classic peanut butter cookie perfection. Whether you’re baking for a special occasion, gifting them to friends, or simply treating yourself, these cookies are guaranteed to bring a smile to anyone’s face. And the best part? They’re simple to make, so you can enjoy homemade deliciousness without any fuss.
You can check our Conrflake cookies recipe, Peanut butter cornflake cookies, Chocolate chip cookies without brown sugar and Brown butter chocolate chip cookies
Ingredients You’ll Need for This Recipe
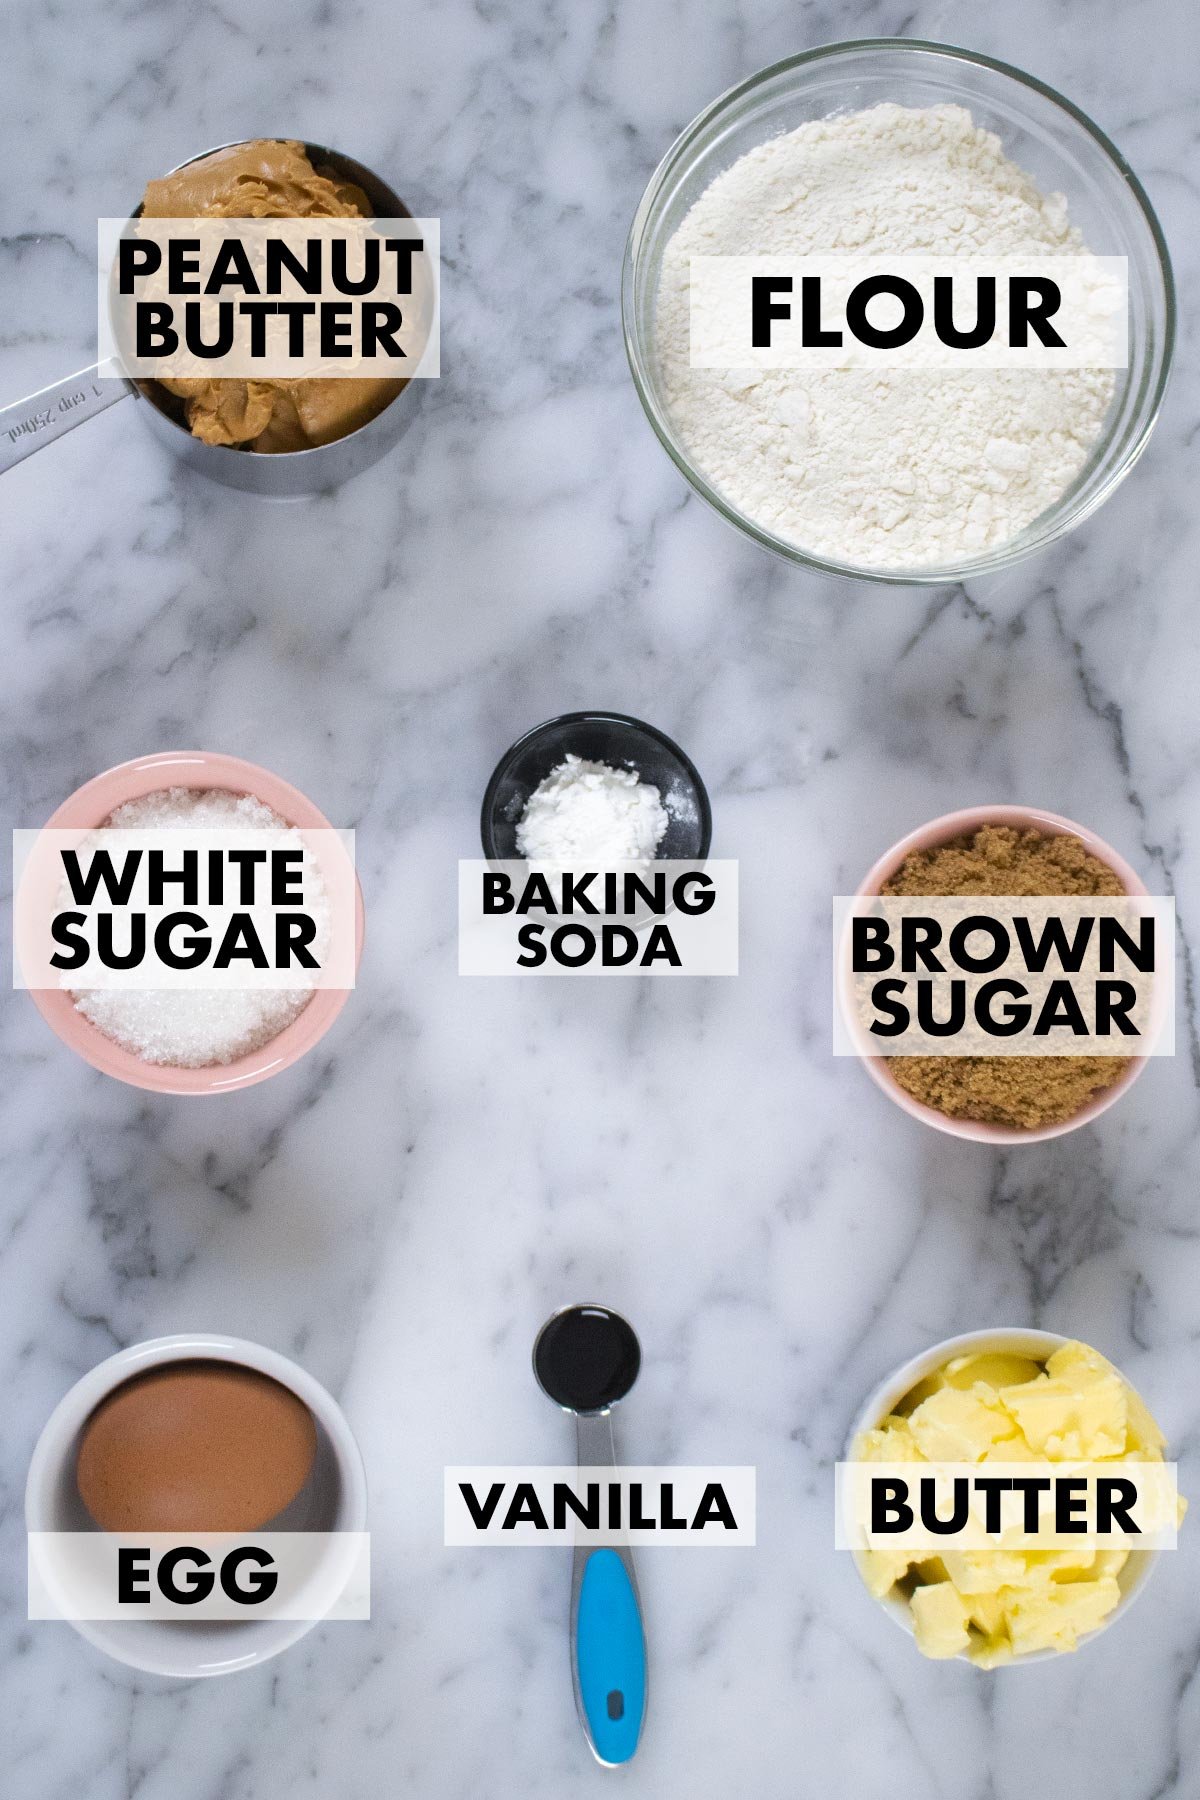
Butter: I used unsalted butter for this recipe, but you can use either salted or unsalted—whatever you have on hand. If you’re using salted butter, simply leave out the added salt.
Brown and White Sugar: Light or dark brown sugar both work here—use whichever you prefer! The brown sugar brings a warm, caramel flavor, and the white sugar makes sure the cookies spread just right while staying chewy.
Peanut Butter: Peanut butter is the star of these cookies—it not only gives them their rich, nutty flavor but also adds moisture and tenderness to the dough, making each bite soft and melt-in-your-mouth. I used crunchy peanut butter because I love having bits of peanuts in every bite—it adds extra texture and makes the cookies even more satisfying. But for the best results, creamy peanut butter works perfectly because it blends smoothly into the dough. If you like a little crunch in your cookies, you can use crunchy peanut butter, but the texture will be slightly different.
Liquid Milk: This step is completely optional, so don’t worry if you’d rather skip it. If your cookie dough feels dry or crumbly, adding 2 tablespoons of liquid milk provides additional moisture to the dough, balances the fat-to-flour ratio, and contributes to a softer crumb and slightly chewier texture in the baked peanut butter cookies.
How To Make Peanut Butter Cookies
Step 1: Preheat the oven
Preheat your oven to 175°C (350°F). Line a baking tray with parchment paper or lightly grease it.
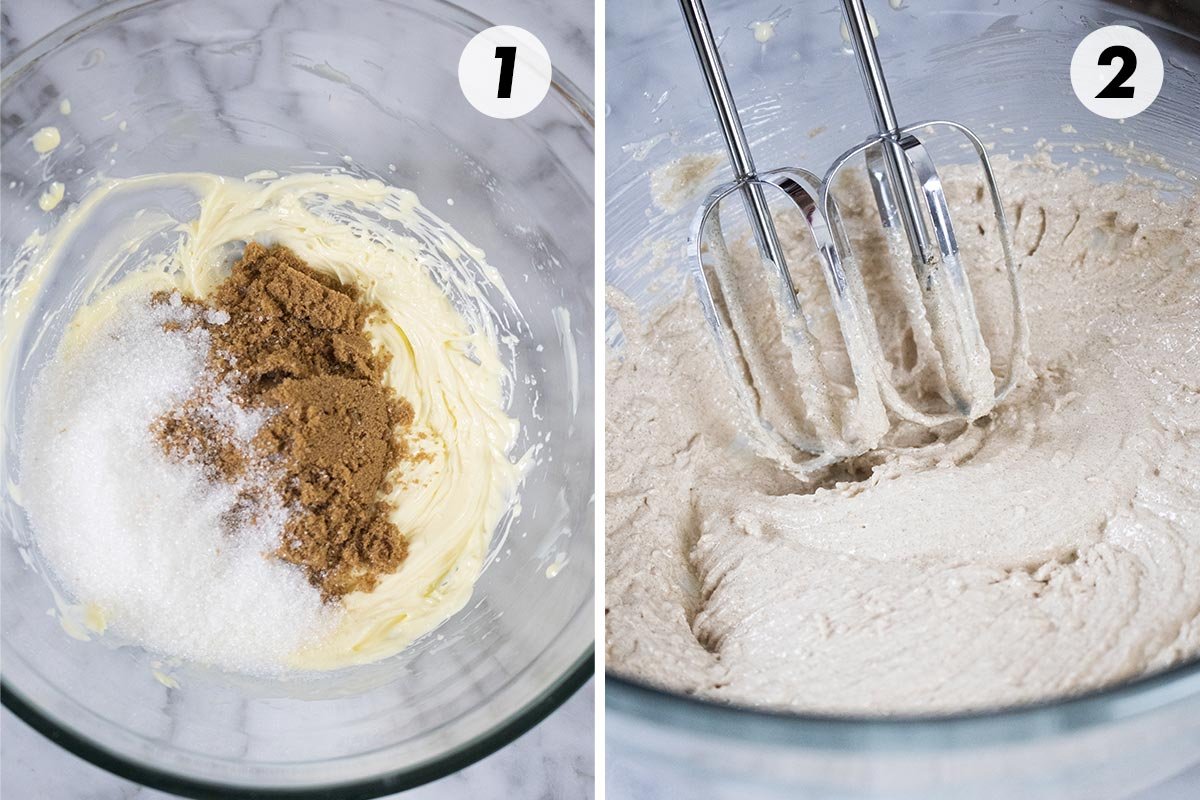
Step 2: Cream butter and sugars
In a large mixing bowl, combine 115 g butter and both sugars (brown and white). Beat with a hand mixer or stand mixer fitted with a paddle attachment or whisk until creamy and smooth.
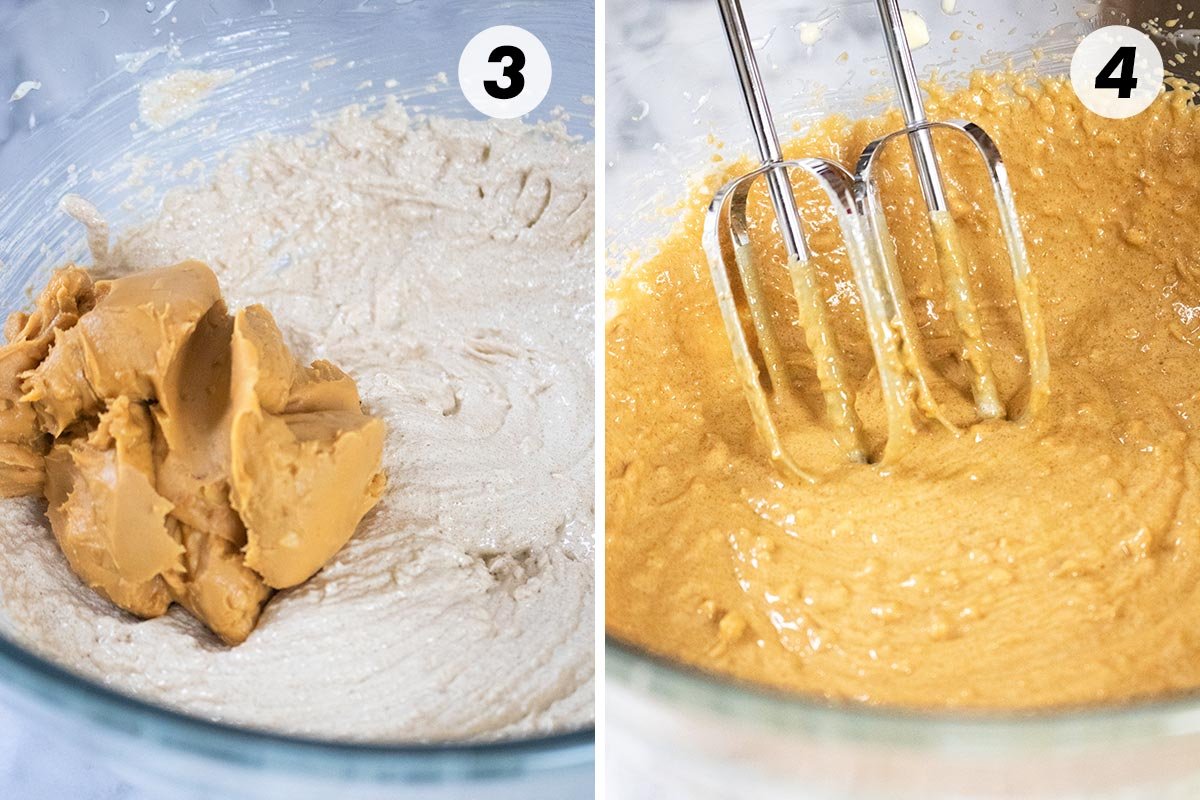
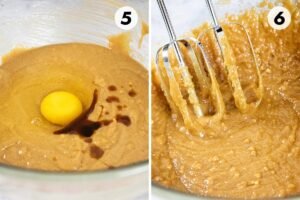
Step 3: Add peanut butter and eggs
Add 1 cup peanut butter, 1 egg and 1 tsp vanilla extract. Mix until fully combined.

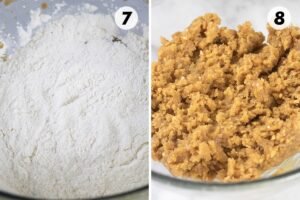
Step 4: Combine dry ingredients
Place a strainer over the bowl and add 200 g flour, 1tsp baking powder and a pinch of salt. Sift the dry ingredients directly into the bowl.

Step 5: Mix wet and dry ingredients
Gradually add the dry mixture into the wet mixture. Pour in 2 tbs milk and stir until you get a soft cookie dough (if needed). The dough should be slightly sticky but manageable. The dough will turn out soft and creamy. Make sure to cover it, then let it chill in the refrigerator for at least 1–2 hours, or leave it up to 3 days if you want to bake later.

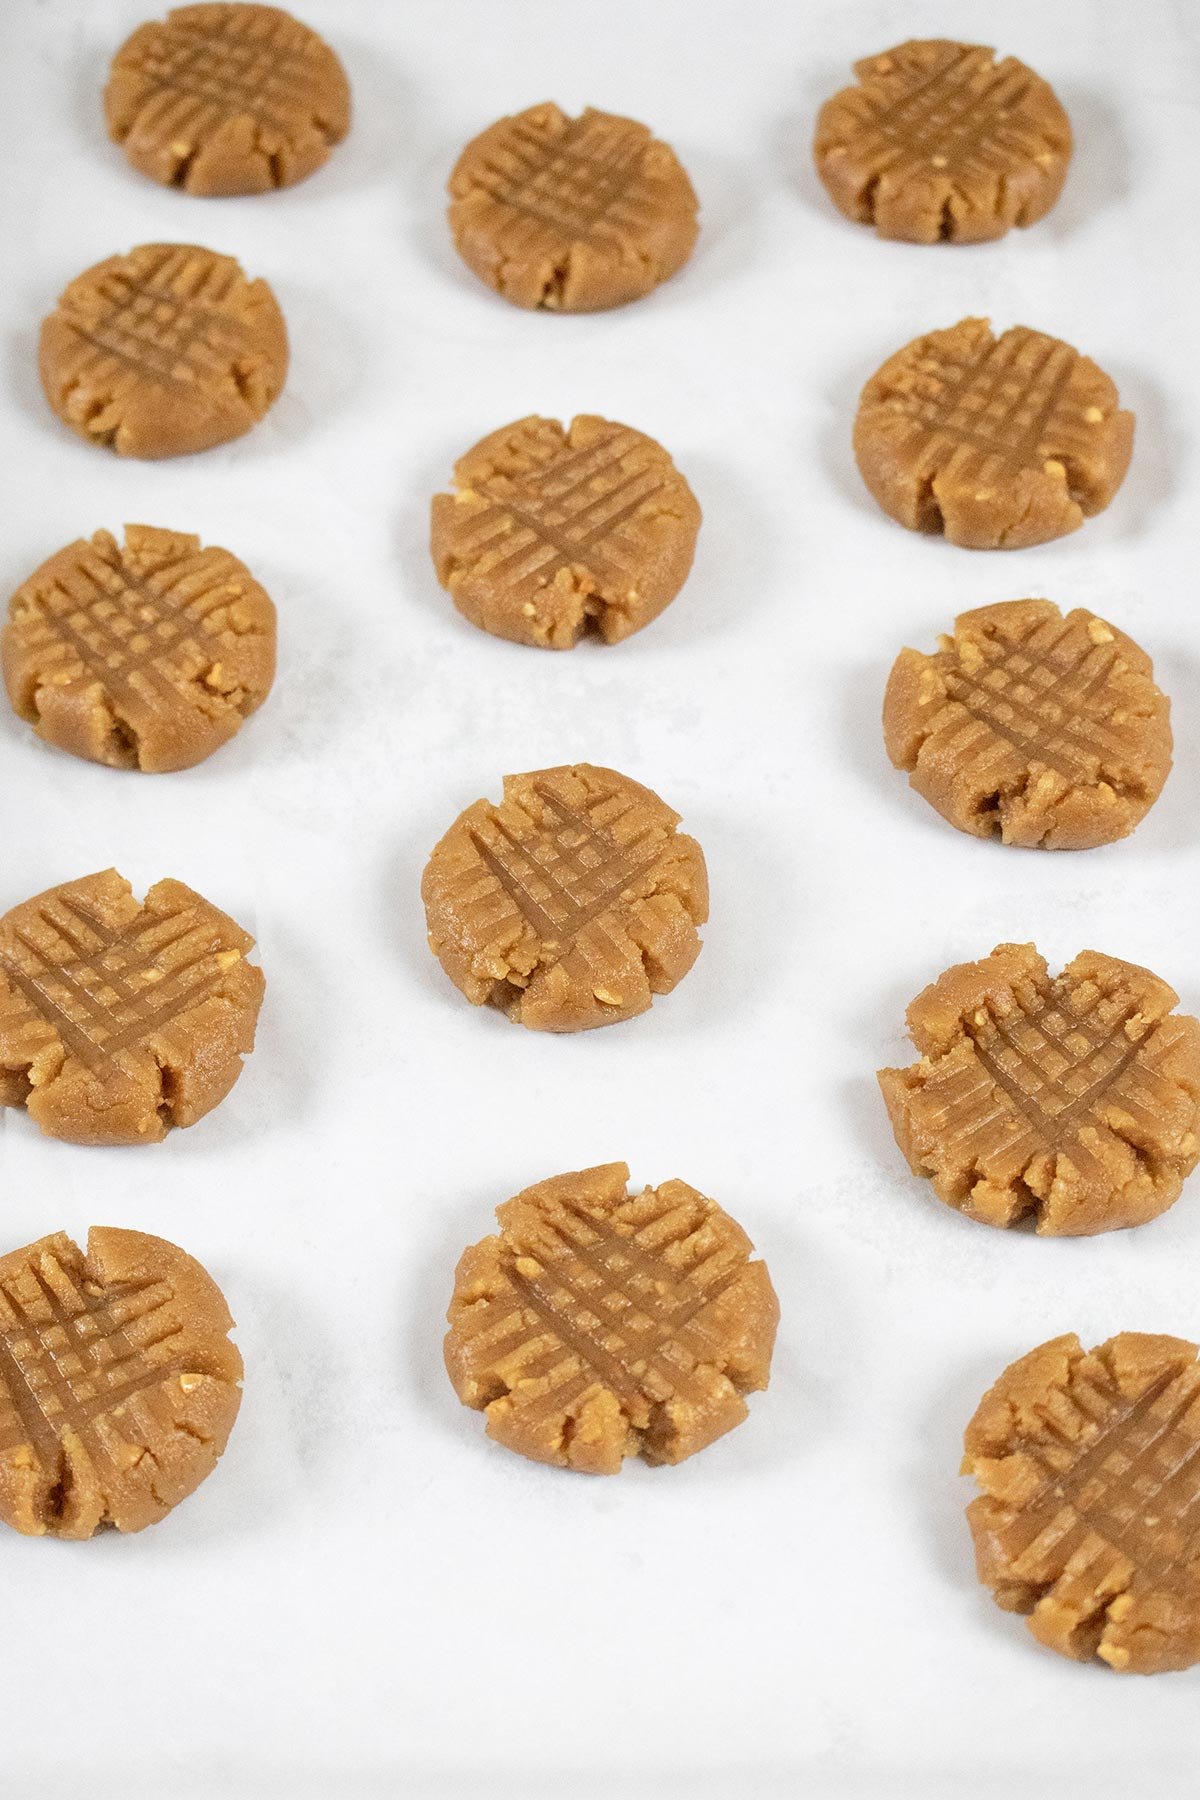
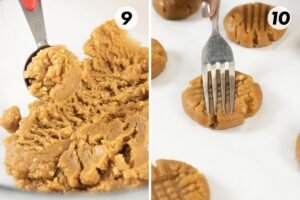
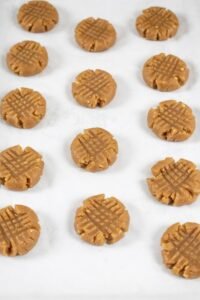
Step 6: Shape cookies
Scoop out tablespoon-sized portions of dough and roll into balls. Place them on the baking tray about 2 inches apart. Flatten slightly with a fork in a crisscross pattern.
Step 7: Bake
Bake in the preheated oven for 10–11 minutes, or until the edges are lightly golden. Remove from the oven and let cookies cool on the tray for 5 minutes before transferring to a wire rack.
Cookie Success Tips:
- Chilling the cookie dough before baking is the key to this recipe’s success. Chilling the cookie dough for at least 1–2 hours to help the flavors develop and prevents the cookies from spreading too much in the oven. It also gives a thicker, chewier texture with a slightly more indulgent bite. If you’re short on time, you can bake immediately, but for the best results, a little patience goes a long way.
- Accurate flour measurement is key to perfect cookies. Too much flour can make the dough dry and dense, while too little can make it spread too much. For best results, spoon the flour into your measuring cup and level it off with a knife, rather than scooping directly from the bag, which can pack it too tightly
- Don’t overmix the cookie dough. Once the flour is added, mix just until combined to prevent tough cookies.
- To keep your cookies extra chewy, pull them from the oven a minute early. The heat will finish the job as they cool, locking in that soft texture
Storing Process:
At Room Temperature
Once the cookies have cooled completely, store them in an airtight container at room temperature. They’ll stay soft and fresh for up to 5 days. To keep them extra chewy, you can place a small piece of bread in the container—the cookies will absorb the moisture and stay soft longer (just remember to replace the bread slice every day or two).
Freezing Cookie Dough
If you’d like to save some dough for later, you can freeze it for up to 3 months. Scoop the dough into balls, place them on a baking sheet lined with parchment paper, and freeze until solid. Once frozen, transfer the dough balls to a freezer-safe bag or container. When ready to bake, place the frozen dough balls straight onto a baking tray—no need to thaw! Just add 2–3 extra minutes to the baking time.
Freezing Baked Cookies
Baked cookies also freeze well for up to 3 months. Allow them to cool completely, then layer them in a freezer-safe container with parchment paper between each layer to prevent sticking. When you’re ready to enjoy, let them come to room temperature or warm them in the microwave for a few seconds for that fresh-from-the-oven feel.
Tips:
- Always let cookies cool fully before storing to prevent condensation and sogginess.
- Place parchment paper between layers of cookies or dough balls to avoid sticking together.
- Label your container with the date so you know how long they’ve been stored.
Frequently Asked Questions
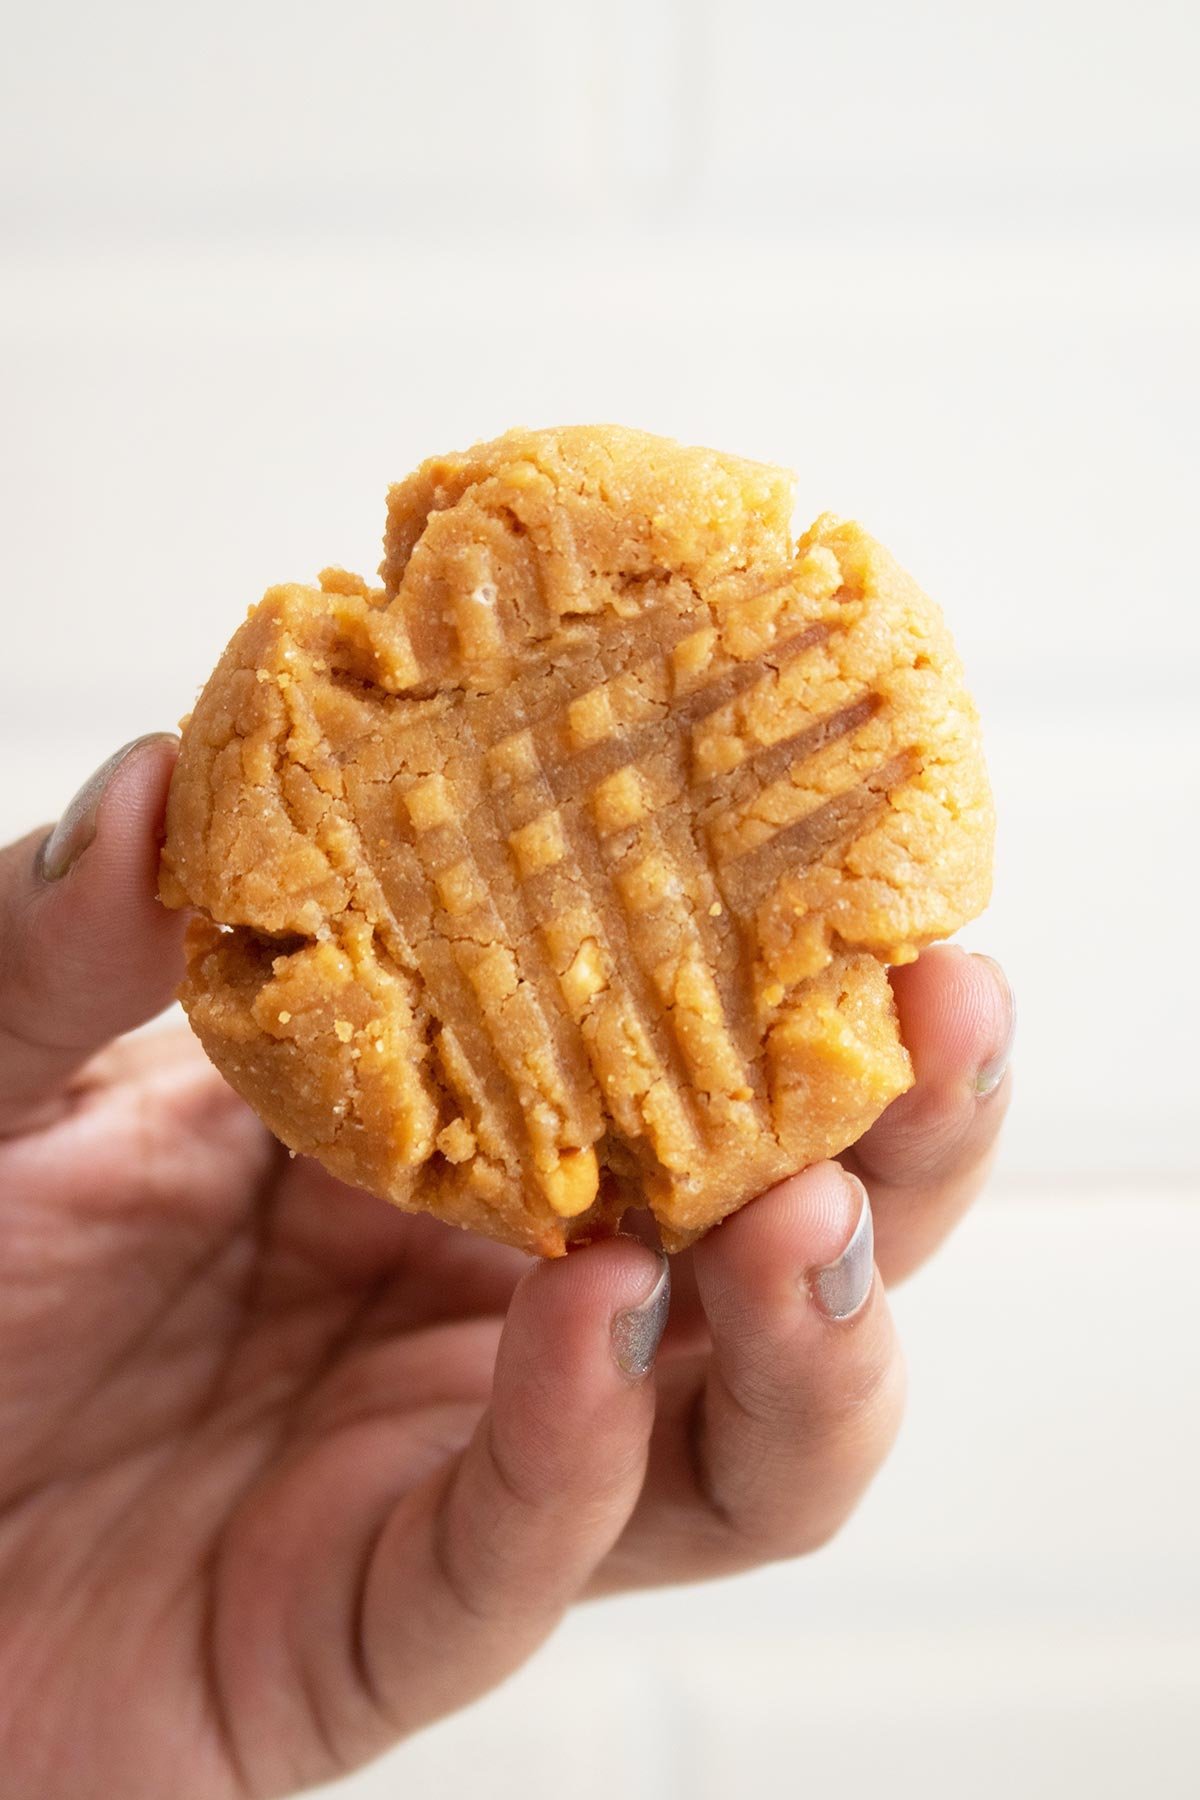
The crisscross pattern made with a fork is a classic look for peanut butter cookies. It’s instantly recognizable and gives the cookies that homemade charm.
Pressing the cookies with a fork flattens them slightly, helping them bake evenly. Peanut butter cookie dough is thick, so without this step, the cookies might stay too tall or bake unevenly.
You don’t need anything fancy—any standard dinner fork works perfectly for peanut butter cookies. The classic crisscross pattern on top of the cookies is made simply by pressing the fork down one way, then pressing again in the opposite direction.
A regular fork with straight or slightly rounded tines will do the job. If you want a more defined imprint, use a fork with sharper, thinner tines, but truly, any everyday fork from your kitchen will work just fine!
I used crunchy peanut butter in my cookie recipe but I recommend the best peanut butter for these cookies is a regular creamy peanut butter, like Jif or Skippy. It blends smoothly into the dough, giving you soft, tender cookies with that classic peanut butter flavor.
If you prefer extra texture, you can use crunchy peanut butter—you’ll get little peanut bits in every bite.
Natural peanut butter (the kind with just peanuts and oil) can work too, but it tends to separate and can make the dough oily or too soft. If you use it, stir it very well before measuring, and you may need to adjust the flour slightly.
Yes! You can add classic semisweet, milk, or dark chocolate chips paired perfectly with peanut butter, creating a rich, gooey contrast. Also Walnuts, pecans, or peanuts add a satisfying crunch and extra nutty flavor.
Tip: If you add mix-ins, fold them in at the very end of mixing the dough so they don’t interfere with the cookie’s texture. For chocolate chips, roughly ½ to 1 cup per batch works perfectly without overpowering the peanut butter flavor.
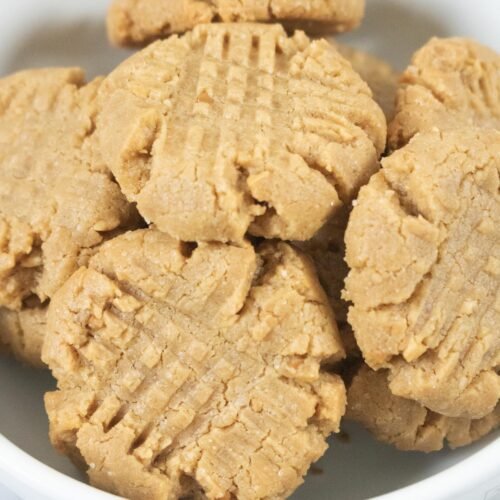
Peanut Butter Cookies
Equipment
- Kitchen measuring scale/cups
- Baking try
- Fork
- Baking sheets or parchment sheets
- Mixing bowls
- Electric hand or stand mixer
- Spatula
- Strainer
- Medium cookie scoop
- Wire cooling rack
Ingredients
- Butter:115 g, Softened (½ cup)
- Peanut Butter: 250 g (1 cup)
- Brown Sugar: 100 g (½ cup packed)
- White Sugar: 100 g (½ cup)
- Egg: 1 large
- Vanilla Extract: 1 teaspoon
- All-Purpose Flour: 200 g (1 2⁄3 cups)
- Baking Soda: ½ teaspoon
- Liquid Milk: 2 tablespoons
- Salt: 1 pinch
Instructions
- Preheat your oven to 350°F 175°C (175°C). Line a baking tray with parchment paper or lightly grease it.

- In a large mixing bowl, combine 115 g butter and both sugars (brown and white). Beat with a hand mixer or stand mixer fitted with a paddle attachment or whisk until creamy and smooth.

- Add 1 cup peanut butter, 1 egg and 1 tsp vanilla extract. Mix until fully combined.
- Place a strainer over the bowl and add 200 g flour, 1tsp baking powder and a pinch of salt. Sift the dry ingredients directly into the bowl.
- Gradually add the dry mixture into the wet mixture. Pour in 2 tbs milk and stir until you get a soft cookie dough (if needed). The dough should be slightly sticky but manageable. The dough will turn out soft and creamy. Make sure to cover it, then let it chill in the refrigerator for at least 1–2 hours, or leave it up to 3 days if you want to bake later.
- Scoop out tablespoon-sized portions of dough and roll into balls. Place them on the baking tray about 2 inches apart. Flatten slightly with a fork in a crisscross pattern.
- Bake in the preheated oven for 10–11 minutes, or until the edges are lightly golden. Remove from the oven and let cookies cool on the tray for 5 minutes before transferring to a wire rack.