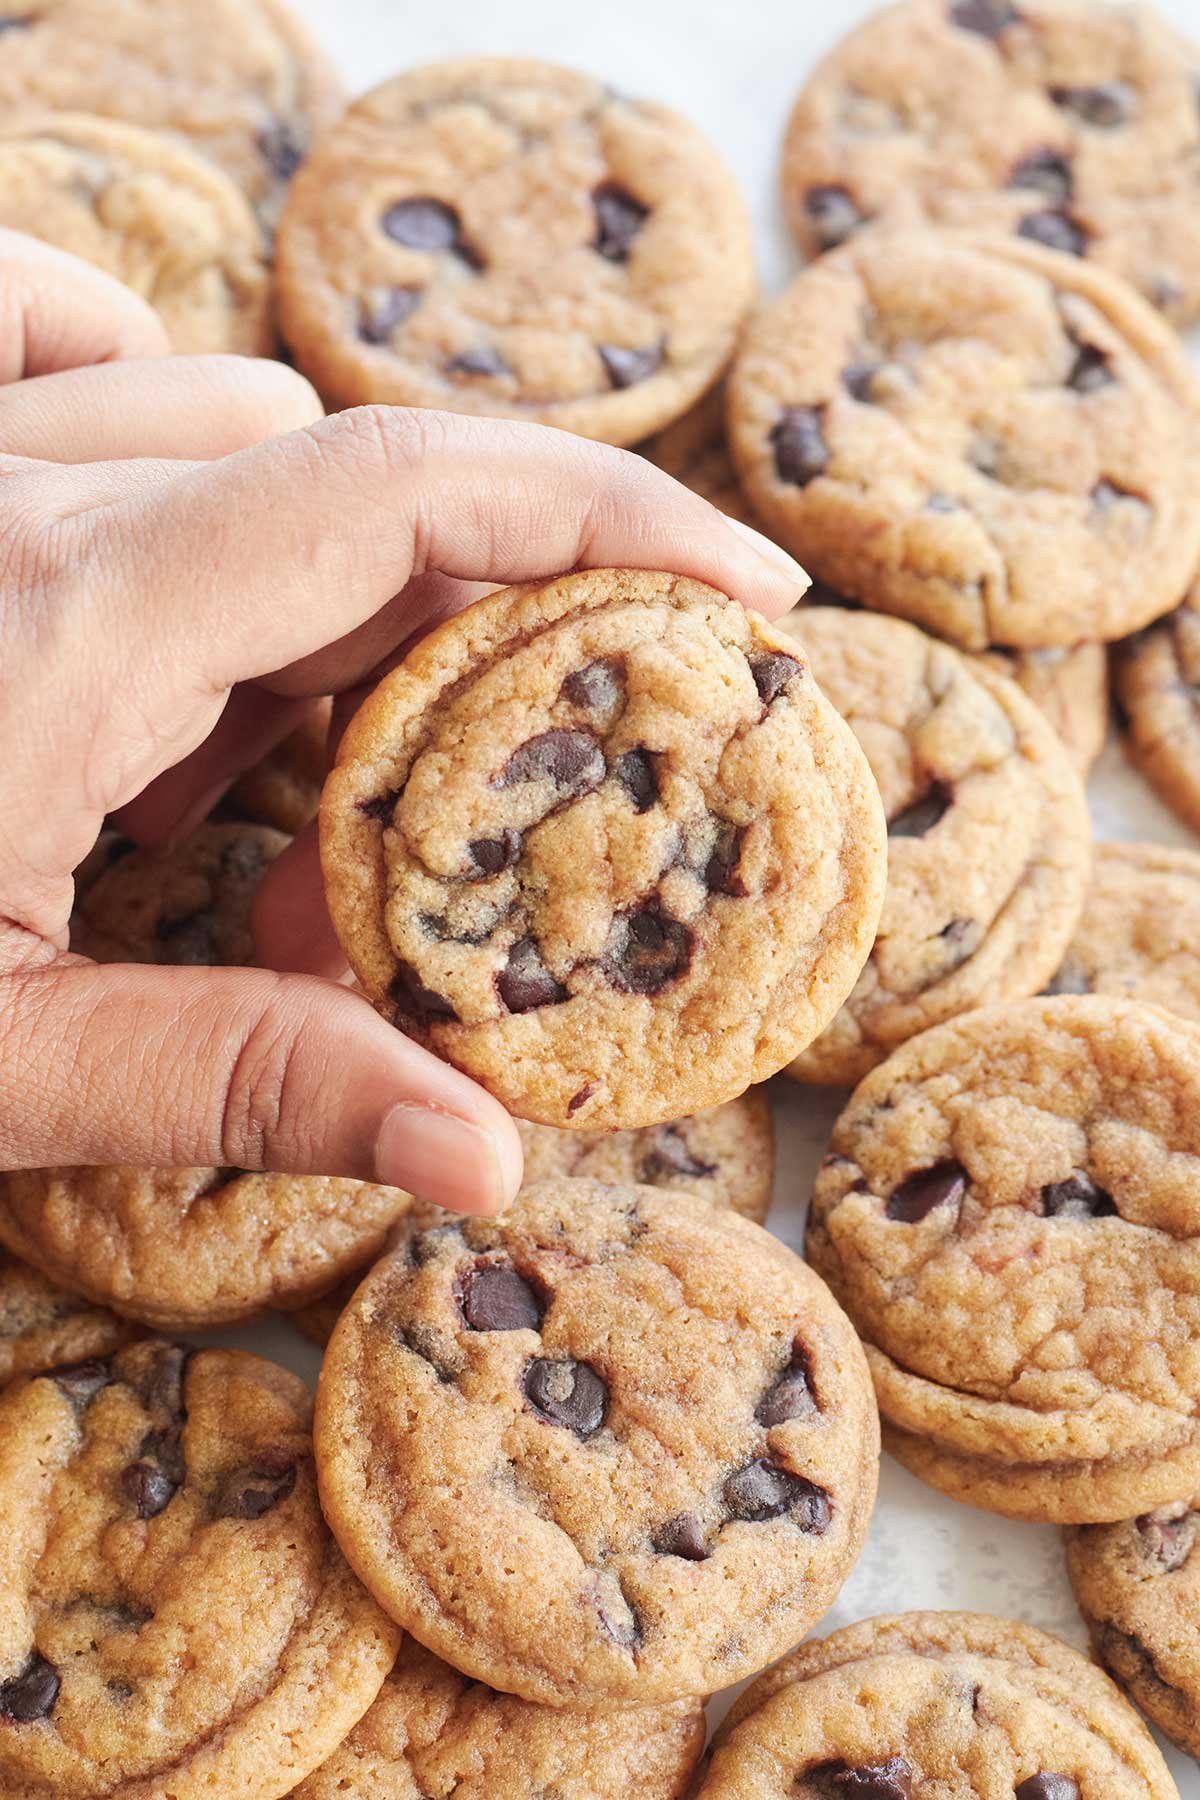
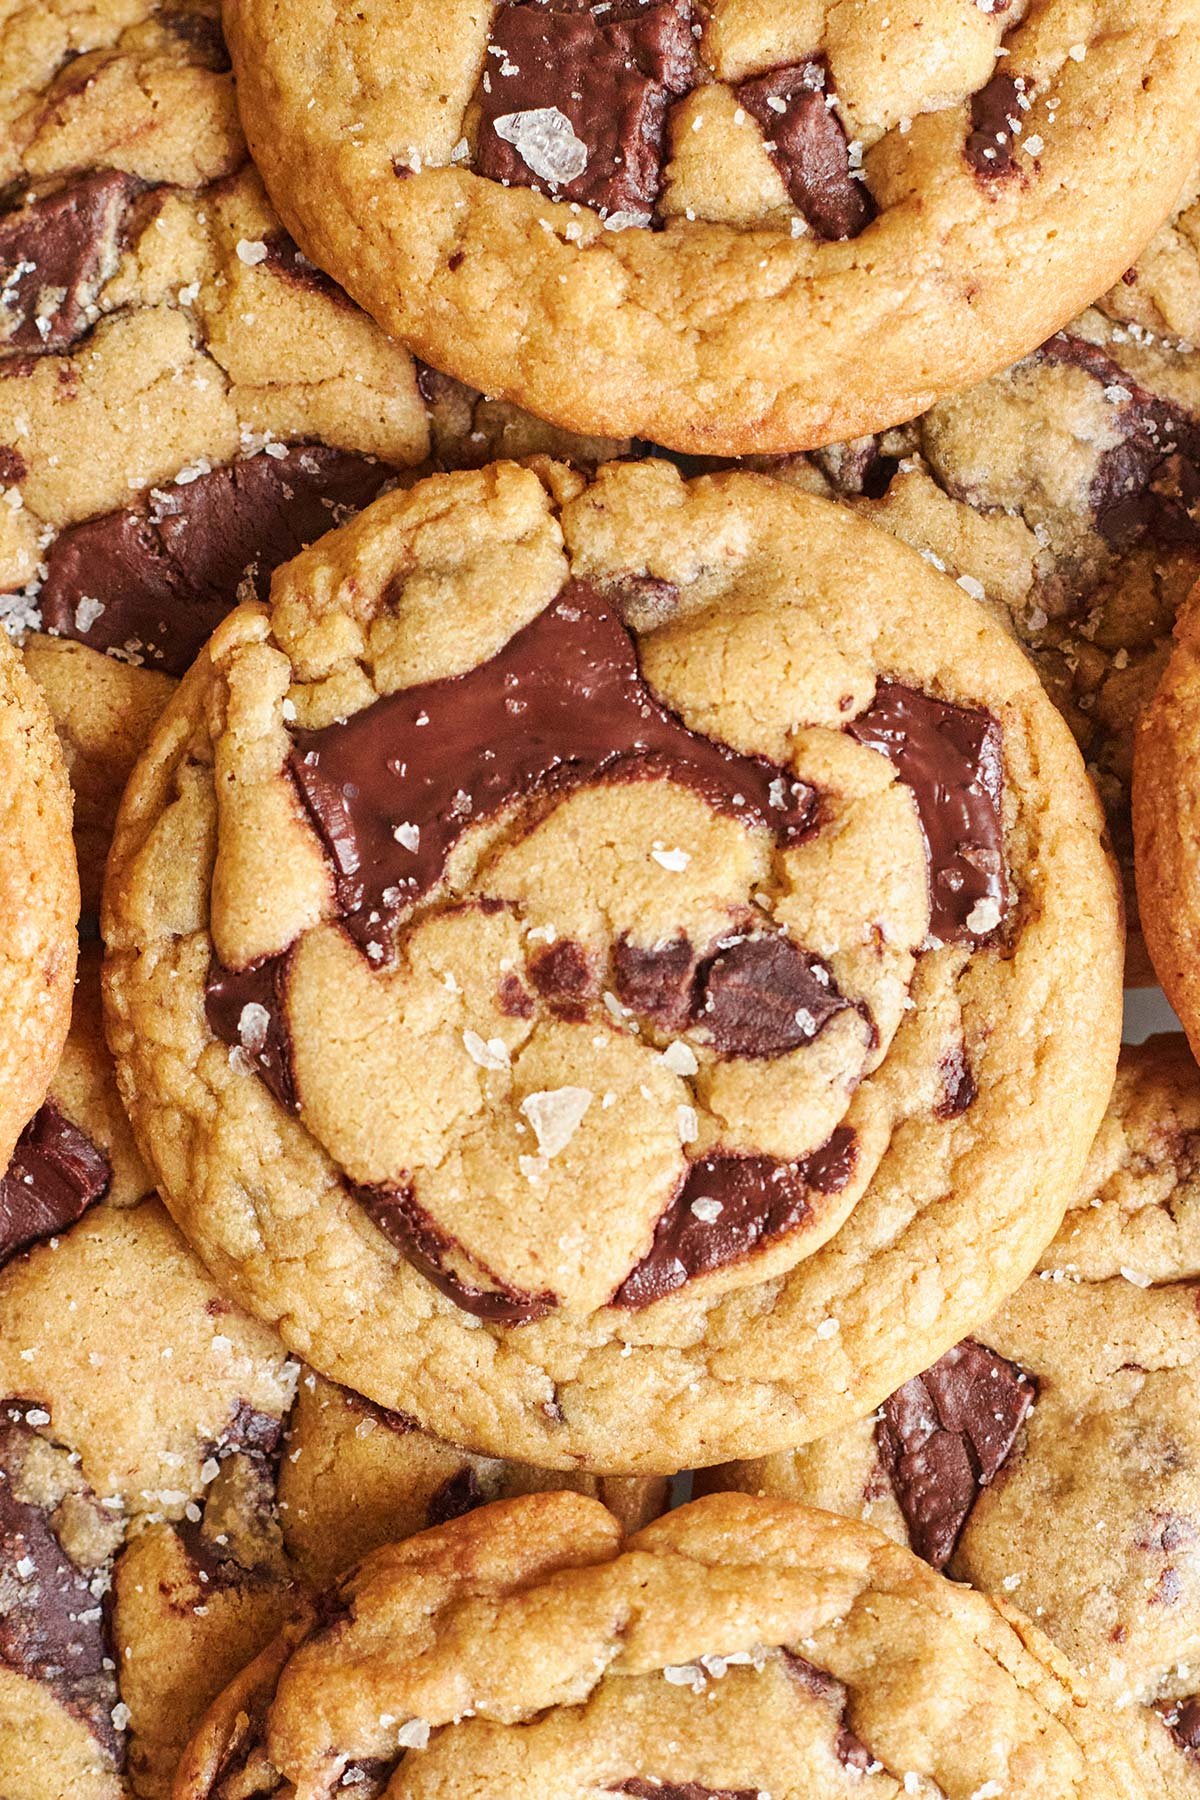
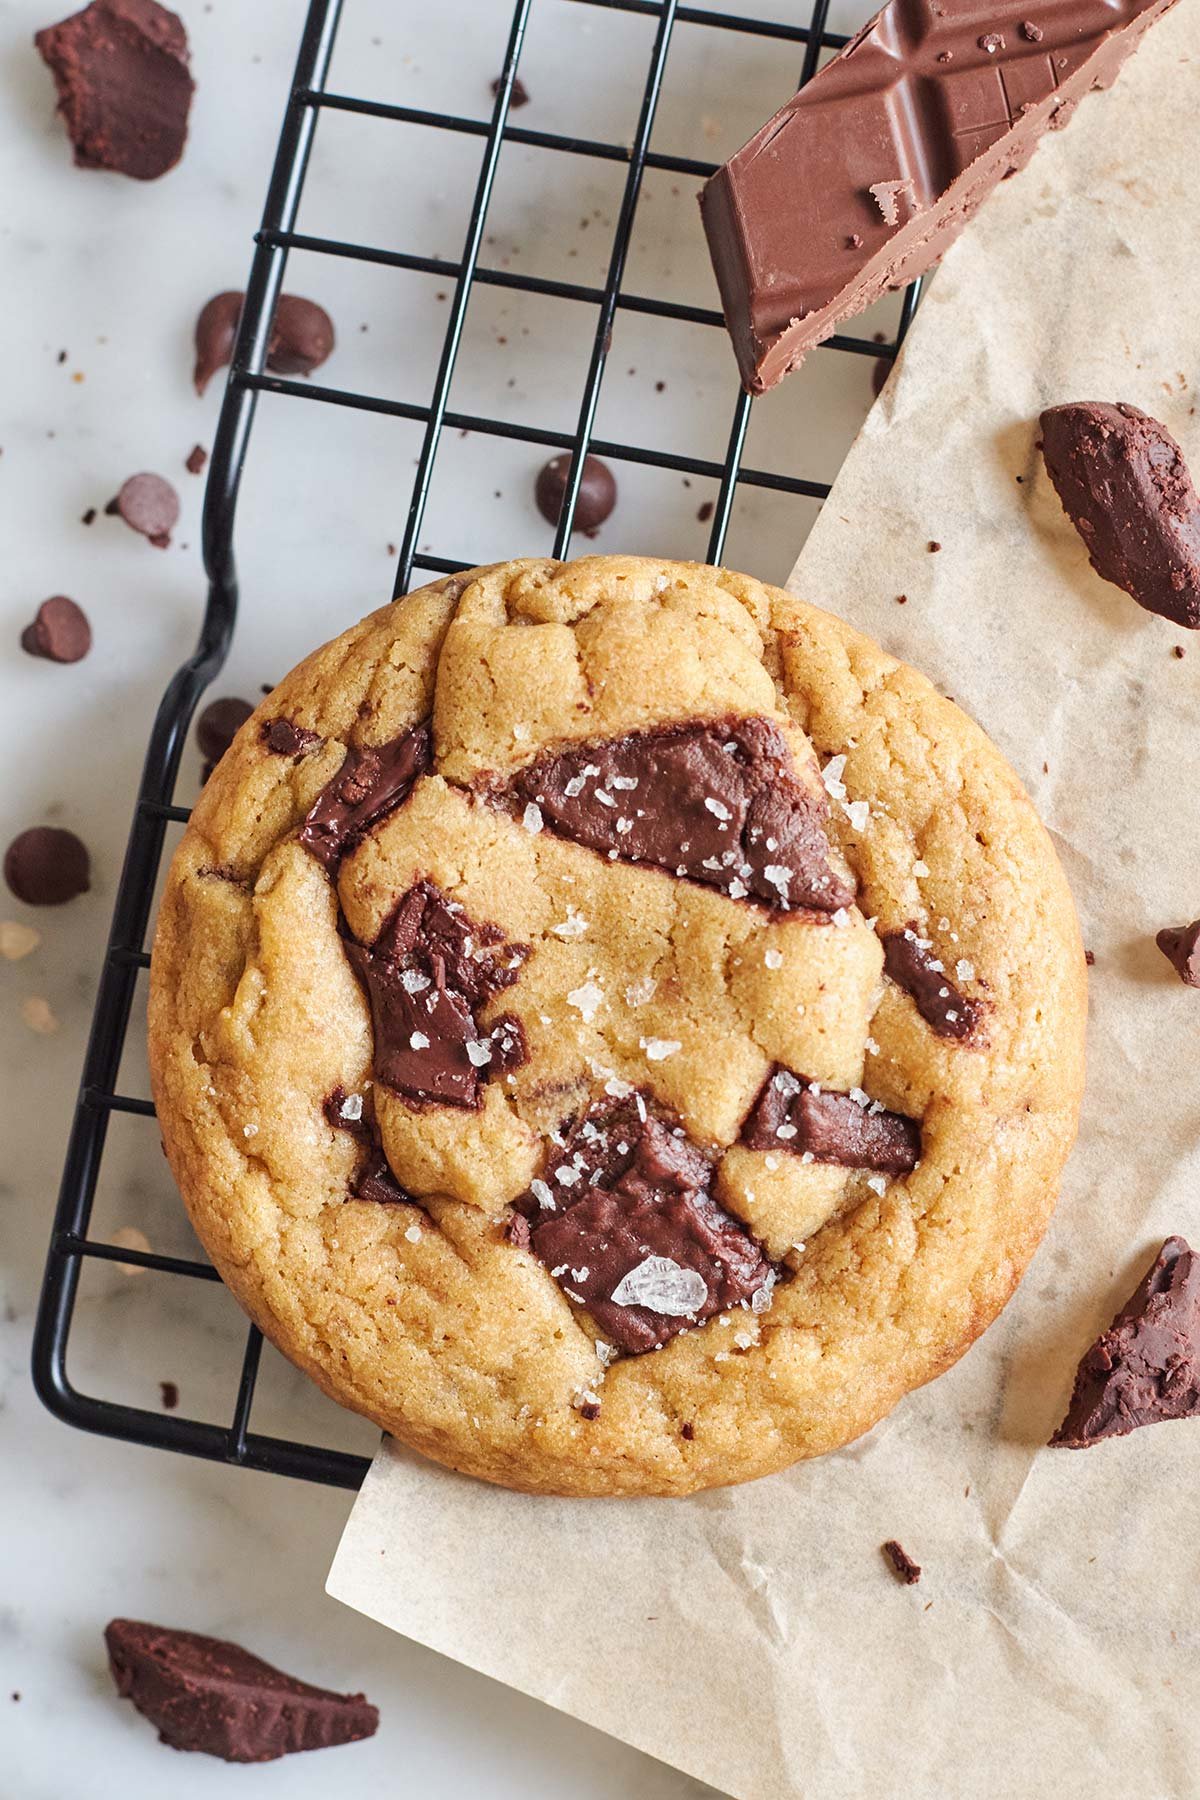
These Bakery Style Chocolate Chip Cookies are exactly what you’ve been searching for, this recipe delivers everything you want. Perfect texture, rich flavor, crisp golden edge, the soft-gooey center, and pools of melted chocolate in every bite and last but not the least that irresistible bakery-style finish. I still remember trying to recreate that exact texture at home with my mom after visiting the best local bakery and after a few failed batches (too flat, too cakey, too dry) this version finally nailed it. If you’ve ever wanted bakery-quality cookies straight from your own oven, this recipe is for you with my best-kept tips.
If you love these Bakery Style Chocolate Chip Cookies, you might also enjoy my Butterscotch Chocolate Chip Cookies & Easy Brown Butter Chocolate Chip Cookies
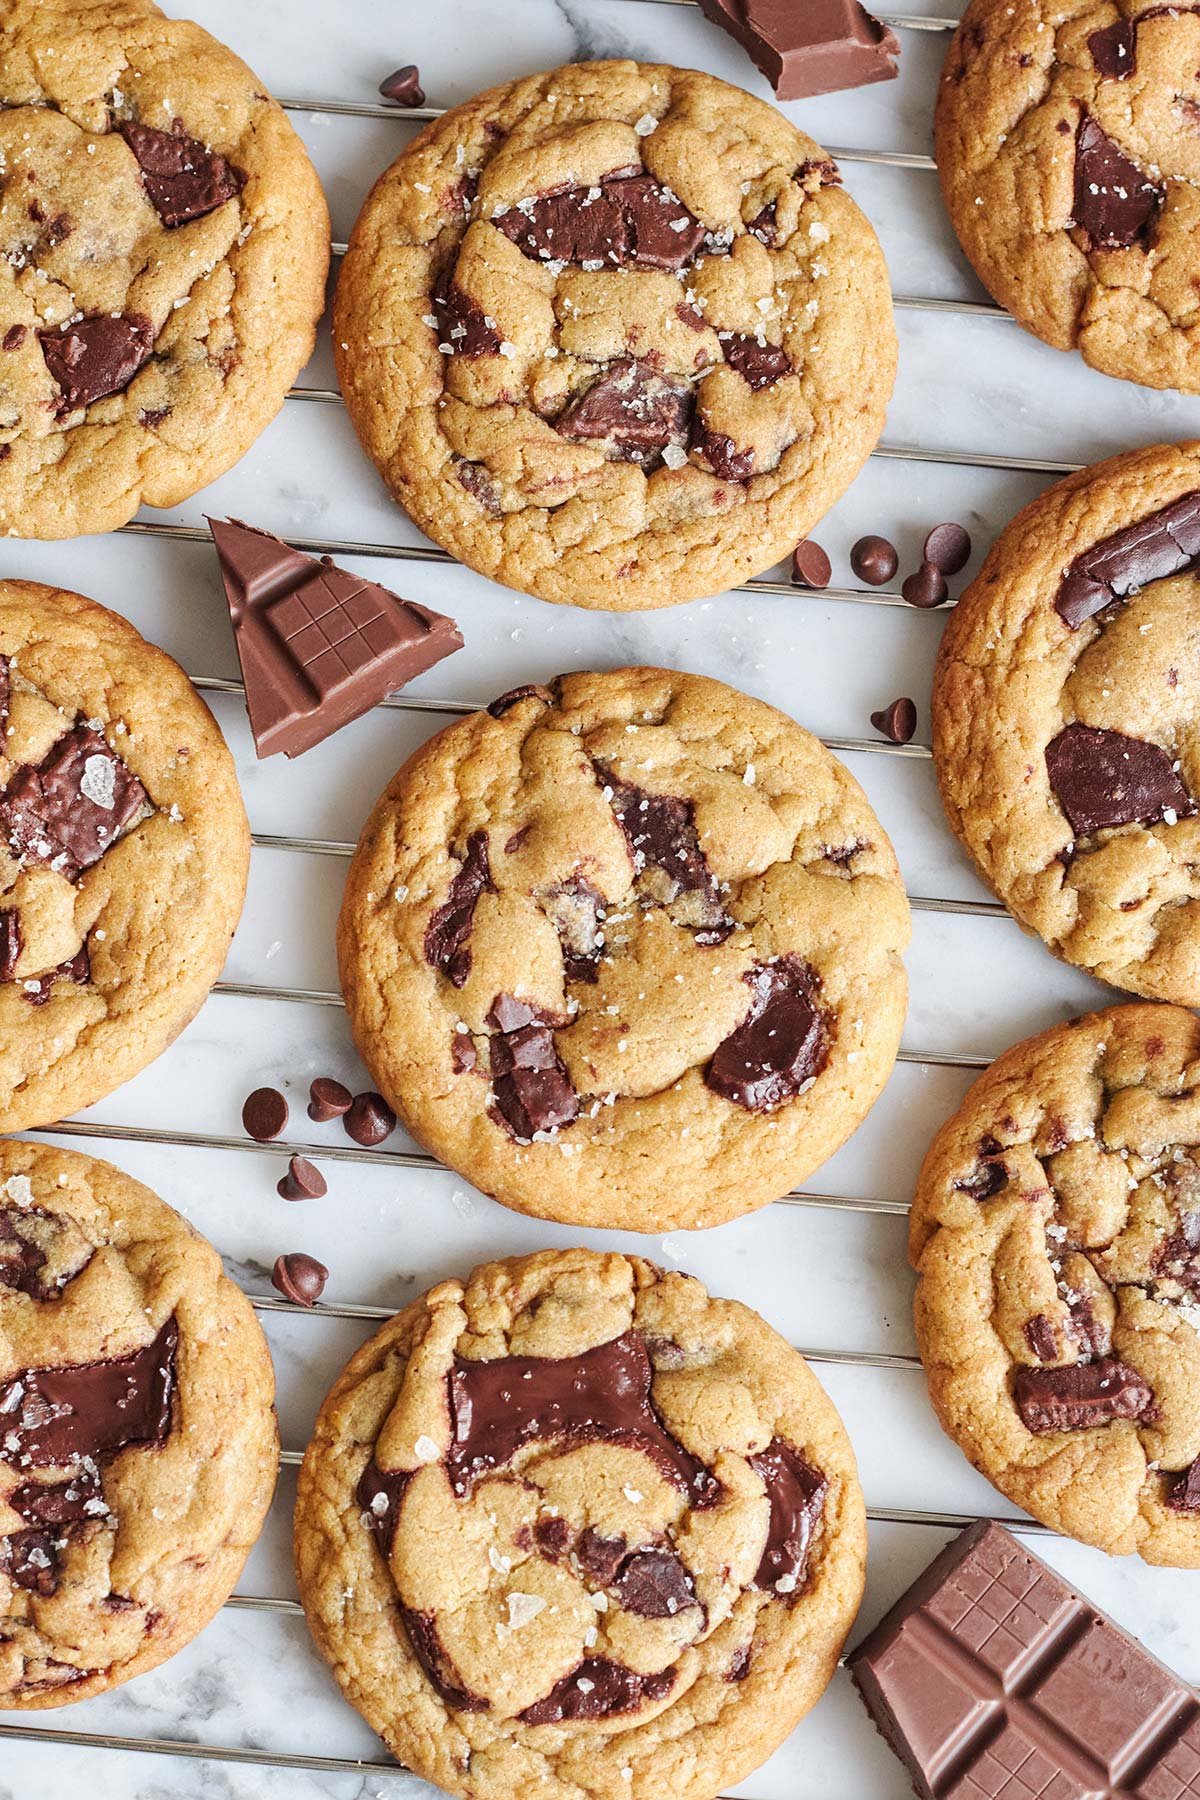
What Makes These Chocolate Chip Cookies Truly the Best?
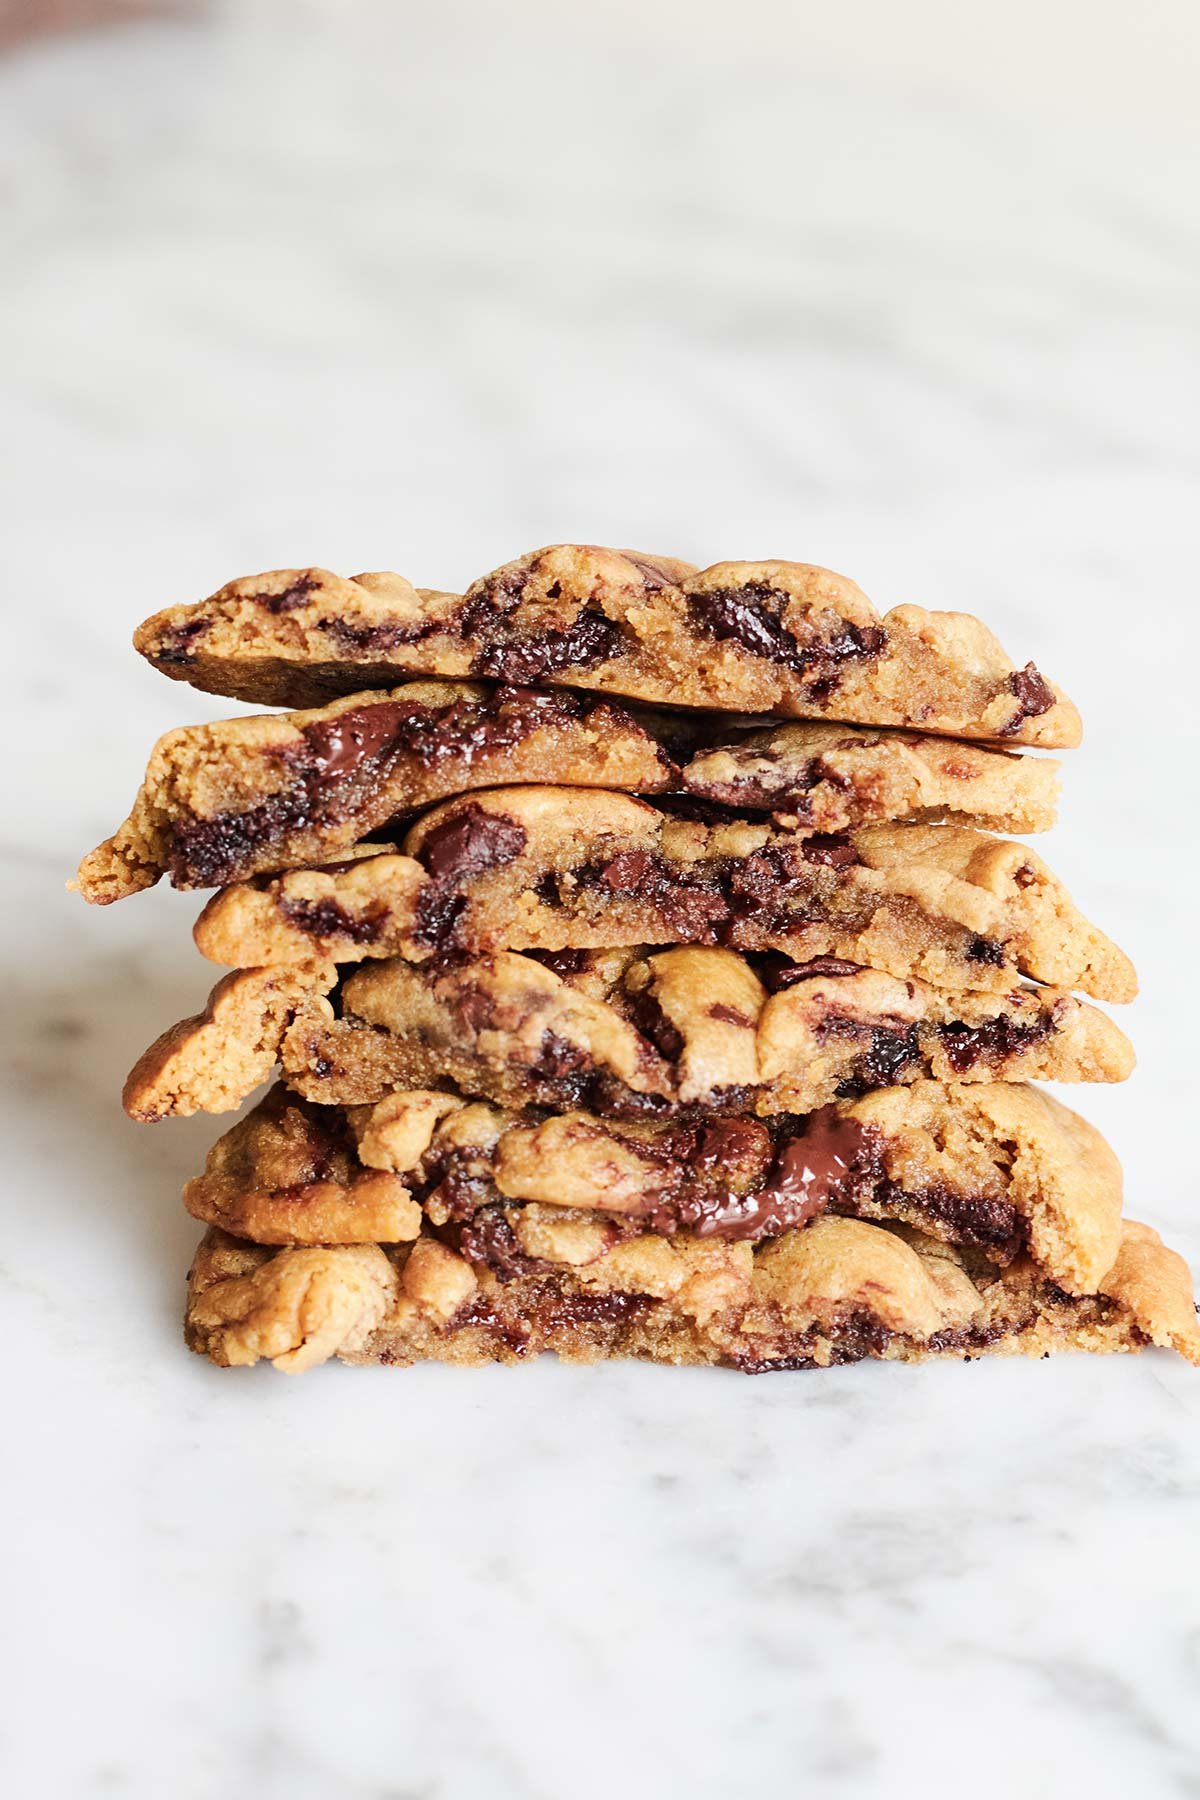
Thick, chewy texture with soft centers and crisp edges: These cookies turn out thick and chunky, with golden crispy edges and soft, gooey and soft in the center—just like the ones you’d grab at a bakery.
Rich buttery flavor with balanced sweetness: They have a rich buttery flavor. The combination of butter and sugars always creates a deep, caramel-like flavor that balances the sweetness without being overly sugary.
Loaded with melty chocolate in every bite: You wanna know why this cookie is everyone’s favorite—from kids to adults? Because, there’s chocolate everywhere, so every bite is packed with melty goodness. When this chocolate melts in your mouth and bursts with flavor, you’ll be completely captivated by it and you may tell yourself you’ll just have one. One turns into three, three into five, and before you know it, the plate is nearly empty. Later, you might pause and think, wait… how many did I actually eat? (Happened with me ha ha)
For a richer chocolate chip flavor, you can try my Classic Twin Chocolate Chip Cookies
Beginner-friendly and very easy to follow method: This recipe is very simple and easy to follow. Anyone can make these cookies if they follow the instructions as given. This makes them a best choice for people who are just starting their baking journey.
Made with simple pantry ingredients: Honestly, you don’t need any fancy stuff to pull this off. The ingredients are so basic that you probably already have them in your kitchen.
Just everyday basic ingredients that come together and create something truly special.
Perfect for any occasion (or no occasion at all): Whether it’s Christmas, Easter, any one’s birthday, or any special occasion, these cookies are always a perfect choice—and honestly, you don’t even need a special reason to enjoy them at all.
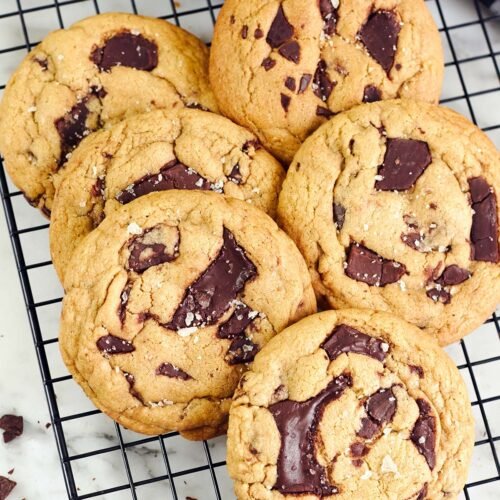
Looks as stunning as It Tastes: Let’s be honest—this cookie is a feast for the eyes. These chocolate chip cookies bake up with a rich golden-brown color and feature soft, gooey pools of melted chocolate on top—delivering that classic bakery-style look and texture. It’s the kind of cookie that looks so appetizing, you’ll want to grab one the moment you see it. From their oversized big shape, the crinkled ripple edges, and the pools of chocolate, these are the most Instagrammable cookies you’ll ever pull out of an oven.
Check our White chocolate cranberry cookies recipe
Ingredients you’ll need for Chocolate Chip Cookie:
Here is an overview of what you’ll need, you’ll find the full measurements in the printable recipe card.
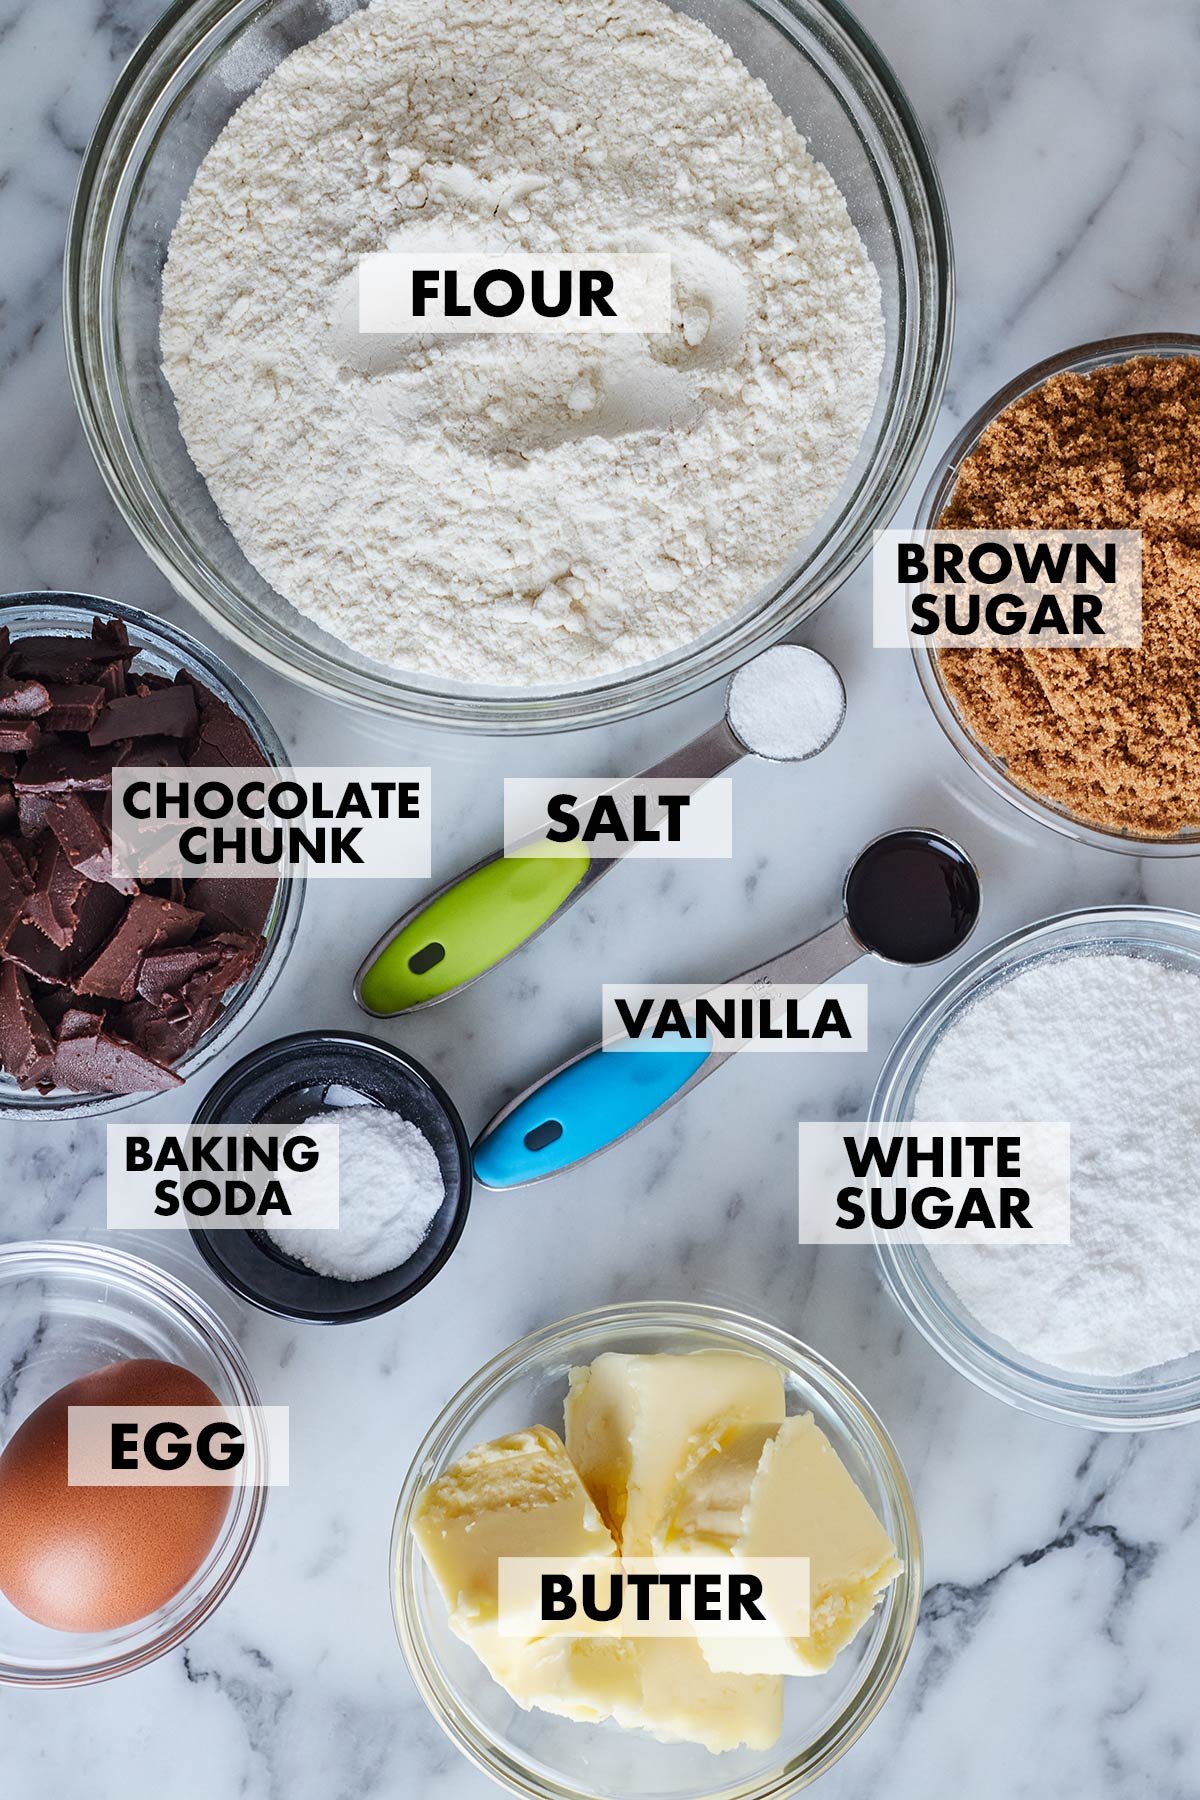
All-purpose flour: In my opinion, if you want consistent bakery-style results, stick with all-purpose flour. All-purpose flour has a moderate protein content (around 10–12%), which gives cookies the perfect balance between structure and tenderness. It helps cookies hold their shape while still staying soft and chewy inside.
Baking soda: (Why I Slightly Reduced the Baking Soda) Baking soda is an alkaline ingredient, which means it reacts with acidic components in the dough like brown sugar, yogurt, lemon juice, or honey. This reaction plays a key role in how cookies bake, affecting everything from spread to color to flavor.
It doesn’t just help cookies spread—it also accelerates browning, giving cookies that deep golden color and rich aroma. But here’s the catch
Too much baking soda can push things too far. The cookies may spread excessively, and the edges can brown or even burn, much faster than the center bakes properly.
On the other hand, Using slightly less baking soda helps control the spread, resulting in thicker cookies with a softer texture and a more balanced, lighter color.
Butter: Butter is one of the key ingredients that defines the flavor and texture of your cookies. It brings that richness in flavour that everyone expects from good bakery cookies. In this recipe, I’ve used unsalted butter. You can use either unsalted or salted butter—whatever you have on hand it’s up to you. However, if you’re using salted butter, it’s best to omit the added salt from the recipe.
Brown sugar & White sugar: In this recipe I use a combination of brown sugar and white sugar. Combining granulated and brown sugar creates a more balanced flavor profile that gives your cookies subtle perfection in both ways. Brown sugar contributes to the moisture and the chewiness of the cookies as it contains lots of molasses whereas granulated sugar helps with crispness. Together, they give your cookies that perfect bakery-style texture and taste.
Chocolate chunks: Unlike standard chips I prefer hand-chopped chocolate chunks that ripple through the dough, creating rich layers and ensuring chocolate in every single bite. But you can go with any chocolate chips you like or already have at home—they’ll all work well in this recipe. In that case I always choose using semisweet chocolate chips, as they balance the sweetness of the cookies perfectly.
Egg
Vanilla extract
Salt
What Makes My Cookie “Bakery Style”?
Before we dive into the flour and sugar, let’s talk about what actually differentiates a professional cookie from a standard home recipe:
Going for big size: Bakeries don’t do “bite-sized” cookies. That’s why we’re taking 60g of dough per cookie. This extra mass is what creates that incredible contrast between a golden, crispy edge and a soft, fudgy center. Large cookies allow for a beautiful contrast in textures and give the cookie a truly delicious look.
Cold Butter vs. Creamed: The temperature of your butter matters more than you might think. While many recipes call for room-temp butter, I am using slightly cool, softened butter to ensure the cookies hold their shape and rise nicely. When you properly cream softened butter with sugar, it traps air, which helps create a lighter texture and gives that classic bakery texture. Softened butter should be cool to the touch and slightly firm, not melted or greasy. If it’s too soft, your cookies will spread too much, if it’s too cold, it won’t cream properly, resulting in dense cookies.
The “Ripple” Effect: Ever wonder how they get those gorgeous ridges? Want to know the real magic behind it? It’s all about the pan-banging method and a high brown sugar-to-white sugar ratio. Let me share the secret with you.
Brown sugar contains lots of molasses. Molasses is what makes these cookies moist and chewy. It adds a lot of moisture, which not only improves the quality and keeps the cookies soft longer but also gives them a little caramel flavor. So, I strongly suggest using dark brown sugar here—it contains more molasses than light brown sugar which makes a noticeable difference. To achieve those bakery style signature crinkled ridges you have to use a high ratio of brown sugar. Another secret to make your cookies perfect is using the “pan-banging” technique (tapping the pan against the oven rack) to deflate the edges as they bake.
Chocolate Chunks over Chips: If you want cookies that look and taste like they came from a fancy bakery, I highly recommend using chopped chocolate from a bar instead of regular chocolate chips. Chocolate bars have more cocoa butter, so they melt better and create those gorgeous, glossy pools of chocolate in your cookies which look so appetizing. As the chocolate melts in your mouth, it releases a burst of flavor that leaves you wanting more and more.
Step-by-Step Instructions:
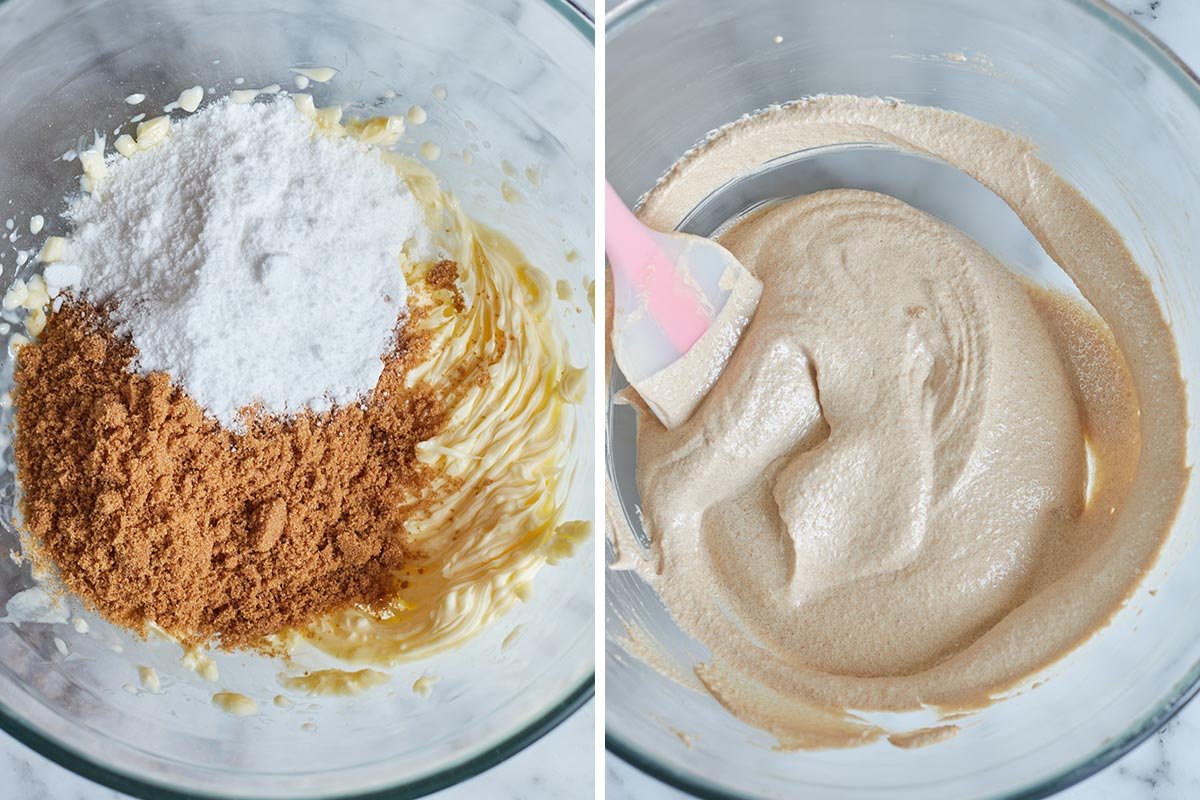
Step 1: Cream the butter and sugar. Start by adding your softened butter and sugars to a mixing bowl. Using a hand mixer or stand mixer, or a spatula, beat them together until the mixture becomes light, fluffy, and slightly pale in color. This step usually takes about 2–3 minutes at medium speed.
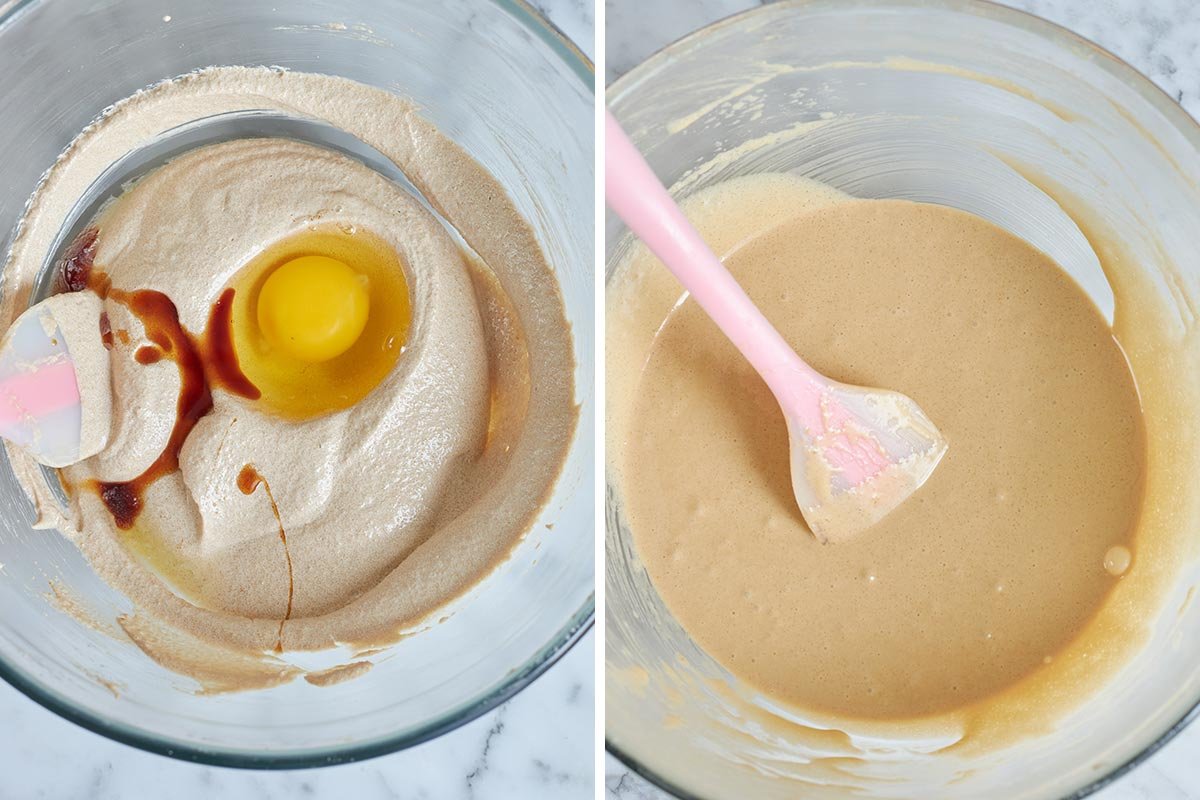
Step 2: Mix in the egg and vanilla. Once your butter and sugar mixture is light and fluffy, add in the egg and vanilla extract. Beat on medium speed until everything is fully combined, smooth, and creamy.
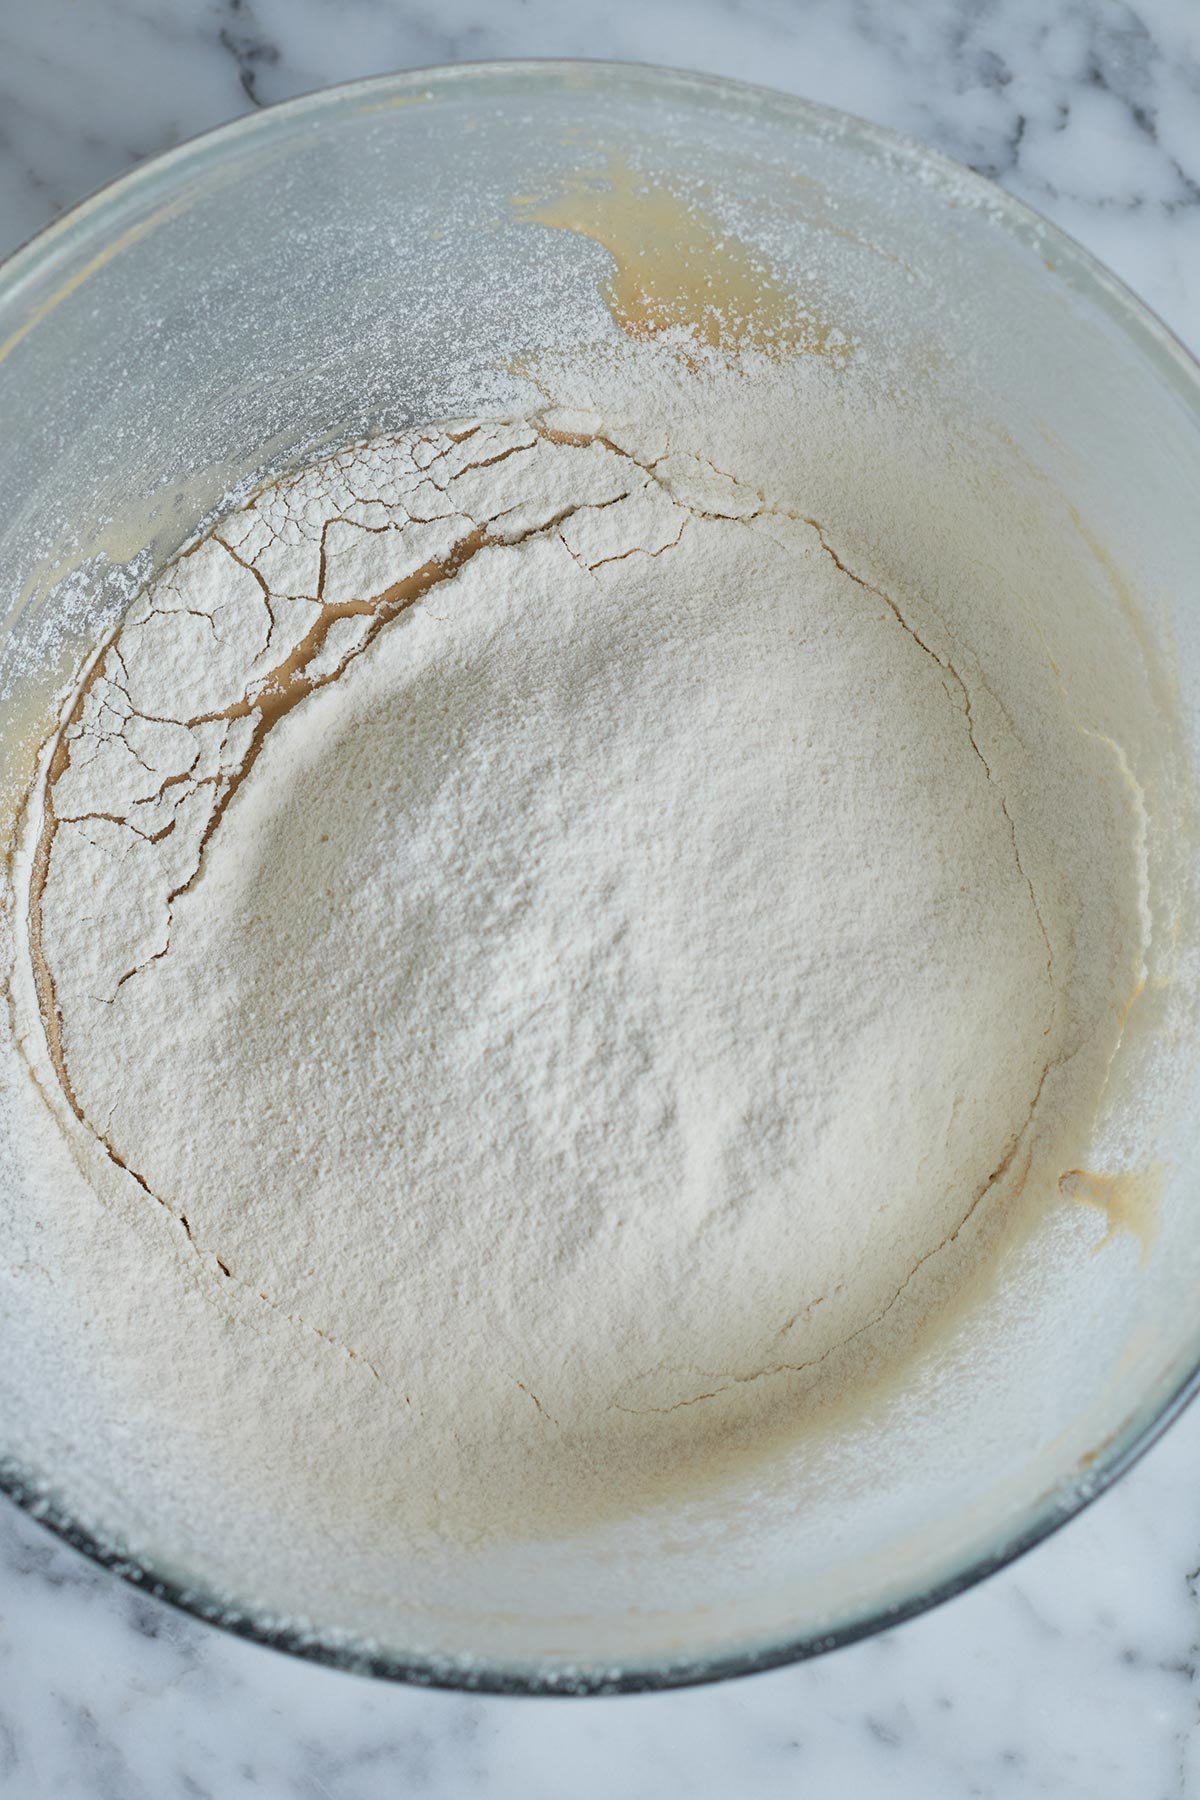
Step 3: Combine all dry ingredients. In a separate bowl, combine all your dry ingredients—flour, baking soda, and salt. Give them a quick mix to evenly distribute everything. Then, gradually add the dry mixture into the wet ingredients and gently fold it using a spatula or a whisk. Mix just until everything comes together into a soft dough, being careful not to overmix.
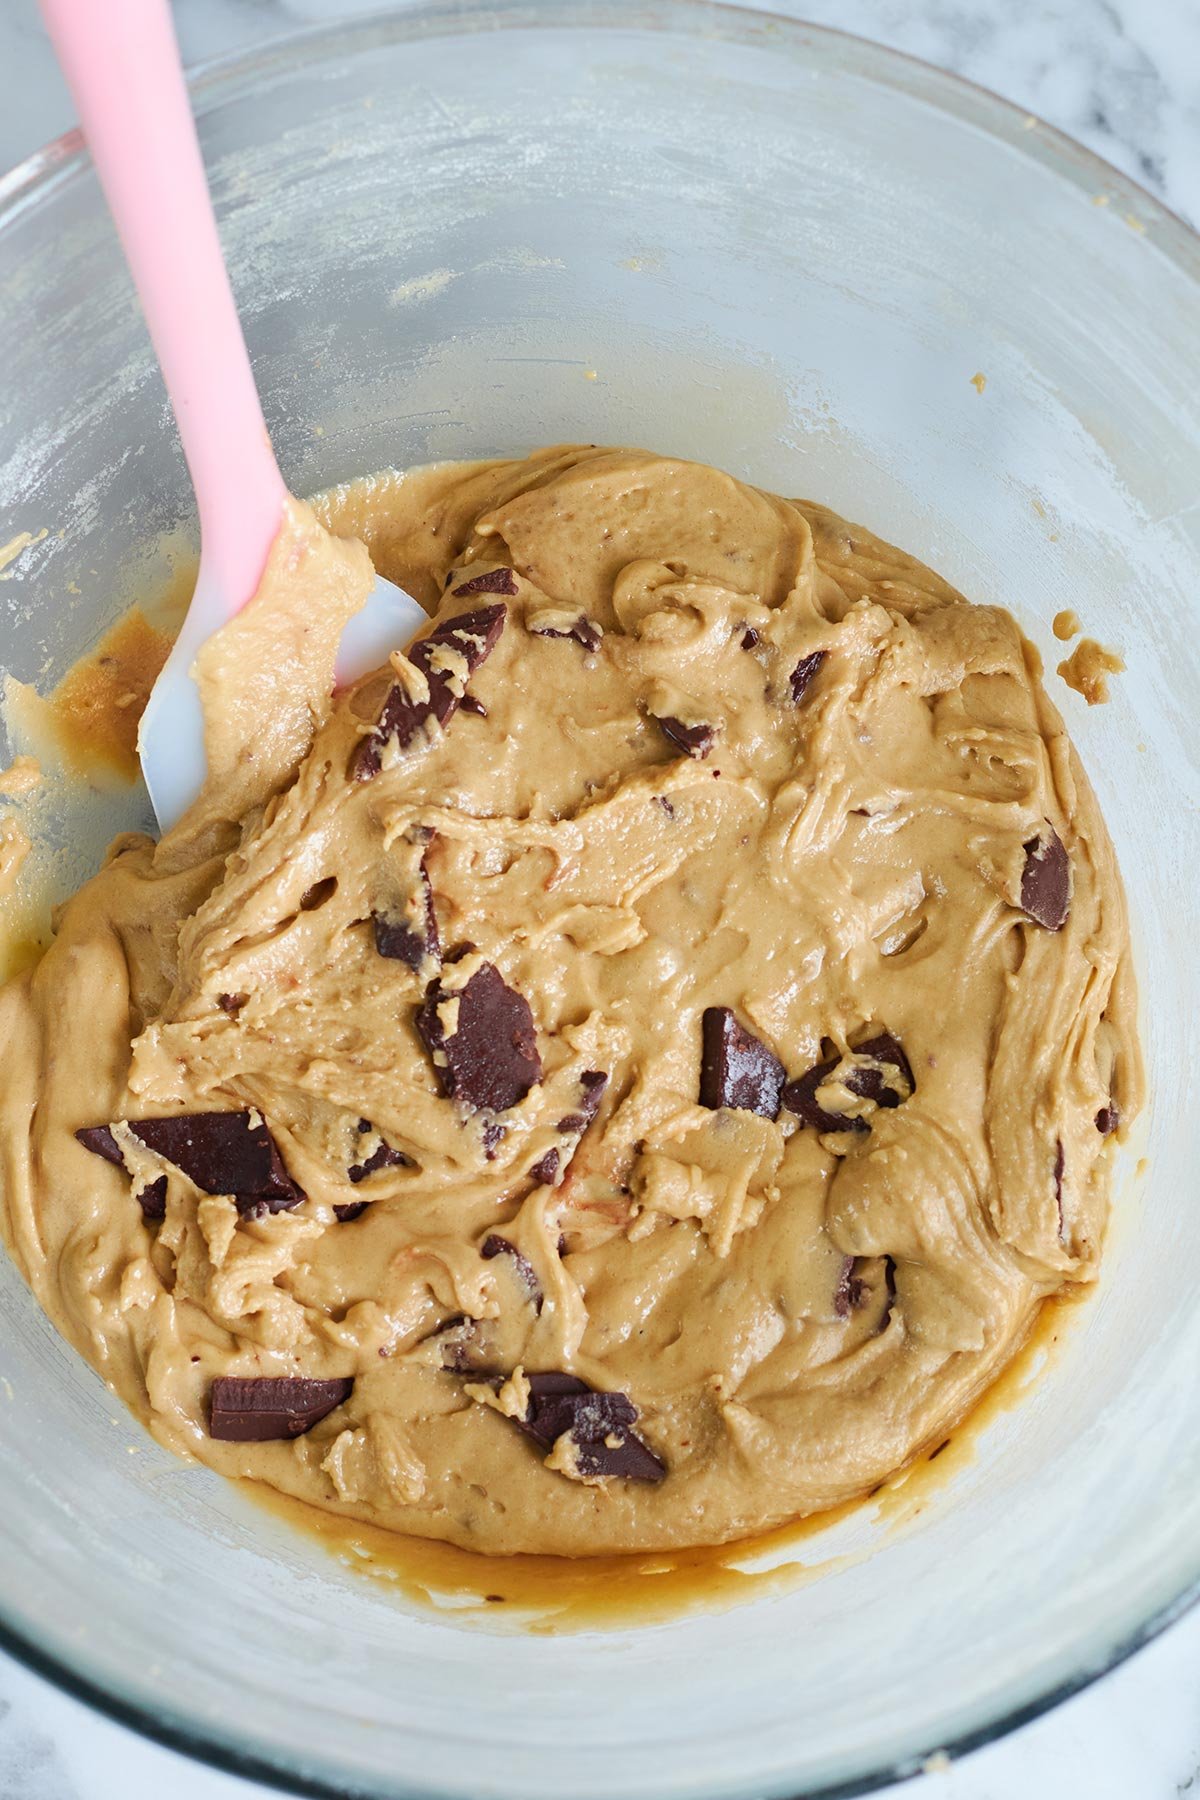
Step 4: Now it’s time to fold in the chocolate. Instead of using regular chocolate chips, I prefer using chocolate chunks for this bakery-style cookie. Roughly chop your chocolate and gently fold it into the cookie dough using a spatula, making sure it’s evenly distributed throughout.
As the cookies bake, these chocolate chunks will melt beautifully into the dough, creating rich, gooey pockets of chocolate in every bite. For the best results, try to use high-quality chocolate with a higher cocoa butter content, this helps the chocolate melt smoothly and gives the cookies that glossy, irresistible finish. Not only does it enhance the flavor, but it also gives your cookies that classic bakery-style look and texture that feels a little more special.
Step 5: Chill the cookie dough. Once your dough is ready, don’t skip this step, it makes a big difference. Cover the dough and place it in the refrigerator to rest. Chilling allows the flour to fully hydrate and gives the dough time to develop deeper flavor and a better texture. For best results, let it chill for at least 4–6 hours, but if you have the time, leave it overnight.
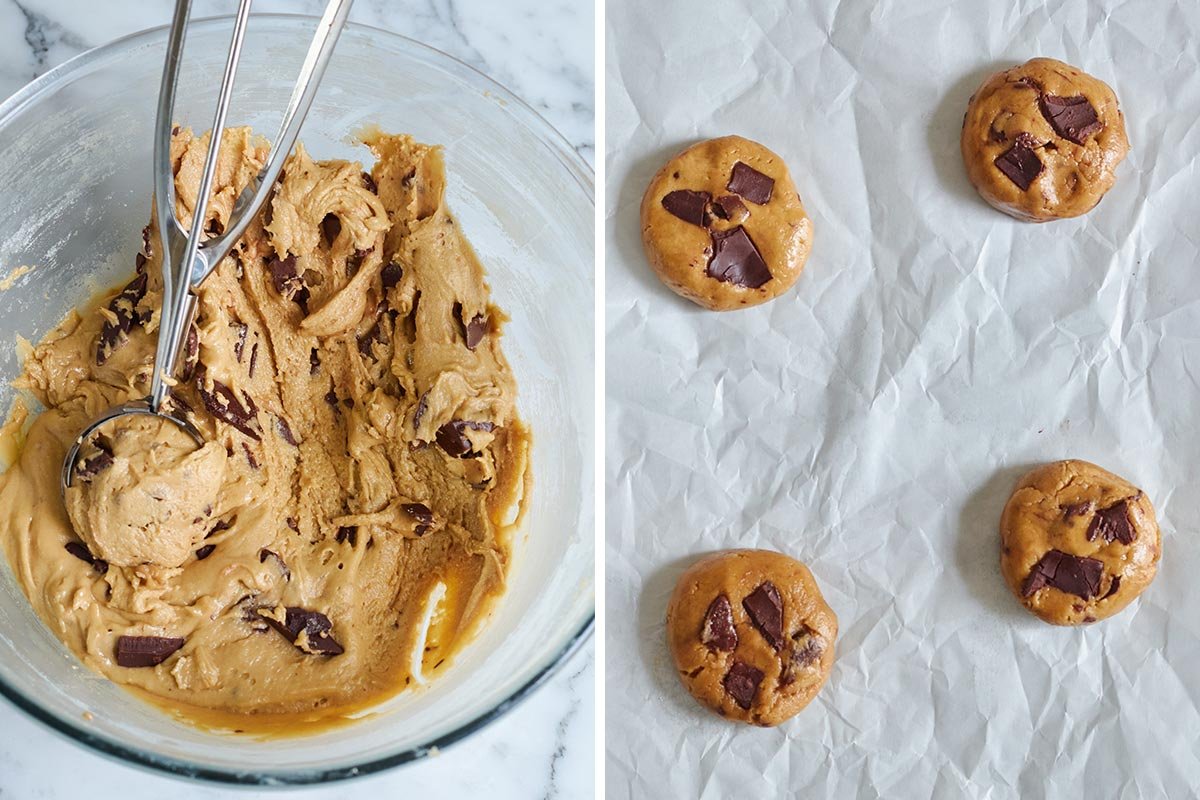
Step 6: Scoop the cookie dough. After chilling, portion out the dough using a cookie scoop for even sizing. Place each scoop onto your prepared baking tray, leaving about 2–3 inches of space between each one to allow for spreading.
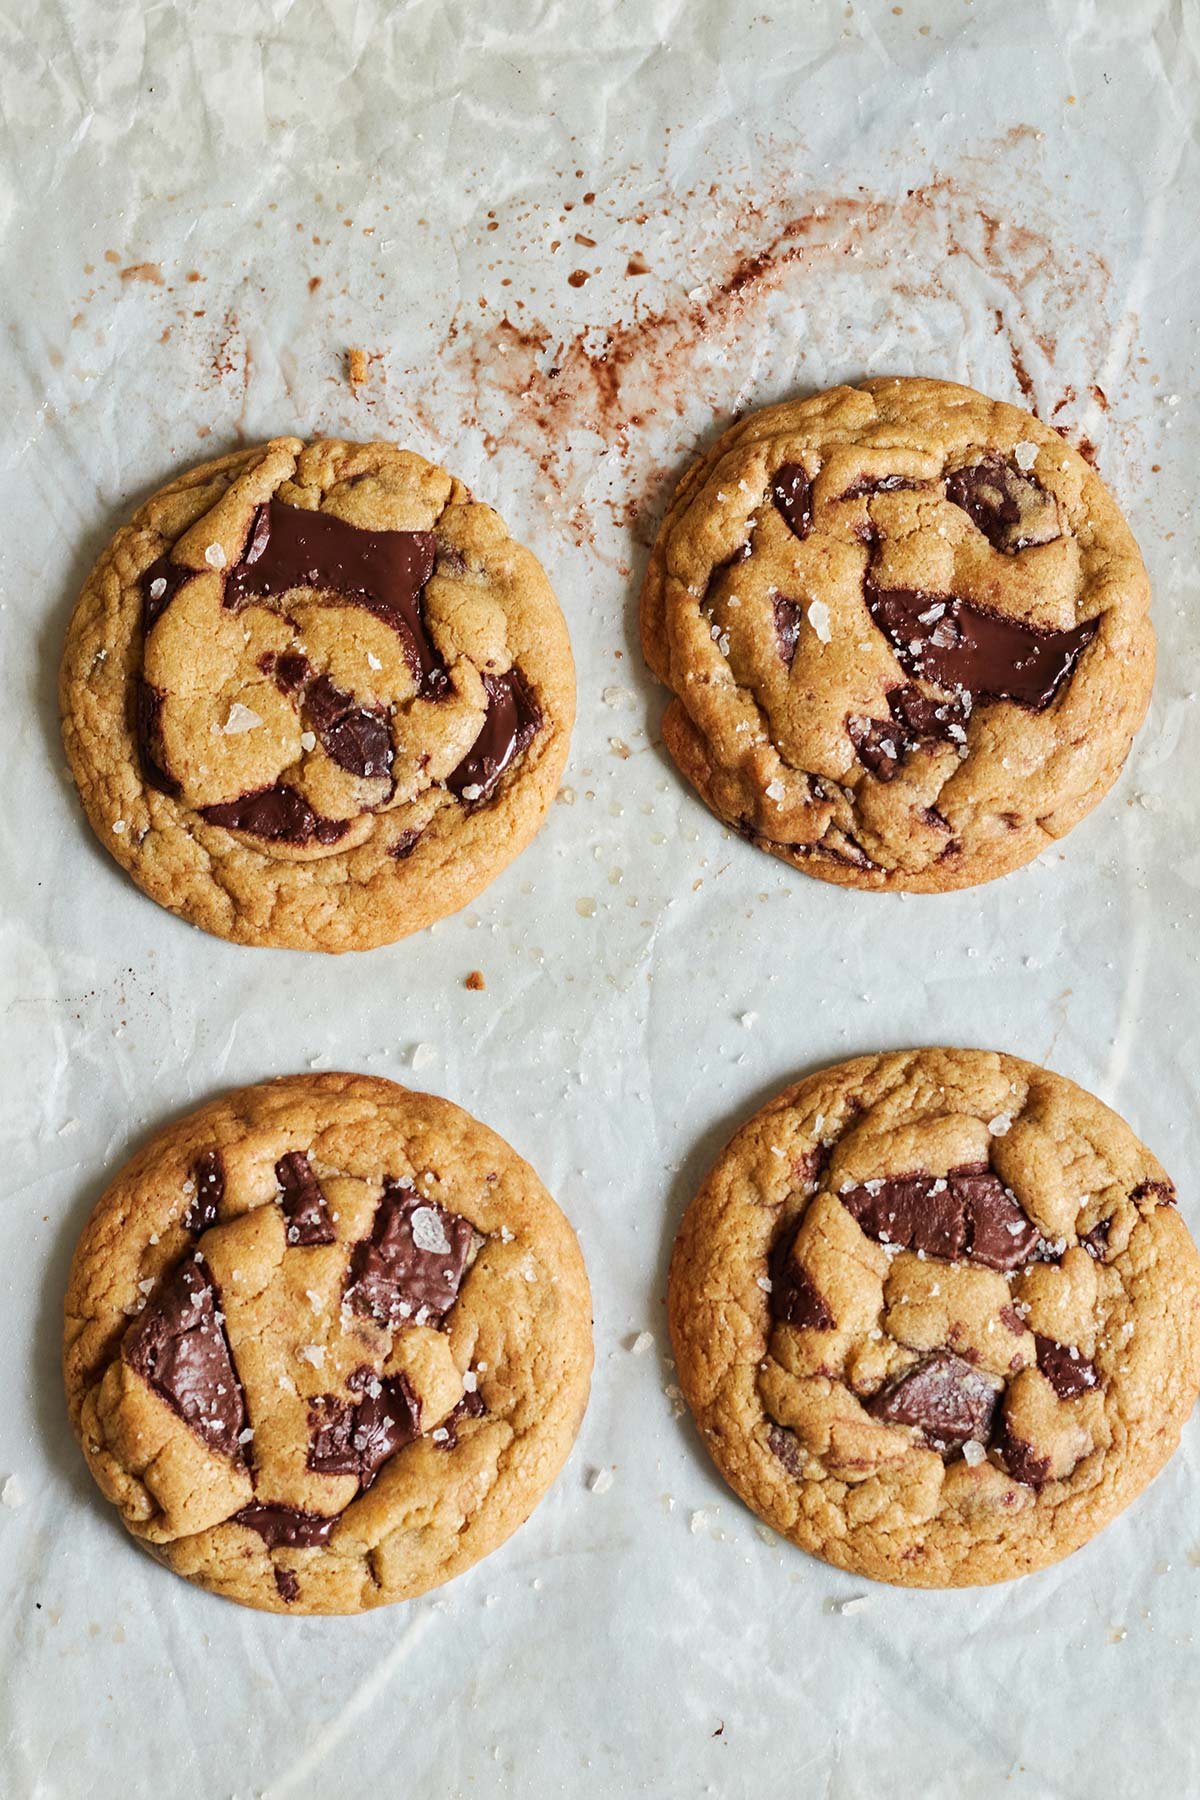
Step 7: Bake the Cookies. Place the tray into your preheated oven and bake at 350°F (175°C) until the edges are set and lightly golden, while the centers still look soft. This usually takes around 10–12 minutes, depending on the size of your cookies.
Secrets to Baking the Best Chocolate Chip Cookies:
Measure flour correctly: Always be careful about flour measurement because this can ruin your whole recipe. For best results try to use a digital kitchen scale to measure the flour correctly. But if you only have measuring cups, just spoon the flour into the cup and level it with a knife. This simple yet very important step can save your recipe every single time. You have to be careful about the measurement because a little too much flour will leave your cookies tough, dry, or keep them from spreading like they’re supposed to, on the other hand too much flour will make your cookies dense and hard to bite into.
Chill the Dough: I strongly suggest to chill the dough at least 4-6 hours or overnight for best results. Cookies made from unchilled dough tend to spread too quickly in the oven, resulting in thinner cookies with less color and a more uneven texture. They also miss out on that soft, chewy bite that develops when the dough has time to rest.
Don’t over-bake: For soft, gooey centers, it’s important to take them out when the edges are set but the middle still looks slightly underdone. Cookies keep baking even after you take them out of the oven, so don’t wait until they look completely golden all over. When you see golden brown edges and the tops look puffed with cracks, pull them out. The heat from the baking tray will finish the job, letting them set up perfectly without turning dry. If you wait until they look totally done in the oven, you’ll end up with cookies that are tough and crumbly instead of soft and chewy.
Don’t over-cream the butter and sugar: Cream the butter and sugar until they have just come together into a slightly grainy mixture. You don’t need to cream the butter and sugar together until they are fluffy or light. Over-creaming adds too much air, which can lead to cookies that spread more and turn crisp rather than staying soft and chewy.
Storage:
Room temperature: Keep your cookies in an airtight container at room temperature for up to 4–5 days. This helps maintain their soft, chewy texture without drying out.
Refrigerator: For longer storage, you can freeze the baked cookies. Once completely cooled, place them in a freezer-safe bag and freeze for up to 3 months. When you’re ready to enjoy, simply let them sit at room temperature for about 5–10 minutes to soften.
Freezing (dough): You also can freeze cookie dough for up to 3 months. The easiest way is to wrap the whole batch or whatever left in plastic wrap, wrap the entire dough (or any leftover portion) tightly in plastic wrap, then place it in a freezer bag.
Or, if you want fresh cookies on demand, scoop the dough into individual balls, line them up on a tray, and freeze until they’re firm. After that, throw the frozen dough balls into a freezer bag. This method lets you bake just a few cookies at a time whenever the craving hits.
Cookie Baking Science
Why chilling cookie dough changes everything
Resting your cookie dough in the fridge isn’t just about firming it up, it completely transforms the final result. During this time the flour absorbs moisture from the eggs and butter, which helps the cookies bake more evenly. The flavors also get the proper time to deepen as the ingredients settle together, giving you a richer taste and better color in the oven. Chilling also solidifies the butter so that the cookies spread less and bake up with a perfect shape instead of turning greasy. As a bonus, cookies made from chilled dough tend to stay soft and chewy for longer, which definitely worth every minute.
What is the Maillard Reaction (and why cookies smell so amazing)
Ever wondered why cookies smell so amazing while baking? That’s the Maillard Browning or the “Maillard Reaction” at work. It’s one of the key reasons cookies don’t just taste good, they smell incredible too. Think of it like the difference between plain toast and perfectly golden toast, the darker one just tastes better. The same idea applies here.
The Science Behind the Magic: The Maillard reaction is a fascinating chemical process that occurs when heat transforms proteins and sugars in food. More specifically, it happens when amino acids (the building blocks of proteins) react with reducing sugars under high temperatures, typically above 285°F (140°C). This reaction creates hundreds of new flavor and aroma compounds that gives your cookies those slightly crisp edges, rich flavor, and that “fresh from the bakery” aroma.
How to Get the Best Results from Maillard Reaction:
If you want your cookies to have that perfect balance of flavor, color, and aroma, a few factors can help enhance the Maillard reaction:
- Use the right temperature: Baking at too low a temperature won’t trigger the reaction properly, while too high can burn the cookies before flavors develop. To measure your oven temperature accurately, you can use an oven thermometer.
- Include proteins: Ingredients like eggs and butter contribute amino acids needed for the reaction.
- Balance sugars: Especially, brown sugar can enhance the flavor due to its molasses component.
- Don’t overcrowd the oven: Proper airflow not only allows your cookies to be baked evenly, but also to the exterior developing.
The Maillard reaction is the hidden hero behind your favorite cookies. So the next time your kitchen fills with that nostalgic cookie smell, you’ll know—it’s not just baking, it’s chemistry at its most delicious.
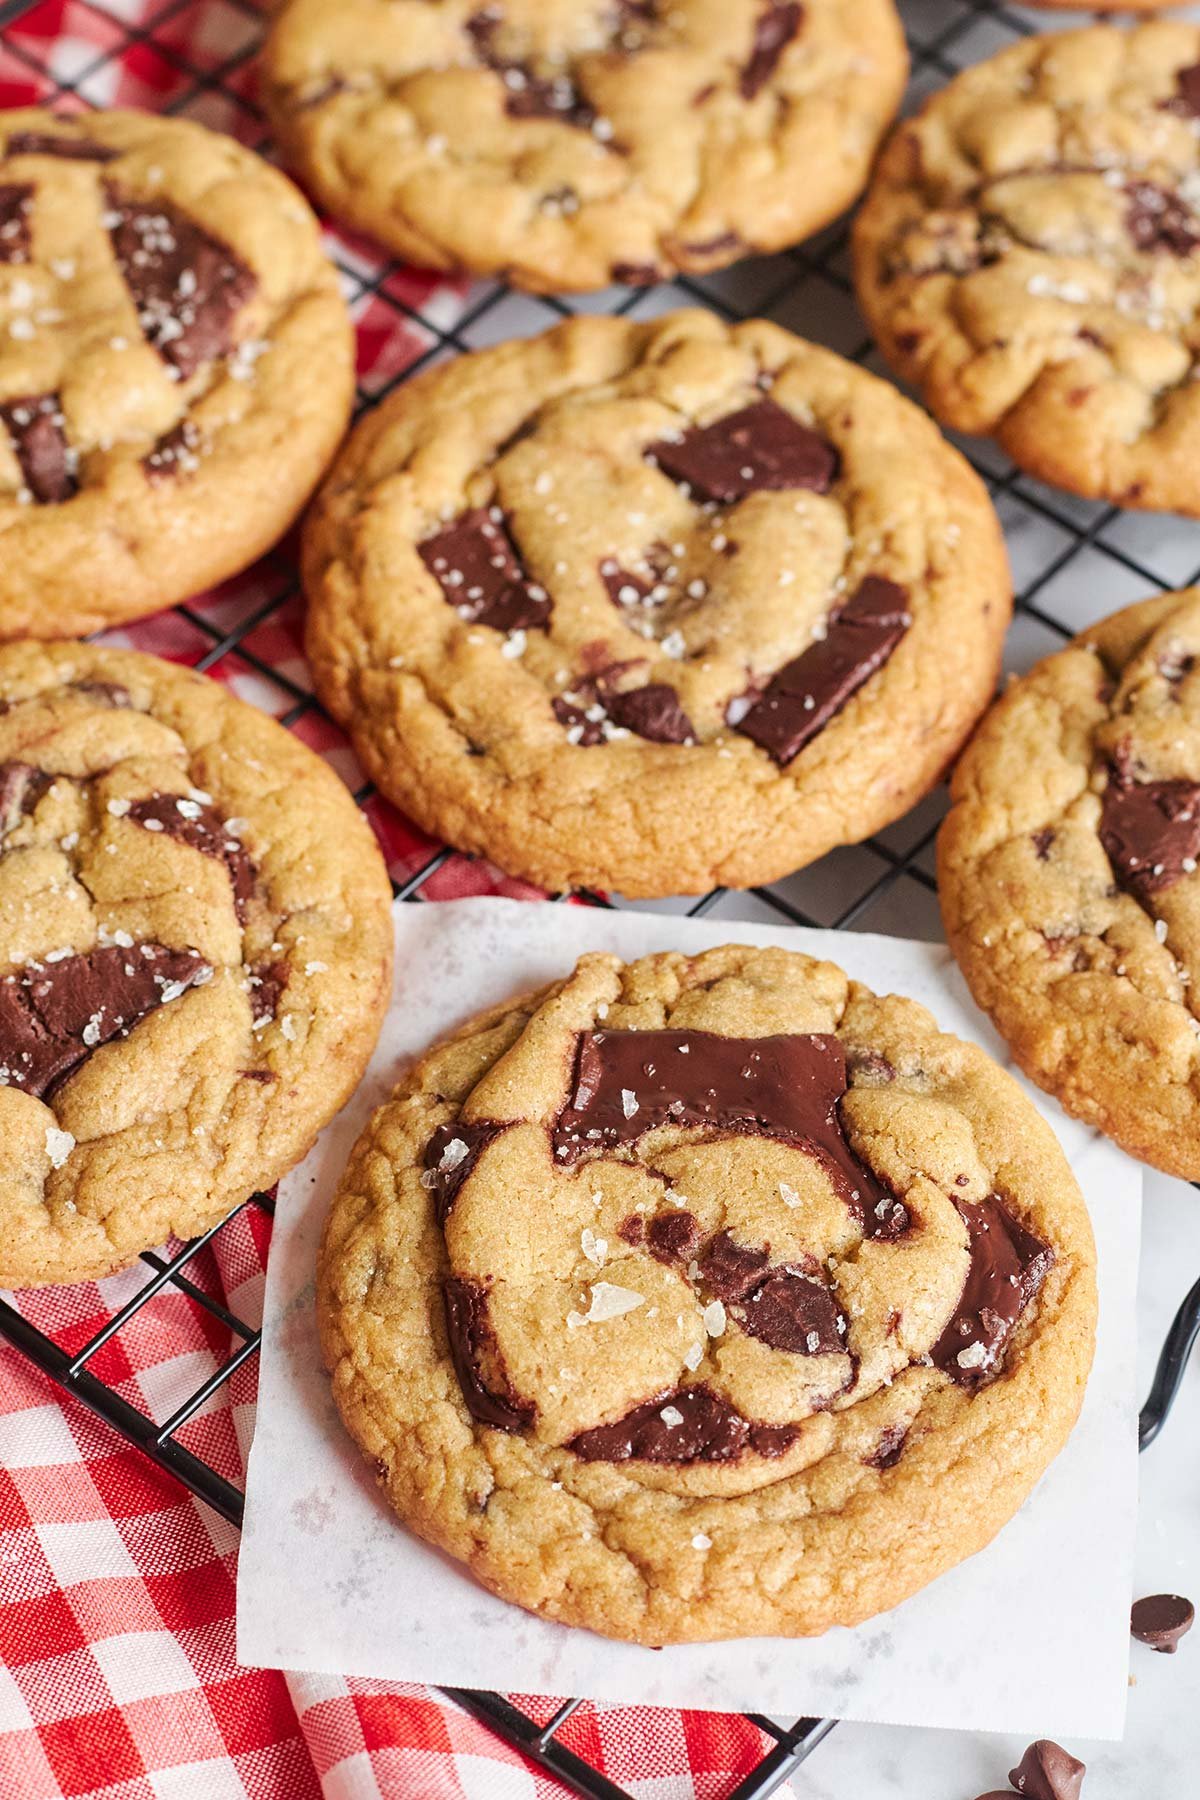
Bakery Style Chocolate Chip Cookies
Equipment
- Kitchen measuring scale/cups
- Baking sheets or parchment sheets
- Mixing bowls
- Whisk
- Spatula
- Strainer
- Medium cookie scoop
- Wire cooling rack
Ingredients
- ⅔ cup (145g) unsalted butter, at room temperature
- ¾ cup (150g) Brown sugar, Packed
- ⅓ cup (70g) Granulated sugar
- 1 whole egg at room temperature (about 50g)
- 1 teaspoon vanilla extract
- 2 cups (255g) all purpose flour
- ¾ teaspoon baking soda
- ¼ teaspoon salt
- 1 and ¼ cups (220g) Dark chocolate chunks (with 53-70% cocoa butter)
- Flaky sea salt (optional for sprinkling)
Instructions
- In a separate bowl, whisk together the flour, baking soda, and salt. This ensures the leavening agent is evenly distributed, giving you perfectly risen cookies.
- In a large mixing bowl, start by adding your softened butter along with both sugars. Now comes the creaming step—this is where the magic begins. You can mix using whatever tool you’re most comfortable with: a spatula for a more hands-on approach, an electric hand mixer, or a stand mixer. If you’re using a stand mixer, attach the paddle and mix on medium speed for about 2–3 minutes. The goal here isn’t to whip the mixture until it’s light and airy, but rather to bring everything together into a smooth, cohesive base. As it mixes, you’ll notice the texture changing into something that looks like a slightly glossy paste, almost like a soft, oily mixture or even similar to damp sand. That’s exactly what you’re aiming for.While mixing, avoid scraping the sides of the bowl while the mixer is running. Instead, pause the mixer occasionally, then use a spatula to scrape down the sides and bottom of the bowl. This ensures everything is evenly incorporated without disrupting the mixing process.
- Next, add the egg along with the vanilla extract and just mix until smooth and fully combined.
- Now, gradually add the flour mixture into the wet ingredients, mixing gently with a whisk or spatula. As the dough starts to come together, but before the flour is fully incorporated, add in your chocolate chunks. This helps distribute the chocolate more evenly throughout the dough. Switch to a spatula and fold everything together carefully until no dry flour remains. Take your time with this step and avoid overmixing. In the end, you should have a soft, silky, and slightly moist dough that feels rich and smooth, perfect for bakery-style cookies.
- At this stage, you can go ahead and scoop your cookie dough into portions. If you’re not baking right away, simply cover the dough (or the scooped portions) with plastic wrap and place them in the refrigerator to rest. Let the dough chill for at least 4 hours, or even overnight for the best flavor and texture. Since we’re aiming for that classic bakery-style look, I like to keep the cookies slightly larger. For this recipe, each scoop is about 60 grams, which gives you those beautifully big, thick cookies with a soft, rich center.
- When you’re ready to bake, start by preheating your oven to 350°F (175°C).
- Right before baking, take your cookie dough balls and gently press a few extra chocolate chunks on top—this simple step gives your cookies that beautiful, bakery-style finish once baked. Bake for about 10–11 minutes, keeping a close eye toward the end. The cookies may look slightly underbaked in the center, and that’s exactly what you want. The edges should be lightly golden brown, while the middle stays soft and tender.Once out of the oven, let the cookies sit on the baking tray for a few minutes before carefully transferring them off the baking paper to cool. While they’re still warm, sprinkle a little flaky salt on top—it melts slightly and enhances the flavor, adding that perfect touch of warmth and balance to every bite.