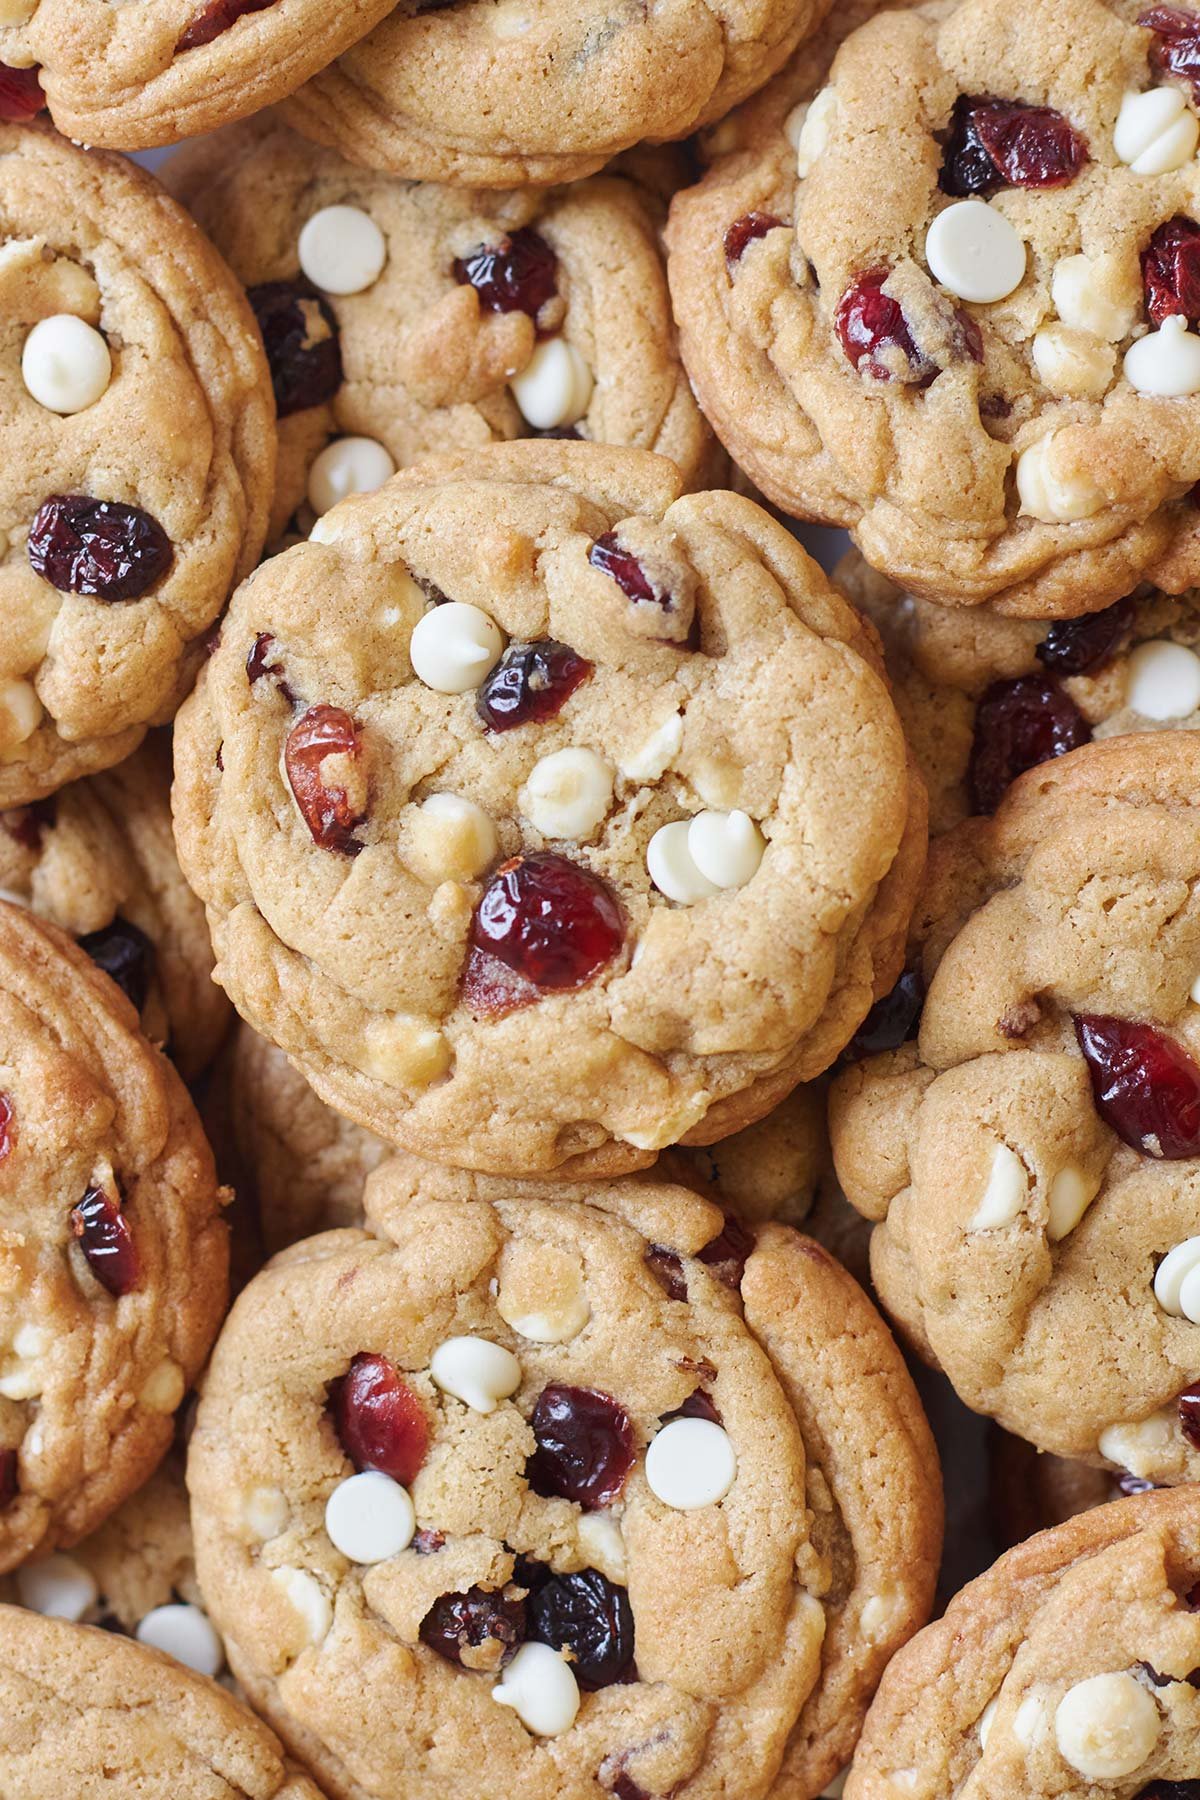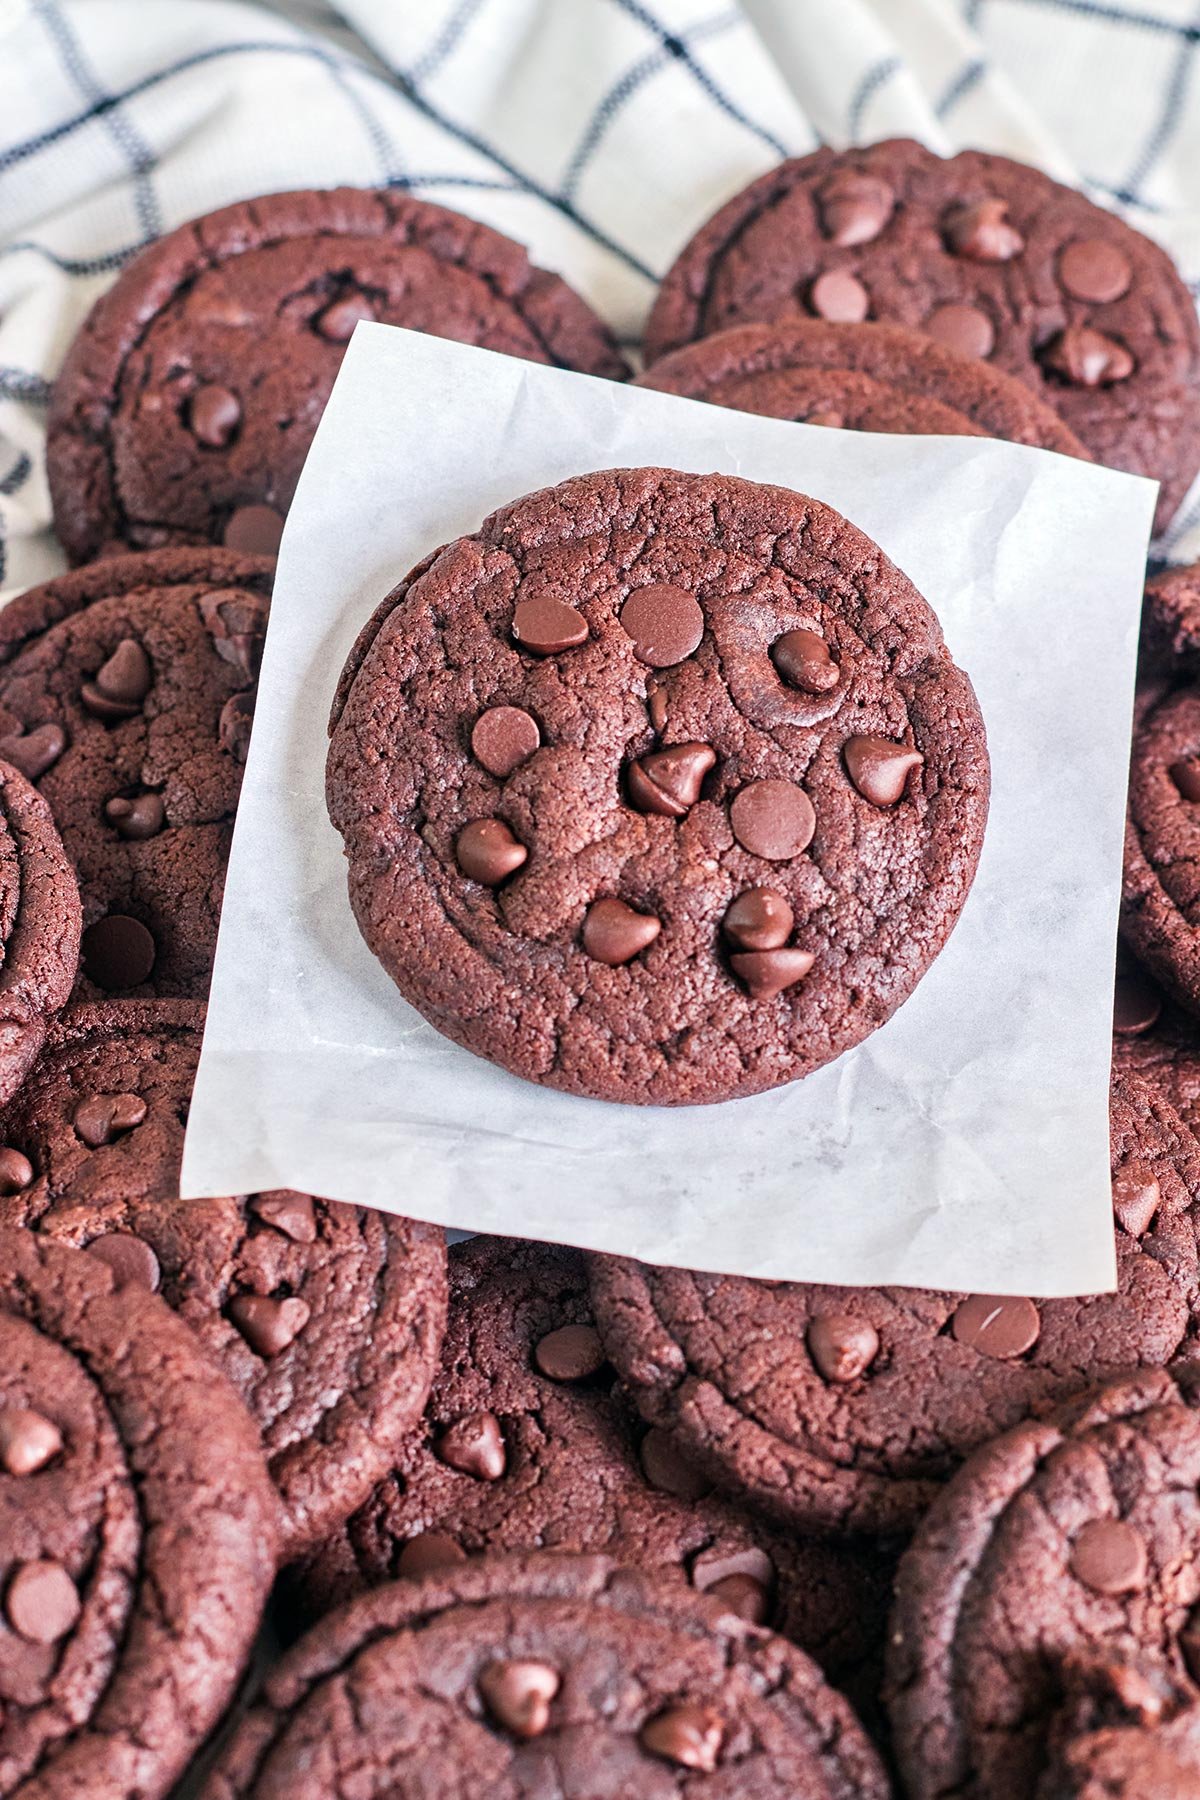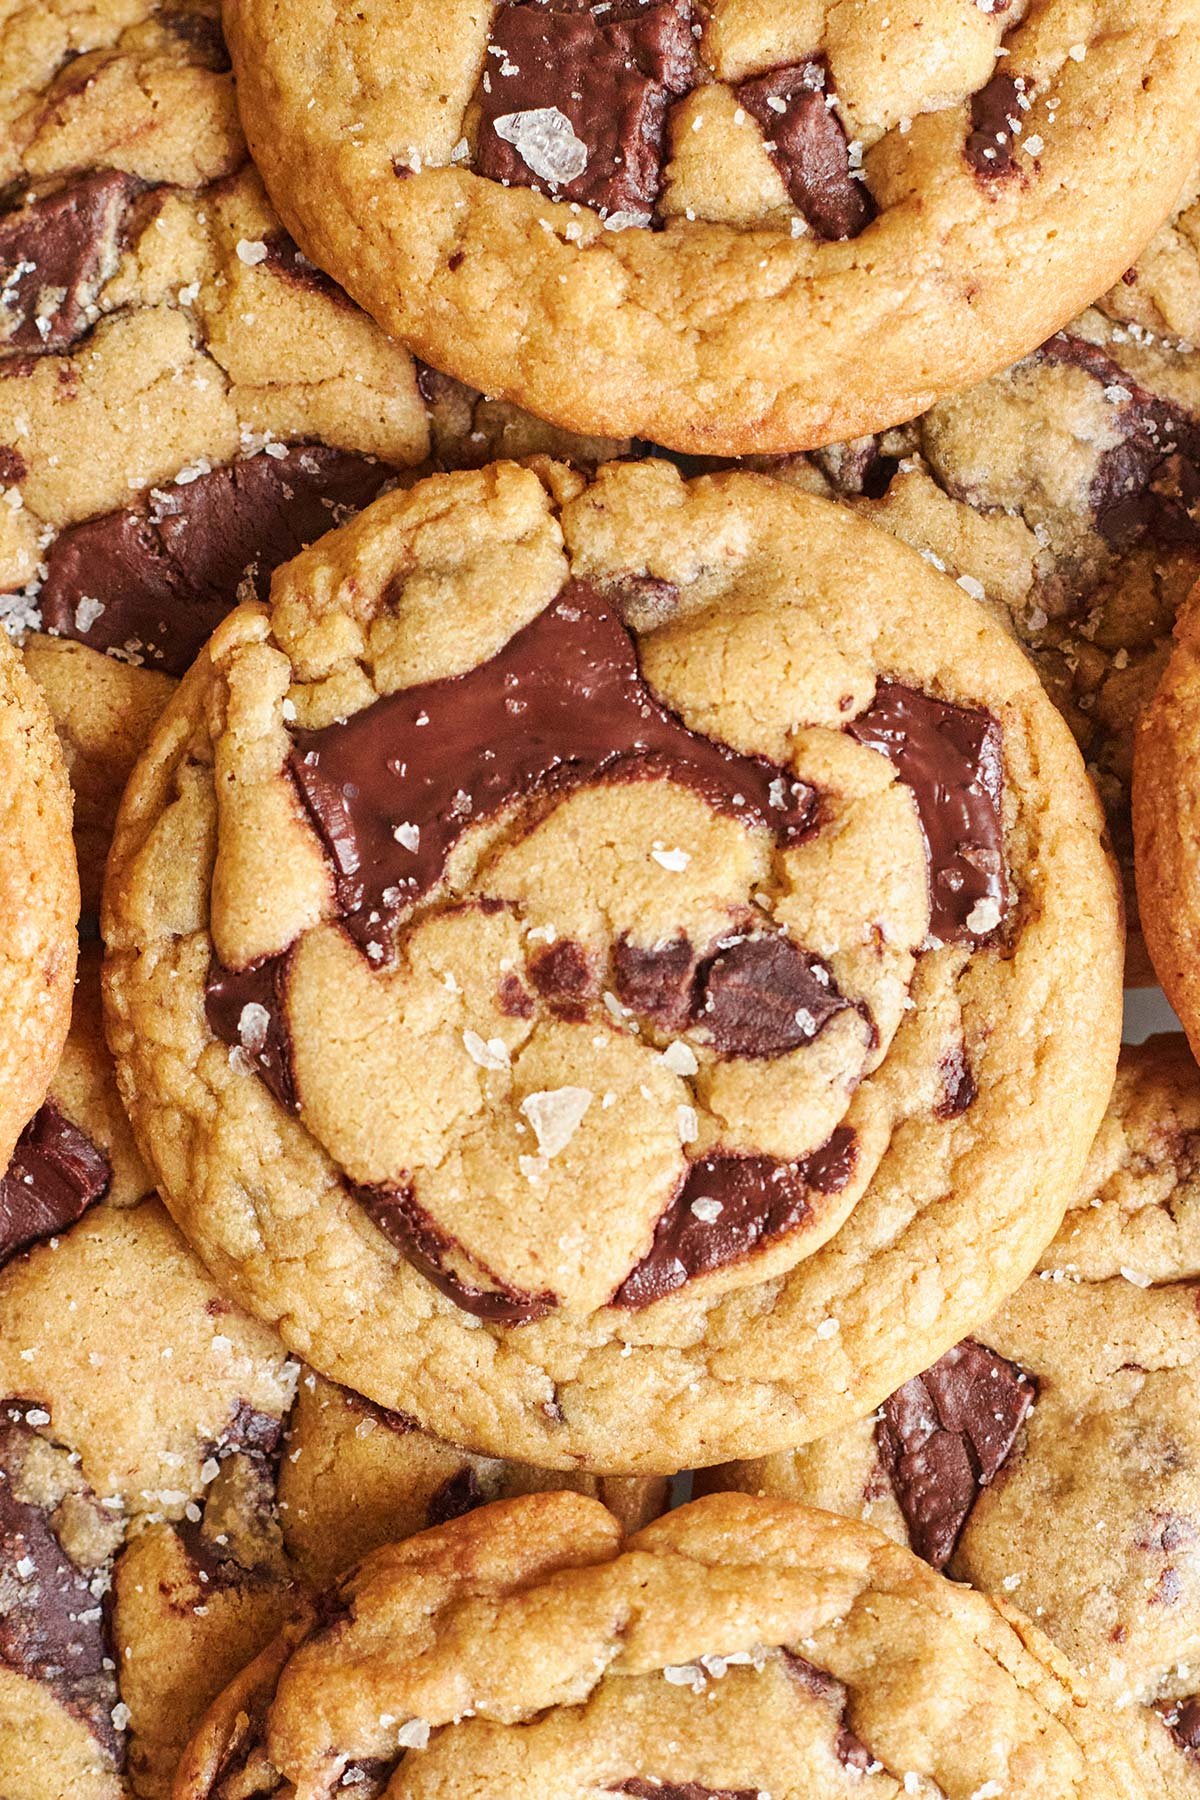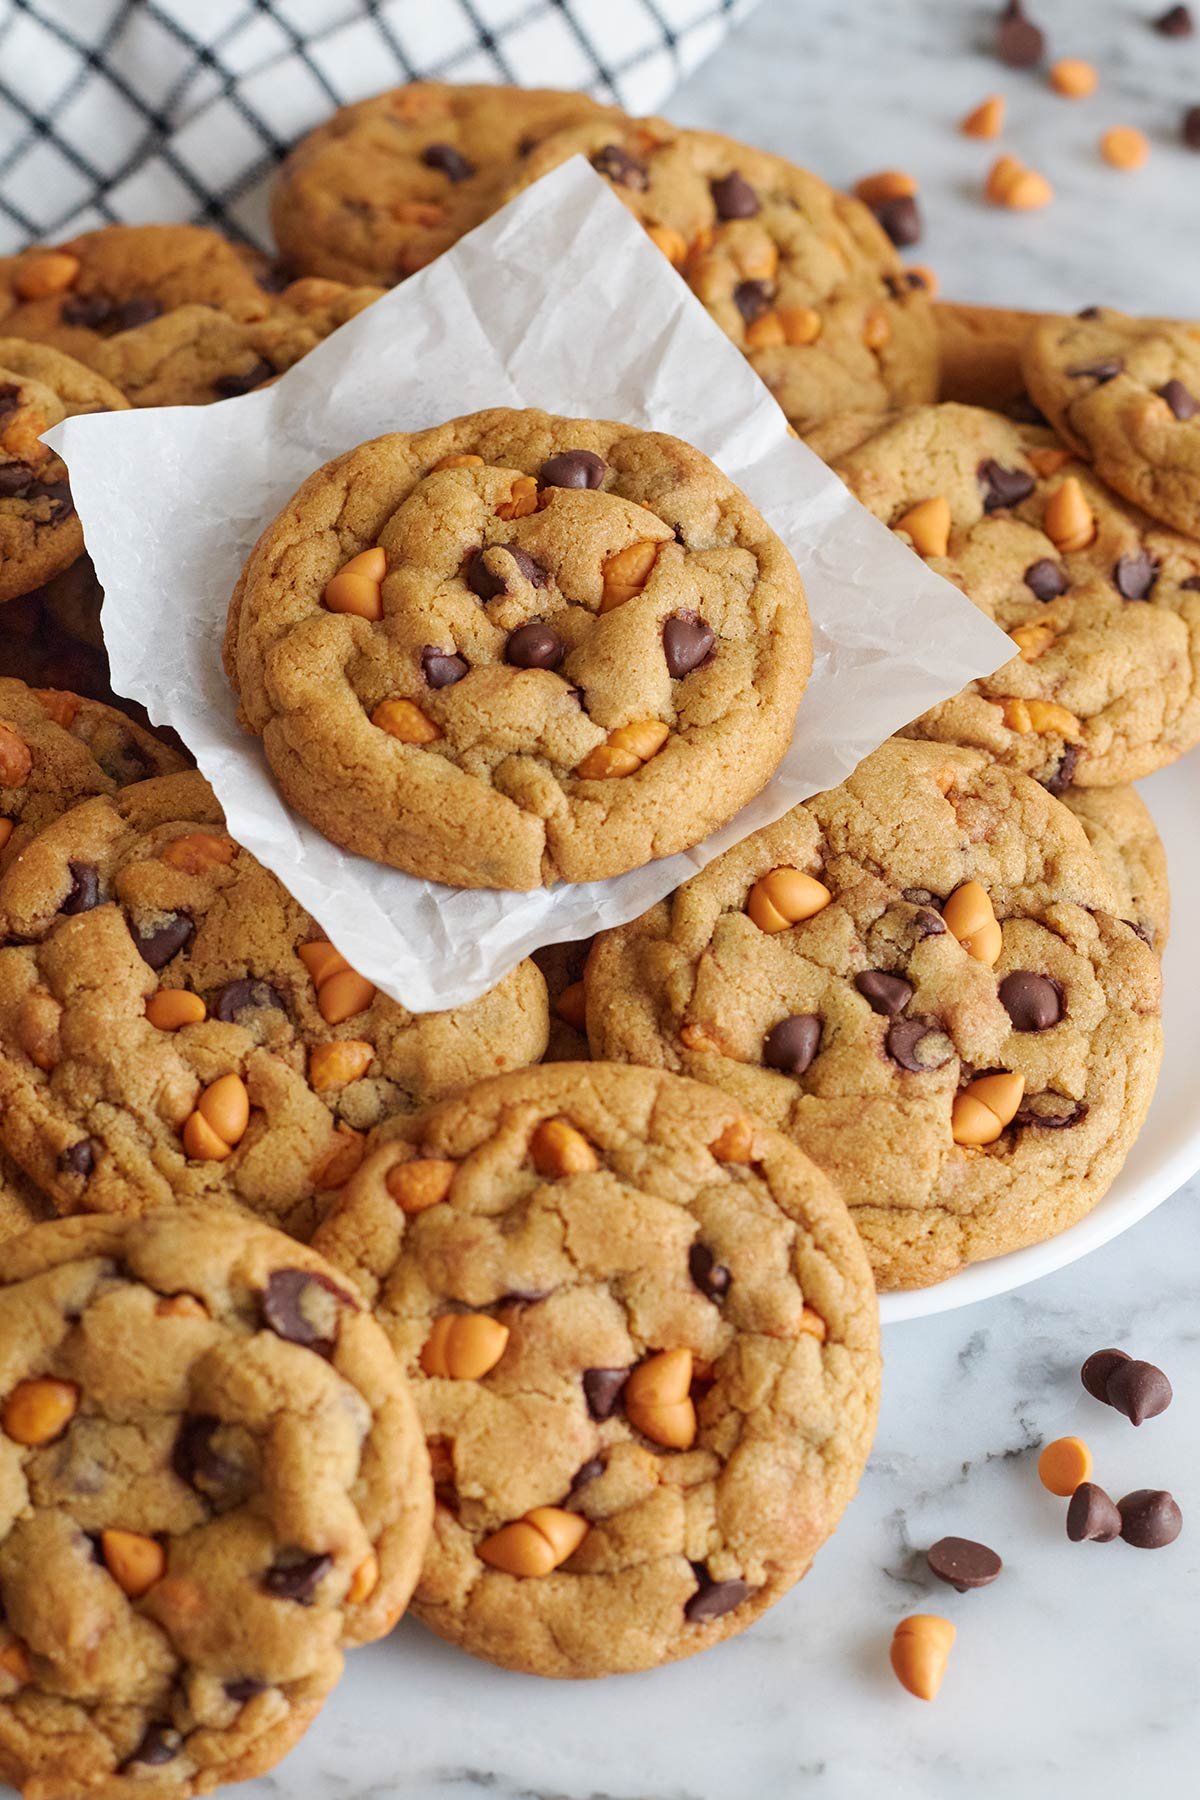
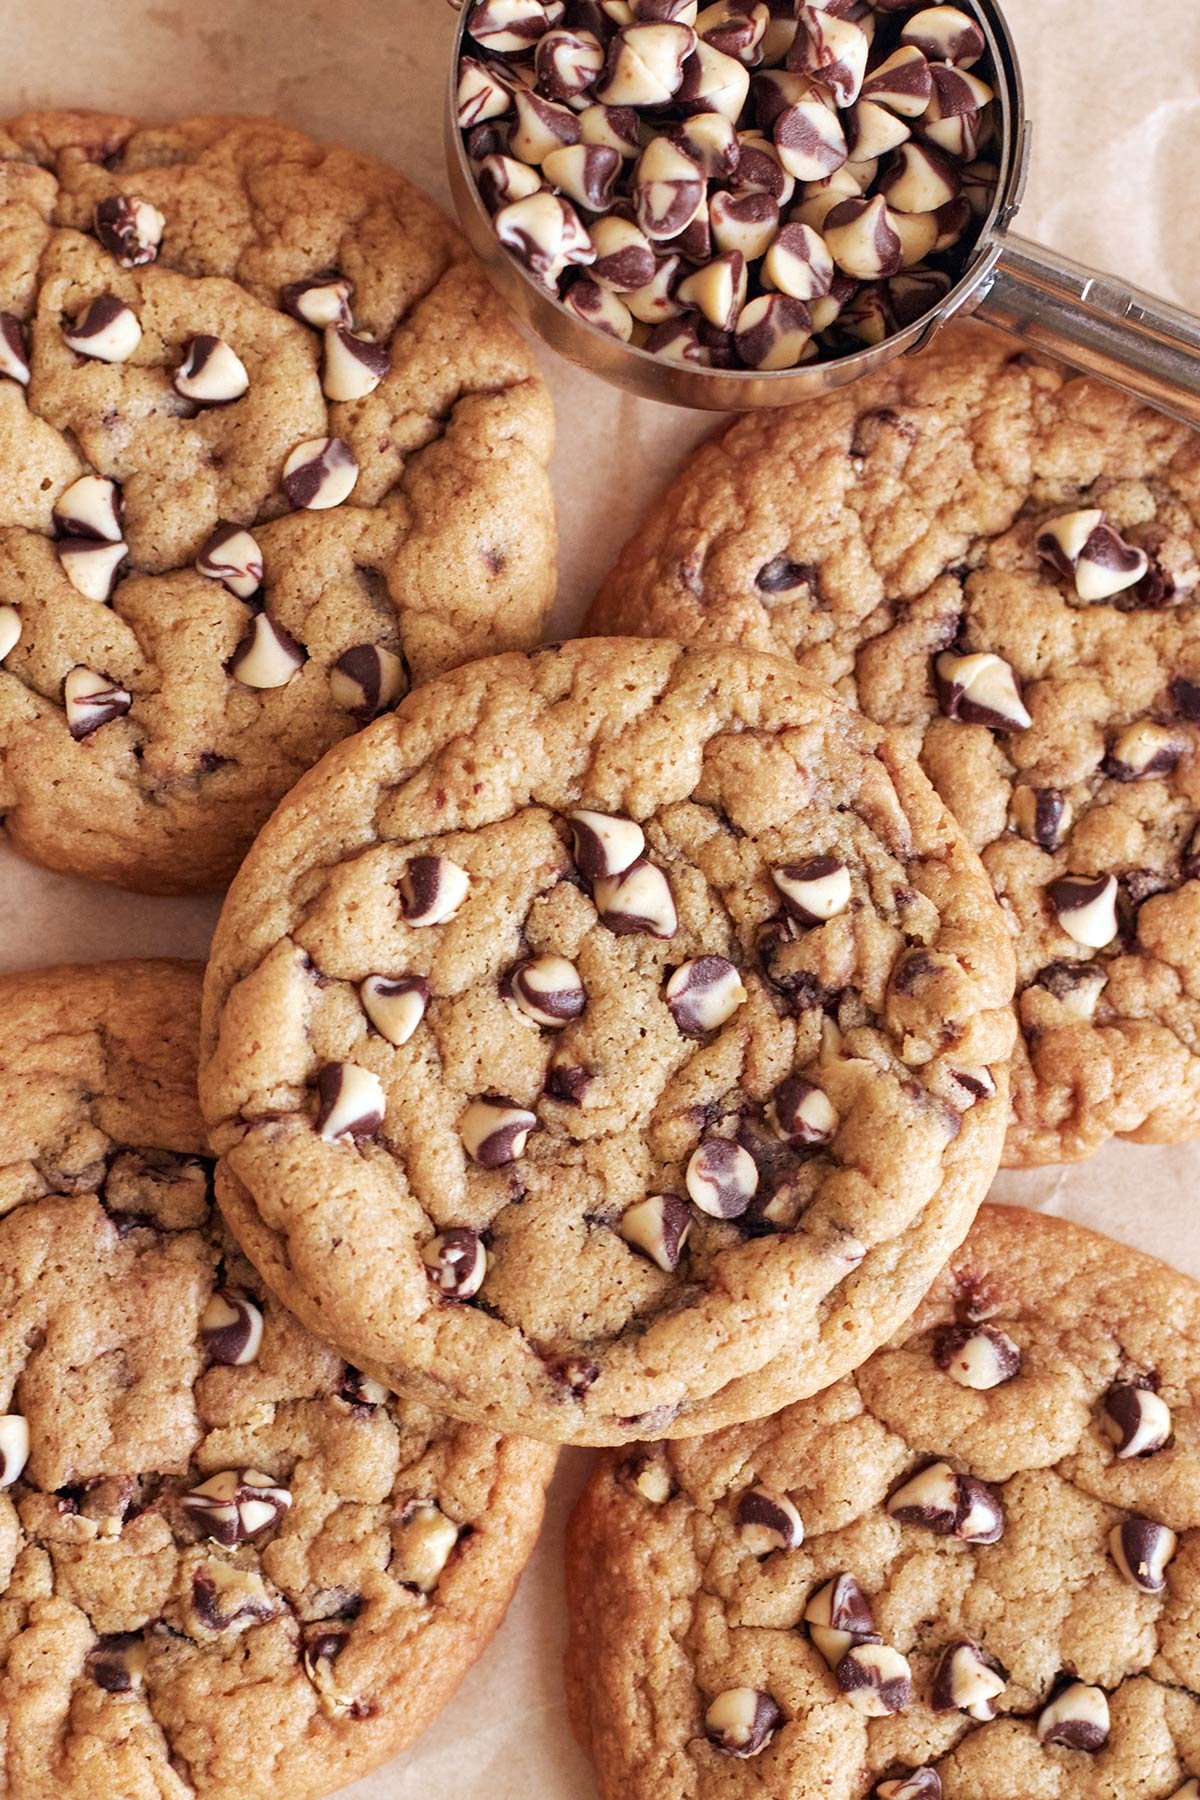
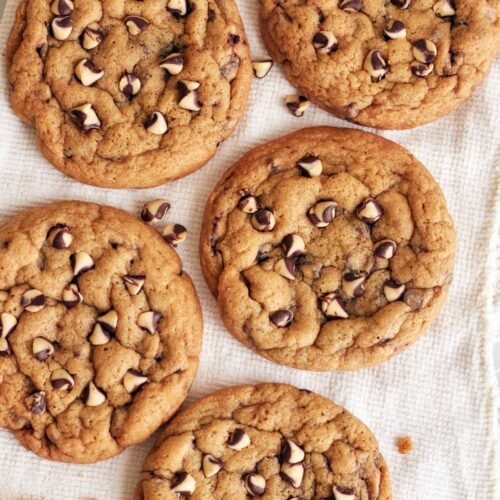
These classic twin chocolate chip cookies are exactly what you would expect from a homemade dessert – soft at the center, nicely browned at the edges, and loaded with twin chocolate chips. Sometimes you just crave something sweet—but don’t have the time, energy, or patience to deal with a complicated recipe. We’ve all been there, right? I got you this time, this is the easiest recipe ever, even on your laziest days that you can whip up effortlessly. You don’t need any fancy or hard-to-find ingredients, and the best part? It comes together in no time. No waiting around, no chilling time—just simple steps and a delicious batch fresh from the oven. And if you’re a true chocolate chips lover, then you definitely don’t want to miss out my the best chocolate chip cookies & Easy brown butter chocolate chip cookies
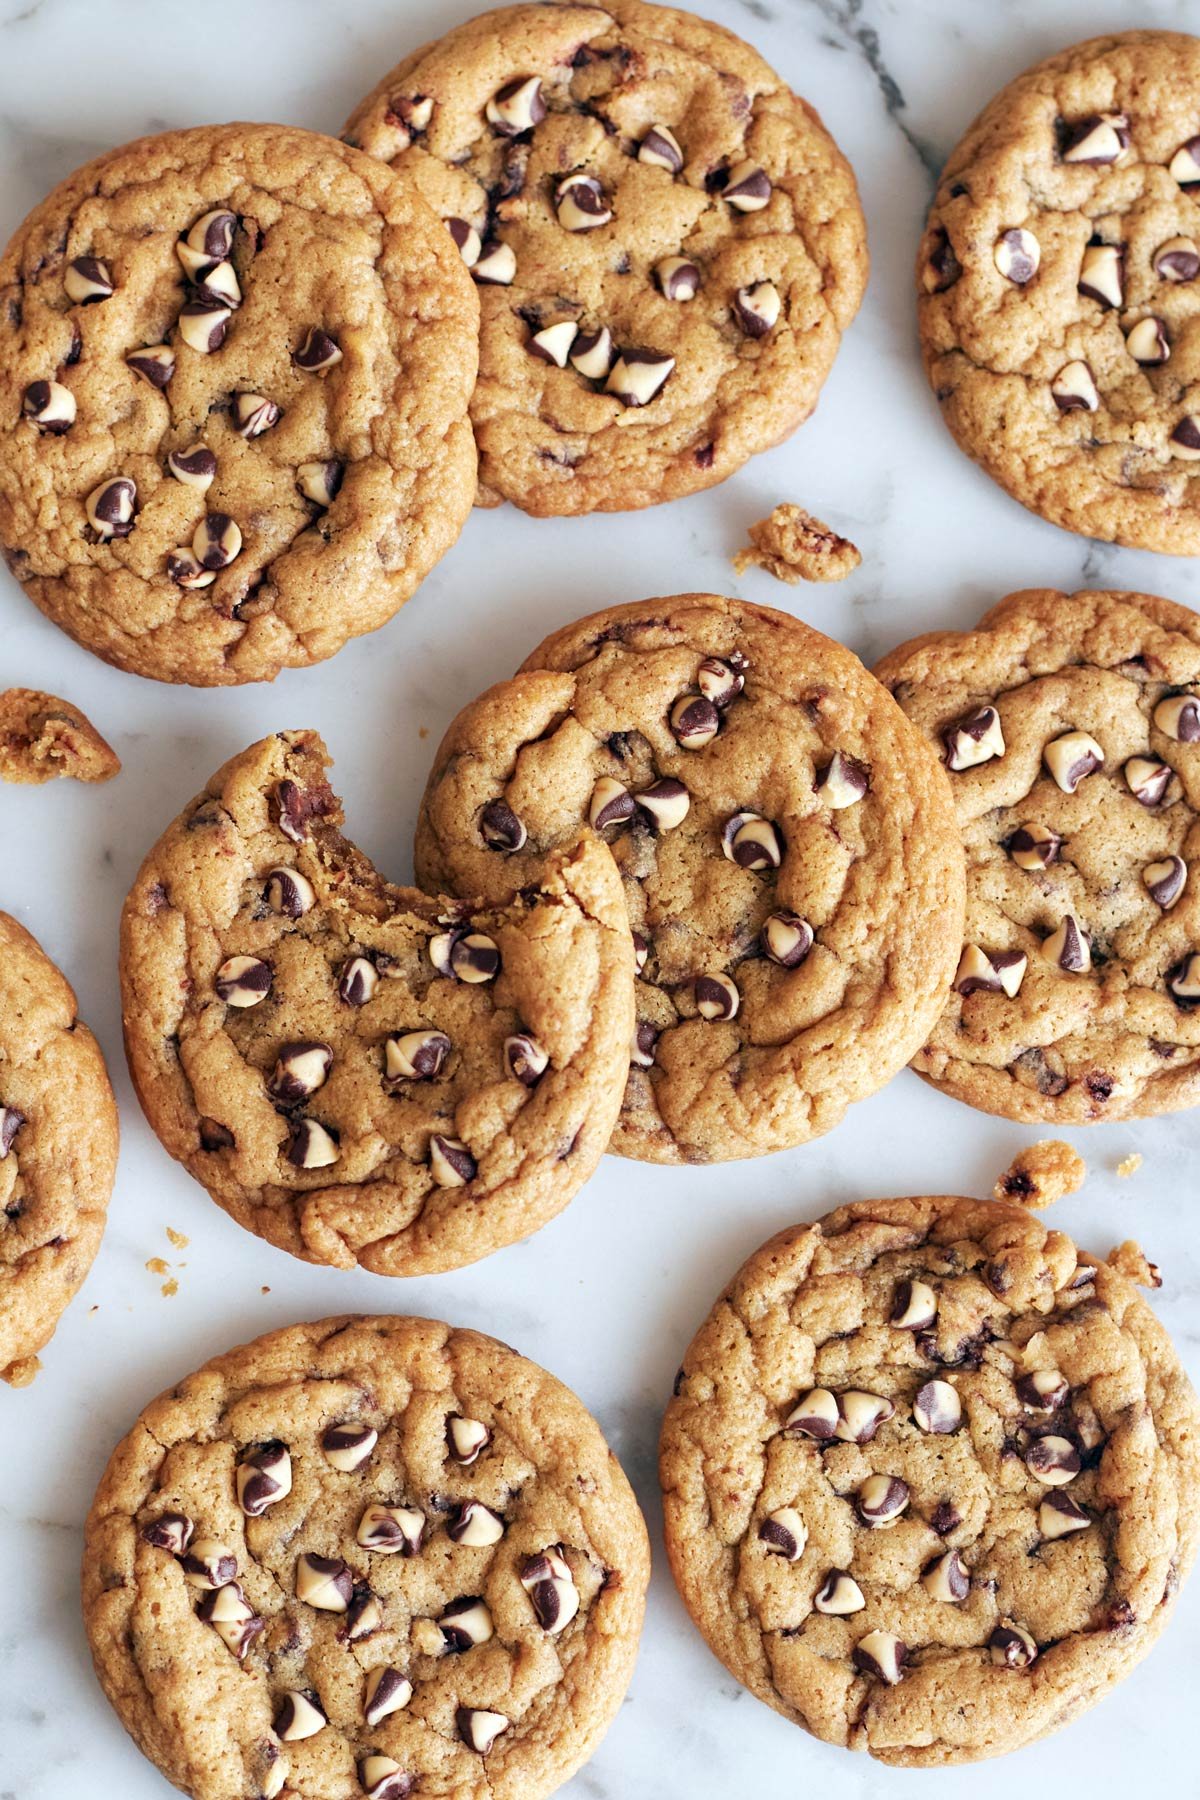
These Twin Chocolate Chip Cookies are amazing, but my Bakery Style Chocolate Chip Cookies are perfect for a classic bakery experience.
Why This Twin Chocolate Chips Cookie Recipe Will Be Your Favorite:
Easy to make: This recipe keeps things simple without compromising on results. There’s no need for any fancy ingredients—everything used here is basic and easy to find. It’s also perfect for when you don’t have much time, since the dough doesn’t need any chilling. You can mix and bake right away, which makes the whole process quicker and more practical.
The method focuses on minimal effort with reliable results. The dough comes together smoothly, holds its shape well, and bakes evenly without requiring extra steps or adjustments. It’s a great option when you want consistent, bakery-style cookies without adding extra time or complexity to the process.
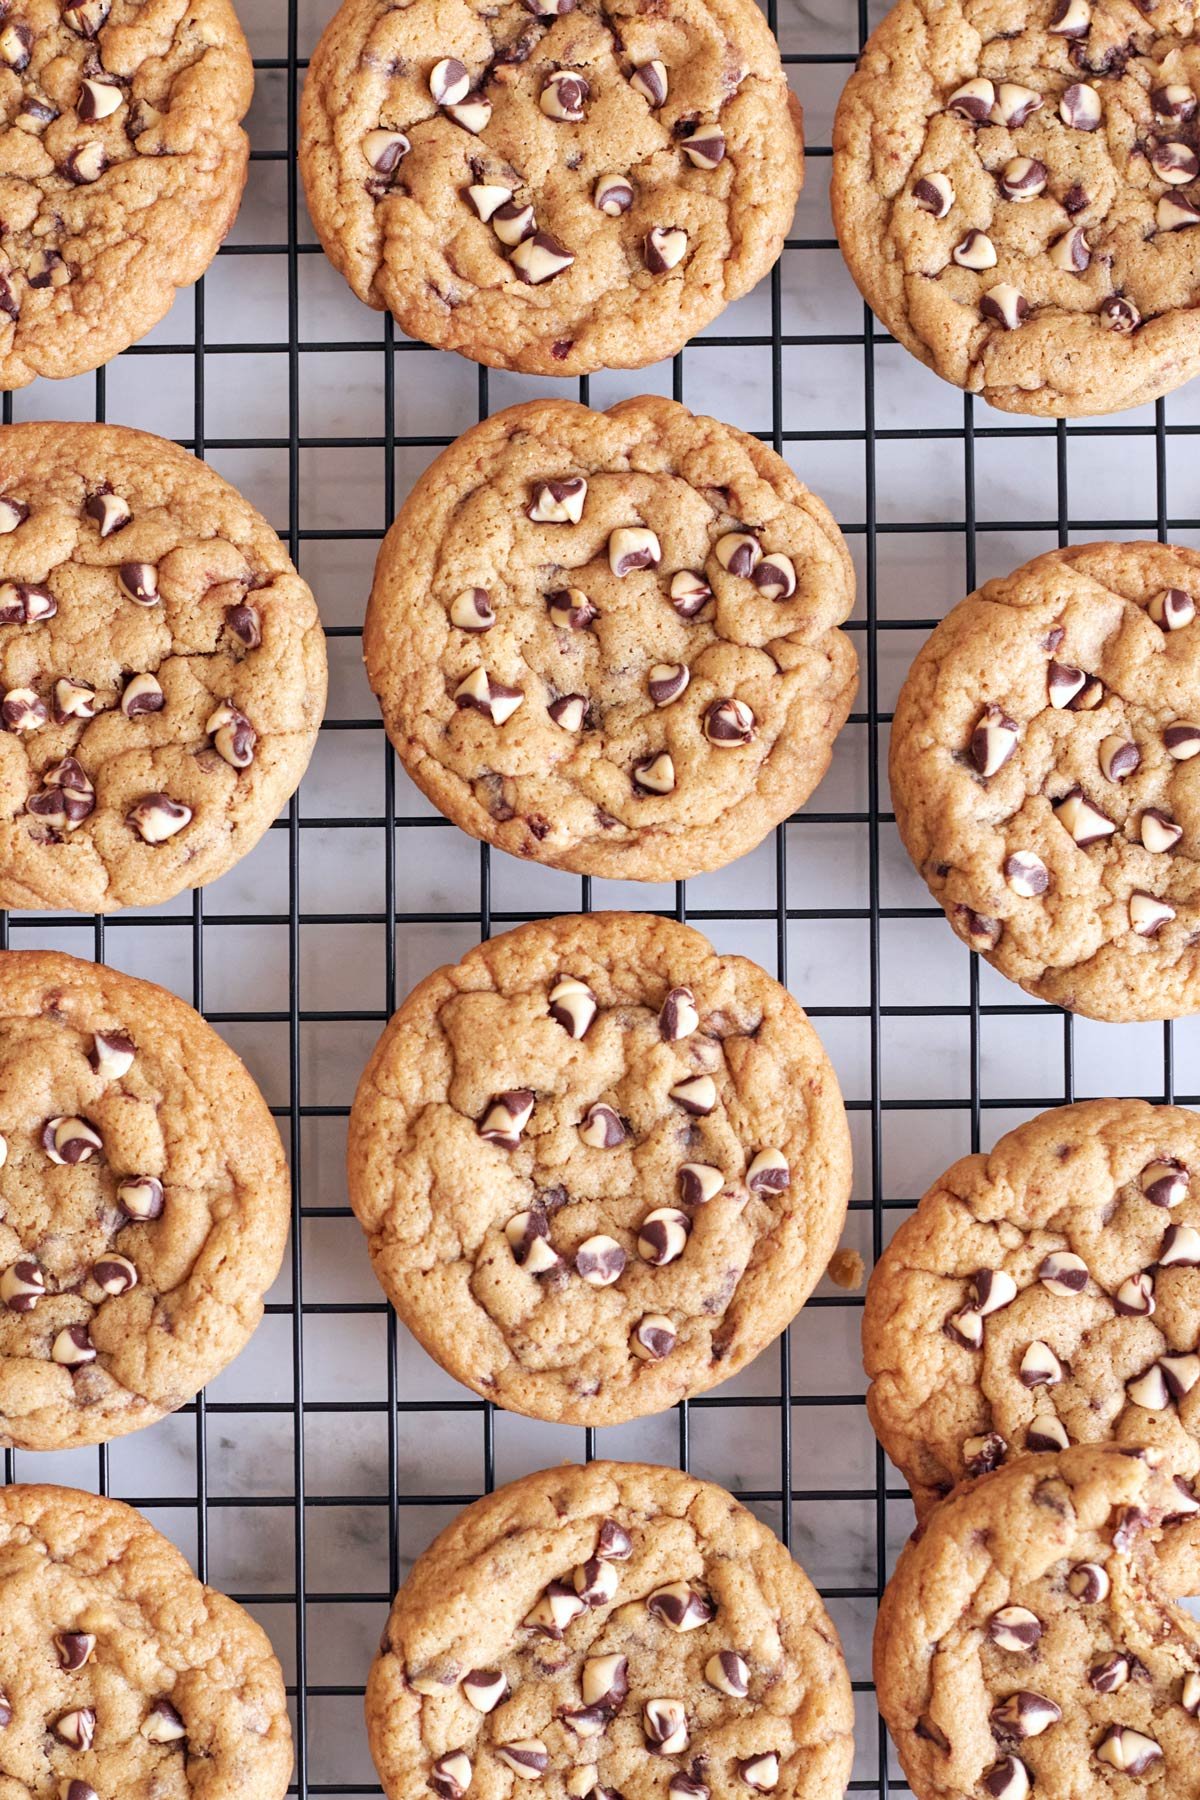
Perfect Texture: Each cookie bakes up with a soft, chewy center and lightly crisp edges for a well-balanced bite. They spread just enough to create a thick, bakery-style shape, while staying tender inside. Slightly golden edges add a gentle crunch, and the centers remain moist with melty chocolate in every bite, giving you that classic contrast of textures without overbaking.
Rich flavor: The moment you take a bite of the cookie, you’ll instantly notice a rich, buttery flavor. That subtle buttery flavor blends beautifully with the sugars and chocolate, creating a warm, rich taste.
I chose to use a higher ratio of brown sugar than white sugar in this recipe, and there’s a good reason for that brown sugar brings a deep, caramelized flavor that really enhances the cookies and makes every bite more amazing. It also contributes to a softer texture and a richer sweetness that white sugar just can’t quite match, which is why I not only use more of it, but also highly recommend it if you want that soft, flavorful finish.
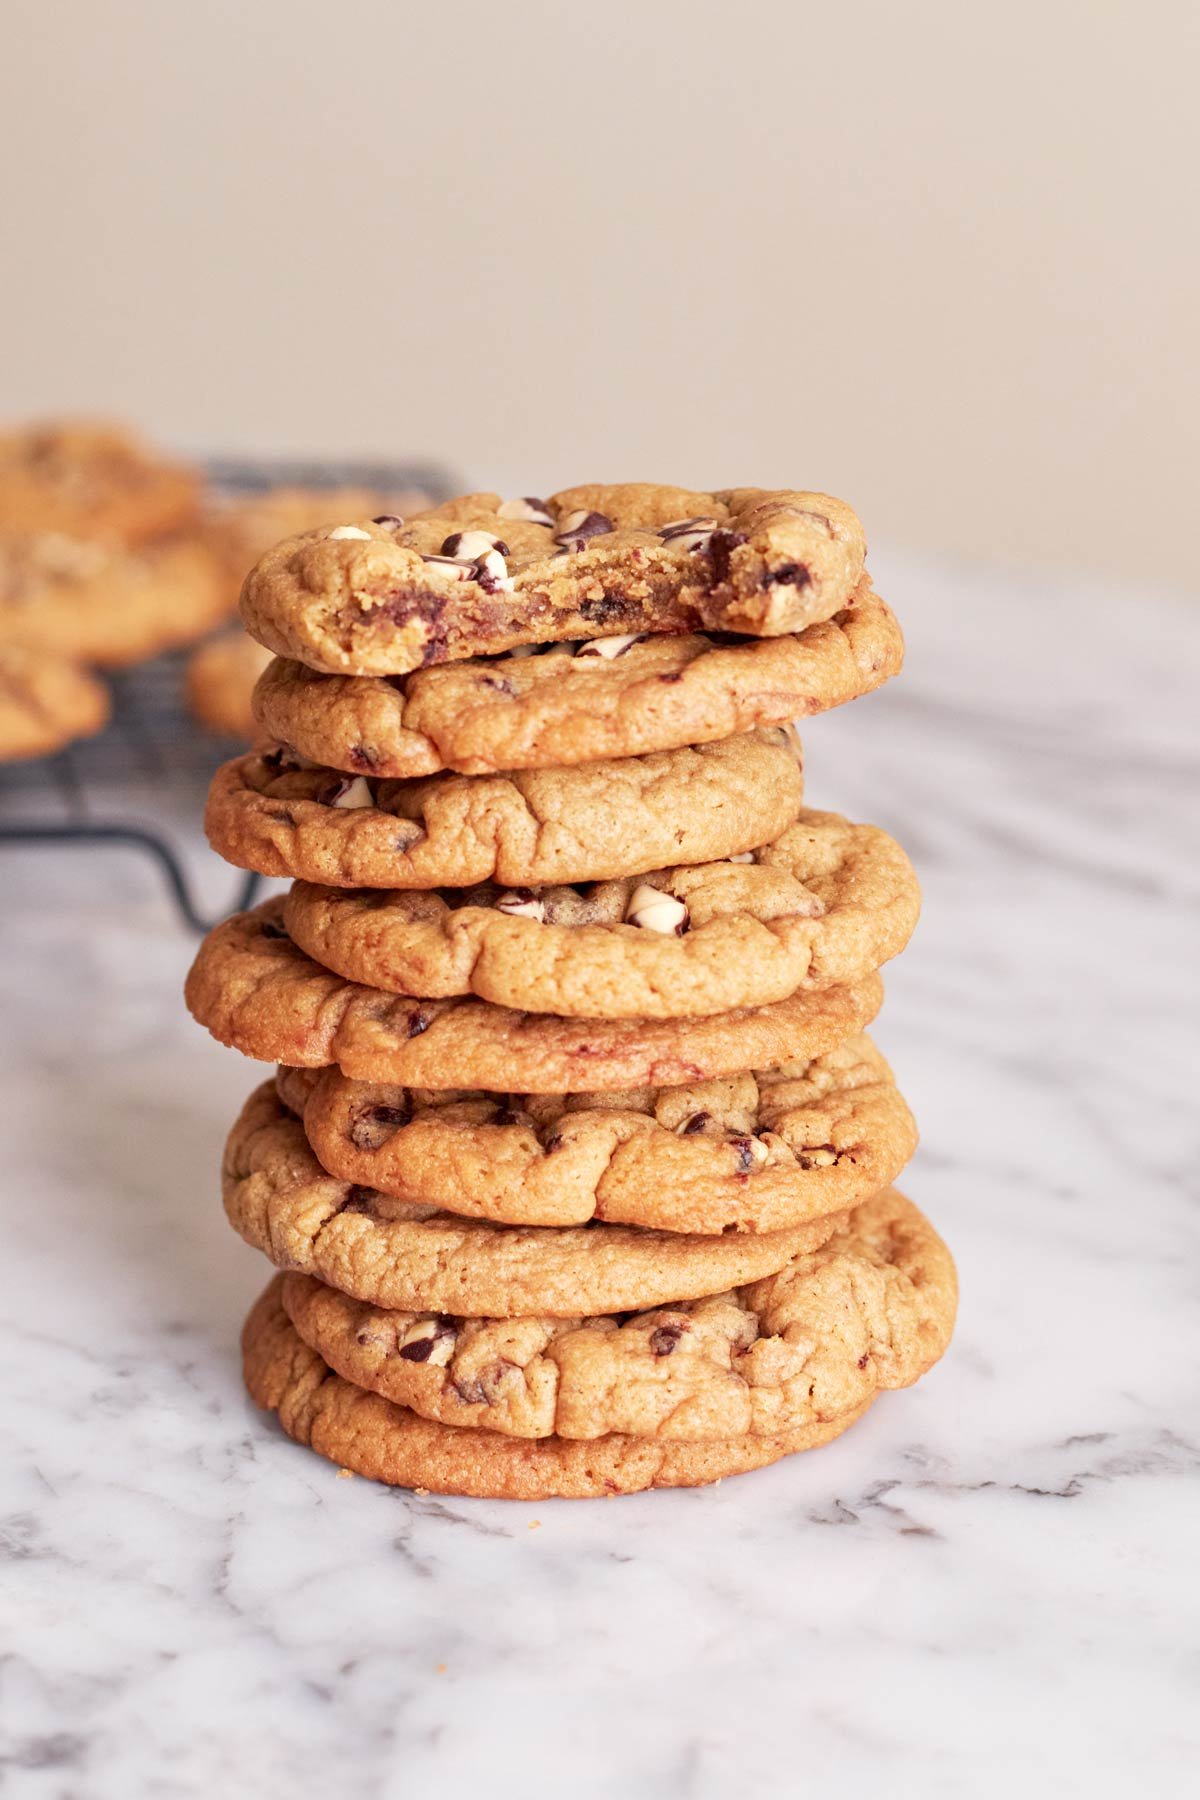
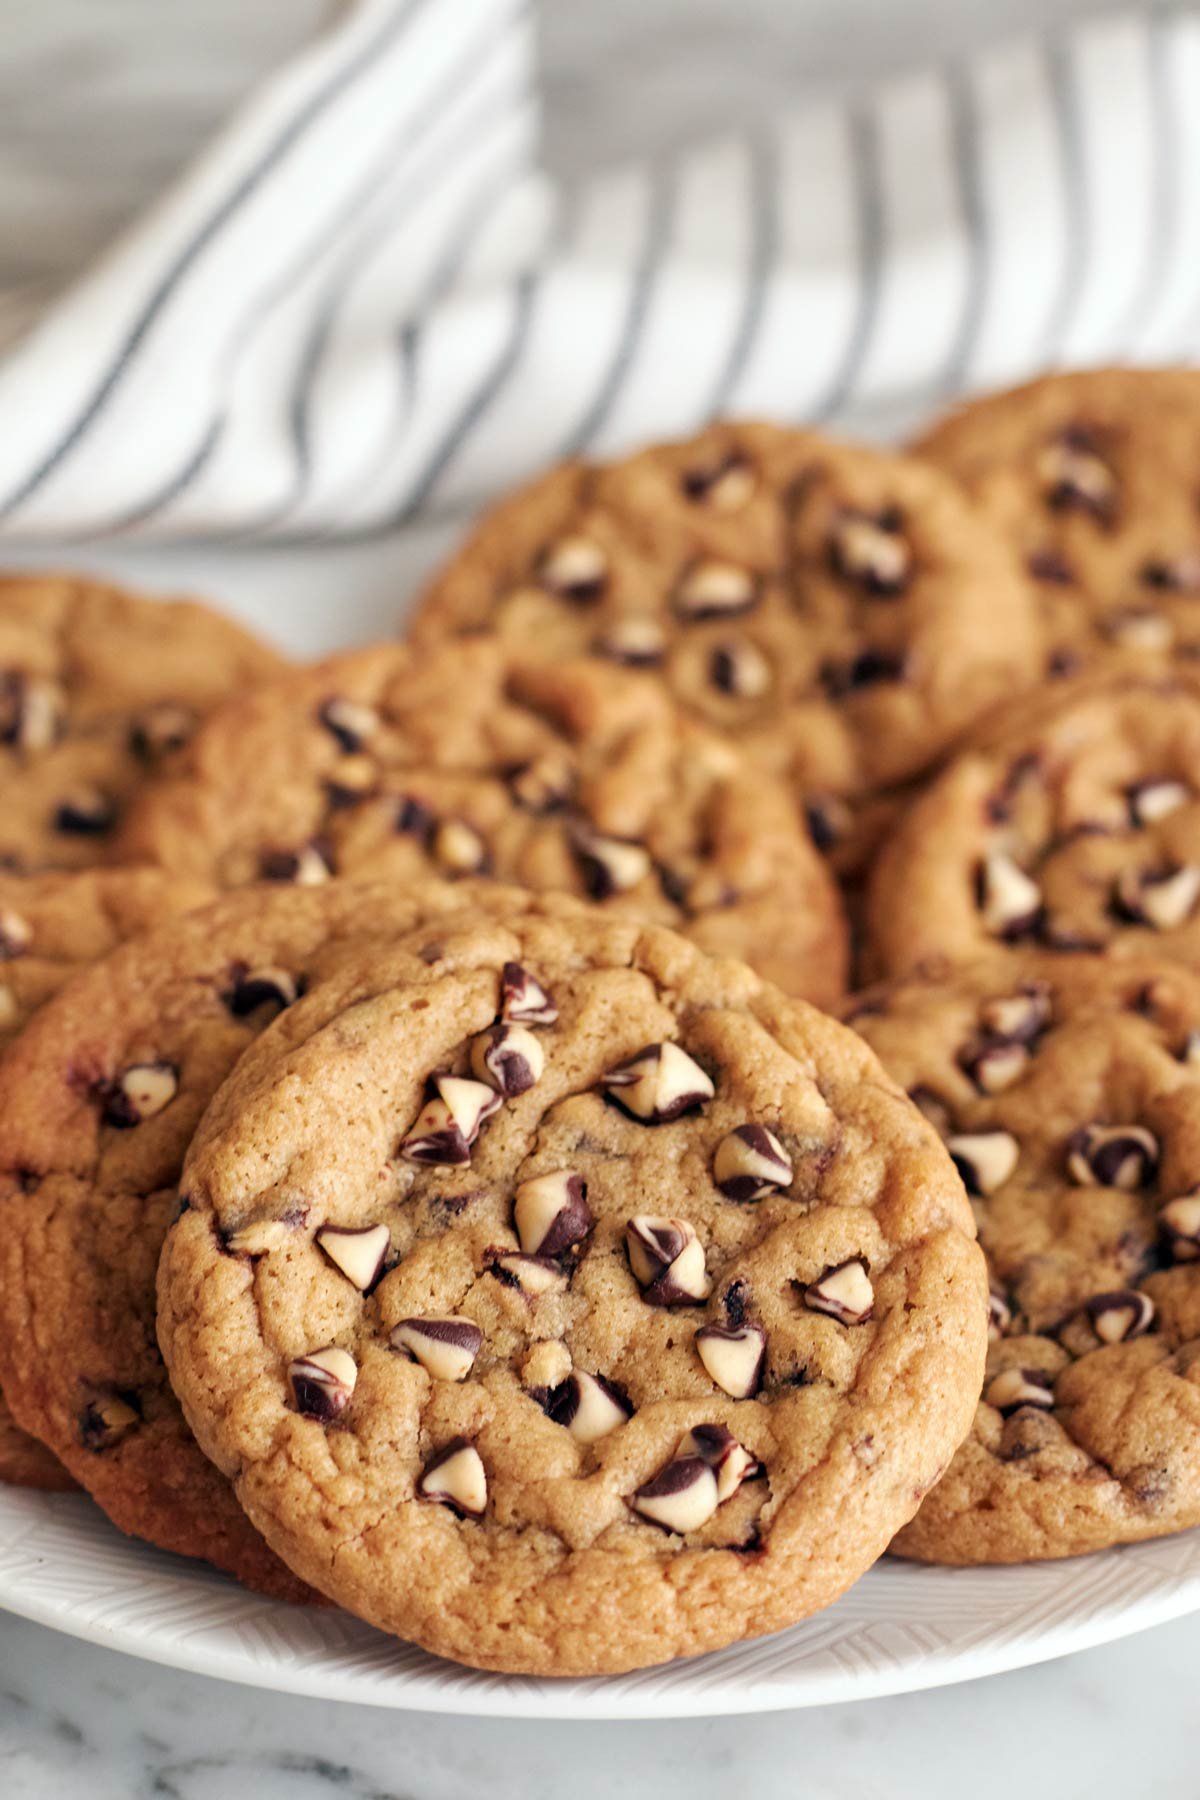
Two Chocolates, One Perfect Bite: Another thing that makes these cookies truly special is the generous amount of chocolate chips. Franky, I didn’t hold back here. I used lot’s of mix of both white and dark chocolate chips, and guess what? That combination makes all the difference. The contrast between the creamy sweetness of white chocolate and the bold, slightly bitter notes of dark chocolate creates a beautiful balance.
That’s exactly why I like to call these “twin chocolate chip cookies”. They’re mouthwatering, rich, and packed with layers of chocolatey goodness that instantly win you over and over. If you’re someone who loves chocolate, these cookies are going to feel like they were made just for you.
Consistent results: If you follow this recipe, I am pretty sure you won’t experience a single failure of your baking. Because after a lot of tweaking and testing, I’m finally sharing my signature recipe with you and believe me, it turns out perfectly every single time.
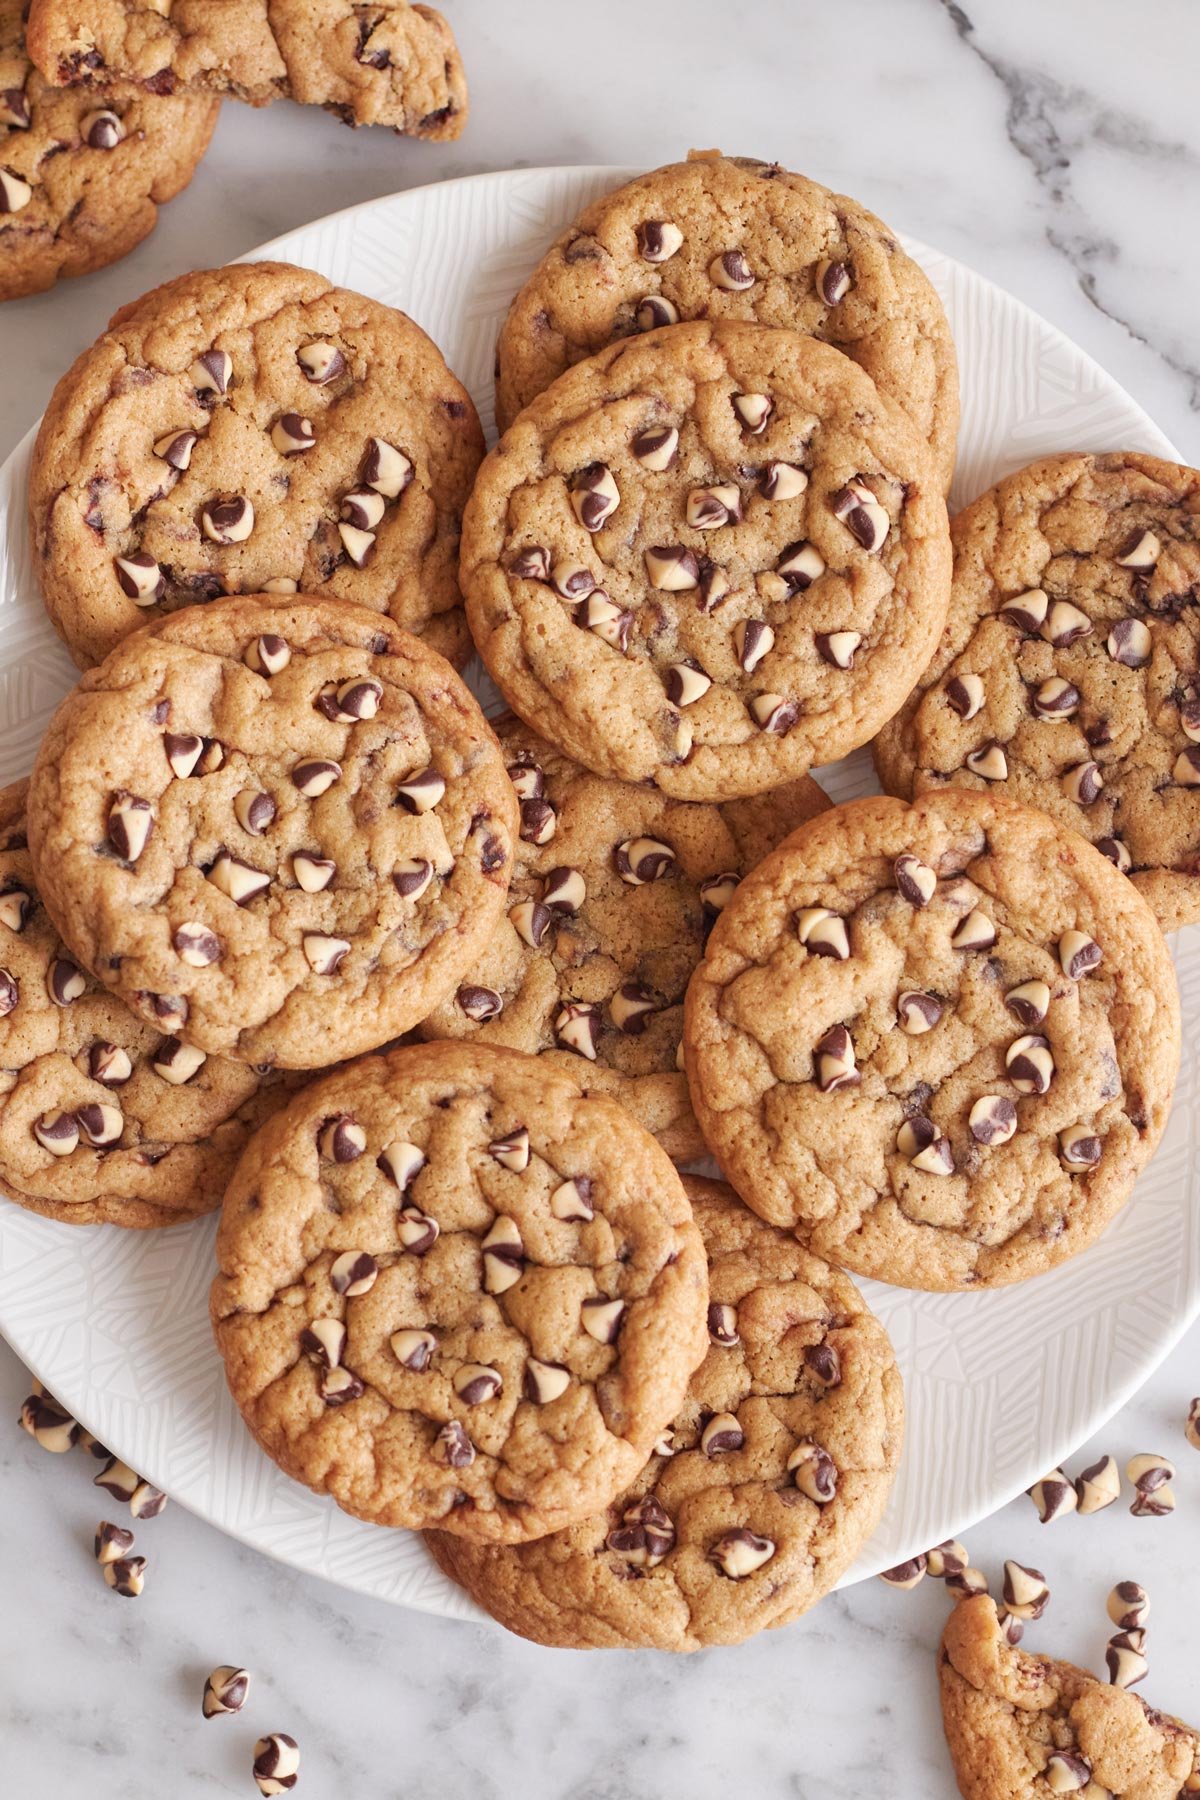
Ingredients You’ll Need for Twin Chocolate Chip Cookies:
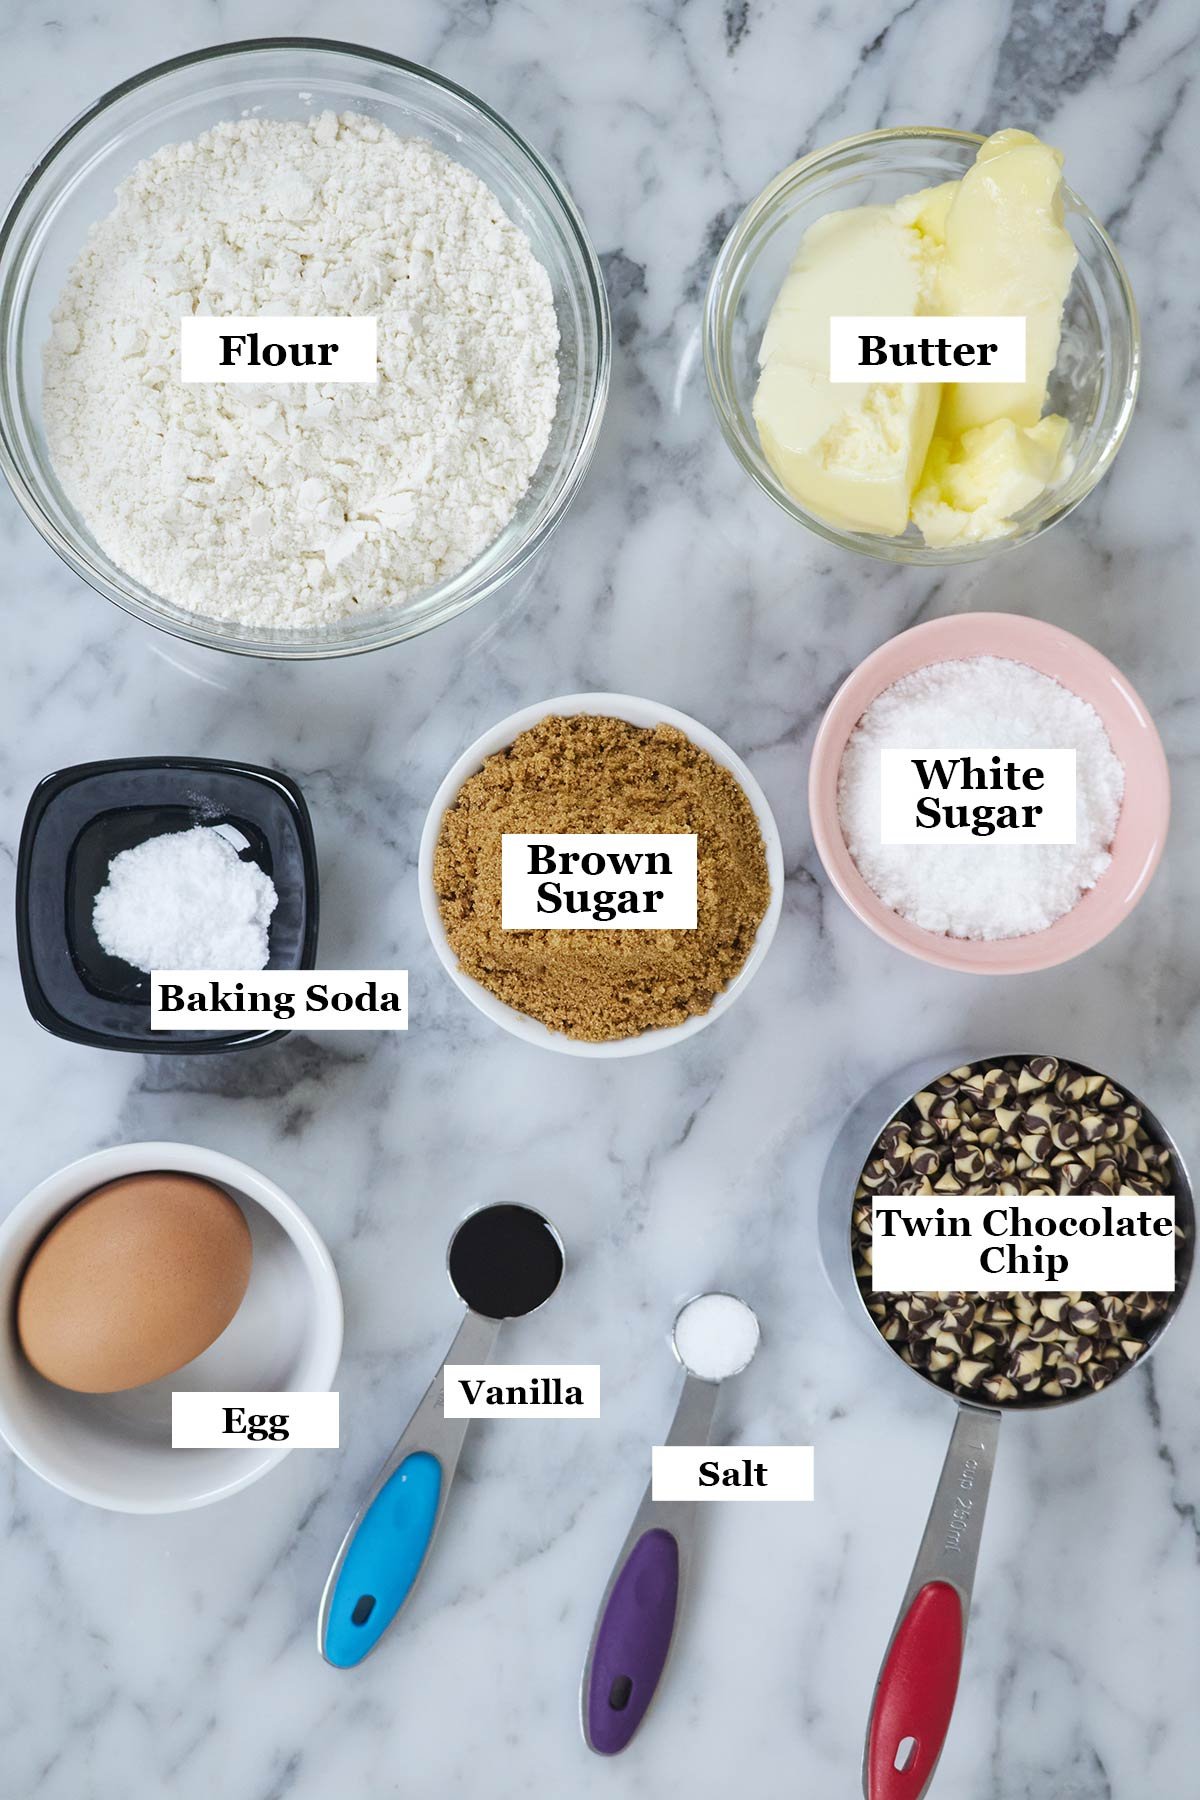
Here’s a snapshot of the ingredients, detailed quantities are included in the recipe card below.
All-purpose flour: It’s the base of the cookies. It gives them their shape and texture as you desire. Getting flour measurement right is one of the most important steps in baking cookies because even a small mistake can change the entire texture. Too much flour can make cookies dry and dense, while too little can make them spread too much and lose structure.
Always weigh your flour using a digital kitchen scale for the most accurate and consistent results. This is the best way to ensure your cookie texture turns out exactly as intended every time. If you don’t have a scale and need to use measuring cups, the spoon-and-level method is the next best option. Start by gently fluffing the flour in its container so it becomes light and not compacted. Then, spoon the flour lightly into the measuring cup without packing or pressing it down. Finally, level off the top with a straight edge, like the back of a knife. This simple method helps keep the flour airy and prevents accidentally adding too much, which can affect the texture of your cookies.
Baking soda: Baking soda makes the cookies rise and spread perfectly while they bake. Basically it works as a leavening agent.
Butter (softened): Please make sure to use good-quality butter and bring it to room temperature before you begin. Softened butter creams much more easily, creating a smooth, even mixture that helps give your cookies a better texture.
Cold butter is difficult to cream properly and won’t blend well with the sugar, which can affect the final structure of your dough. You can use either salted or unsalted butter. If you choose salted butter, simply skip the extra added salt in the recipe to keep the balance of flavor just right.
Brown Sugar & White Sugar: I like to use more brown sugar than white sugar because it gives the cookies a softer texture, a richer taste, and a deeper, more indulgent flavor. Brown sugar contains molasses, which adds moisture and a slight caramel-like taste. This makes cookies soft, chewy, and deeper in flavor. It also helps them stay moist for longer.
White sugar, on the other hand, is drier. It helps cookies spread more in the oven and gives a slightly crisp edge and lighter texture.
Egg
Vanilla extract
Salt
Twin Chocolate chips: This is the highlight of these twin chocolate chip cookies, bringing all the richness and character to every bite. You can easily customize it by using any type of chocolate you prefer—dark, white, milk compound, or even chocolate chunks mix and match to suit your taste and create your perfect combination.
Optional Add-ins:
Nuts: You can also experiment with a variety of nuts. They are another wonderful addition, adding a subtle crunch and a nutty richness. Popular options include walnuts, pecans, almonds, or hazelnuts. Each one brings its own unique flavor, making your cookies feel more special and bakery-style.
Sea salt : A pinch of sea salt on top for a little extra flavor and a sweet-salty finish.
Step-by-Step Instructions:
1. In a separate bowl, whisk together the flour, baking soda, and salt.
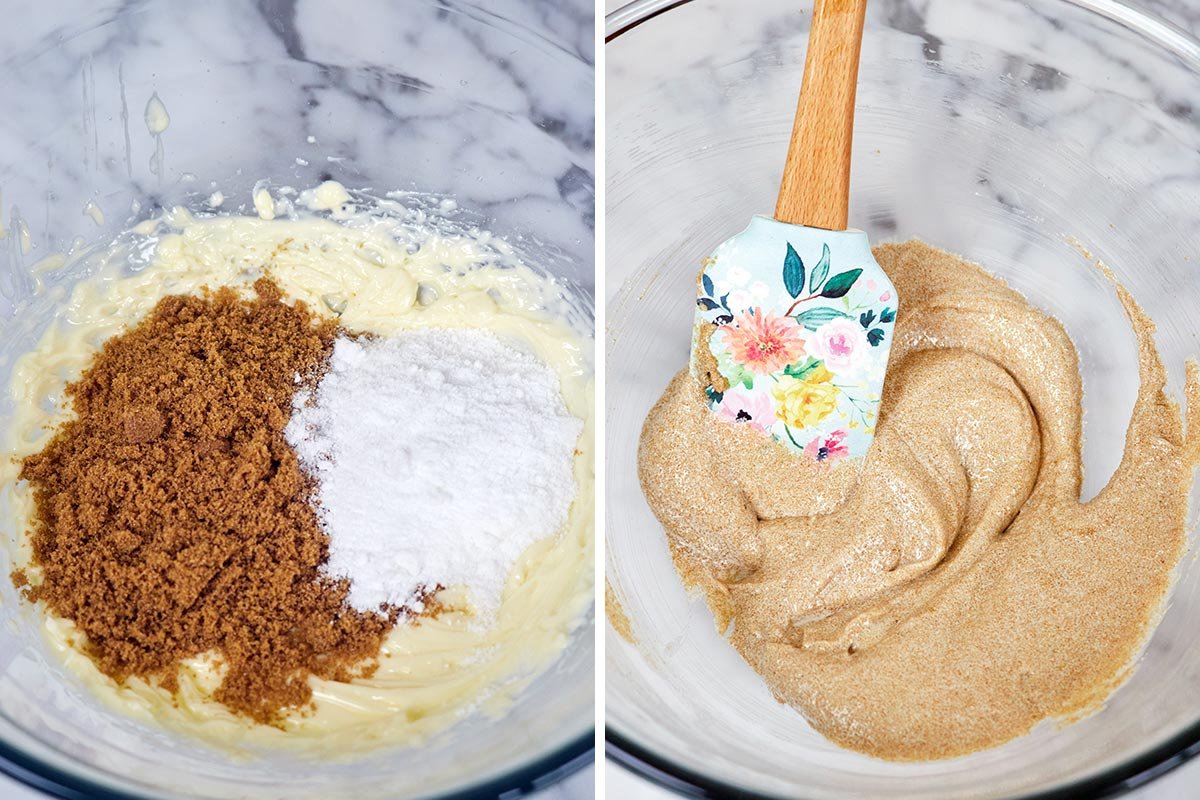
2. In another bowl, beat the softened butter until smooth, then add both sugars and mix until light and fluffy.
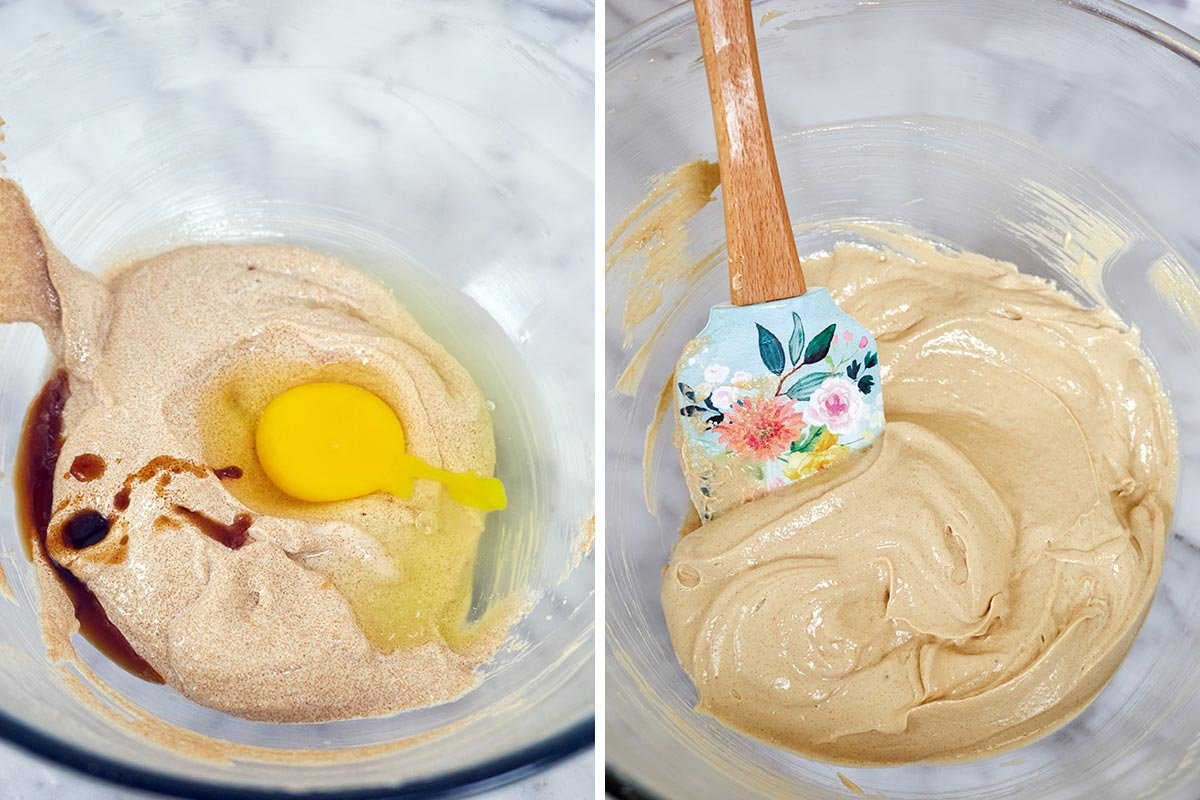
3. Add the egg and vanilla, mixing until the batter looks smooth and slightly glossy.
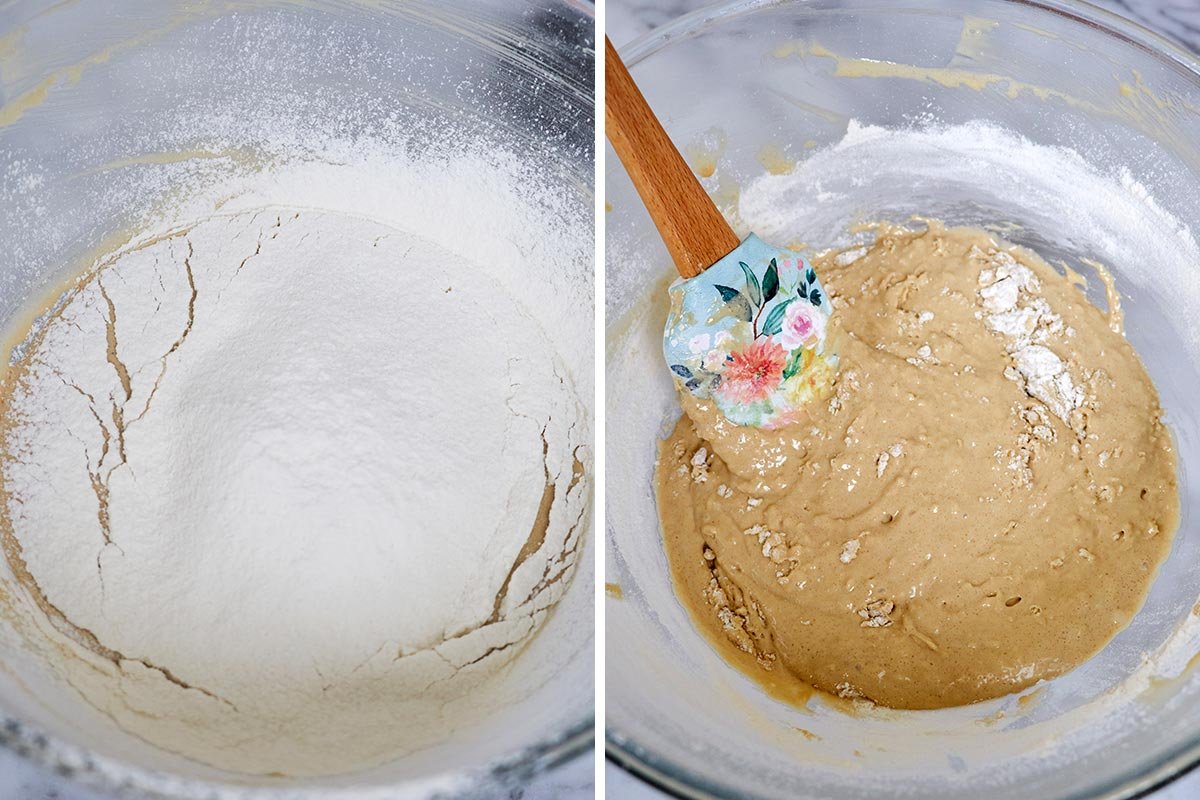
4. Gradually add the dry ingredients and mix gently until a soft dough forms—do not overmix.
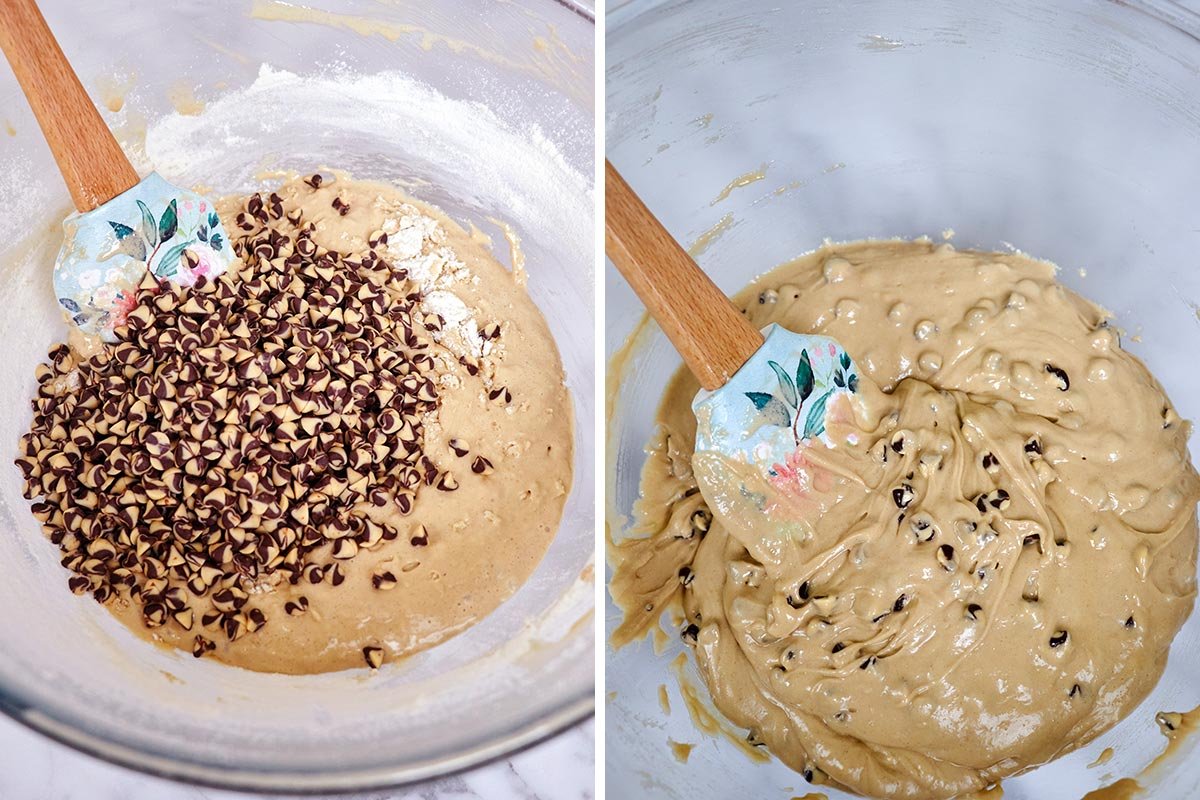
5. Fold in the chocolate chips until evenly distributed.
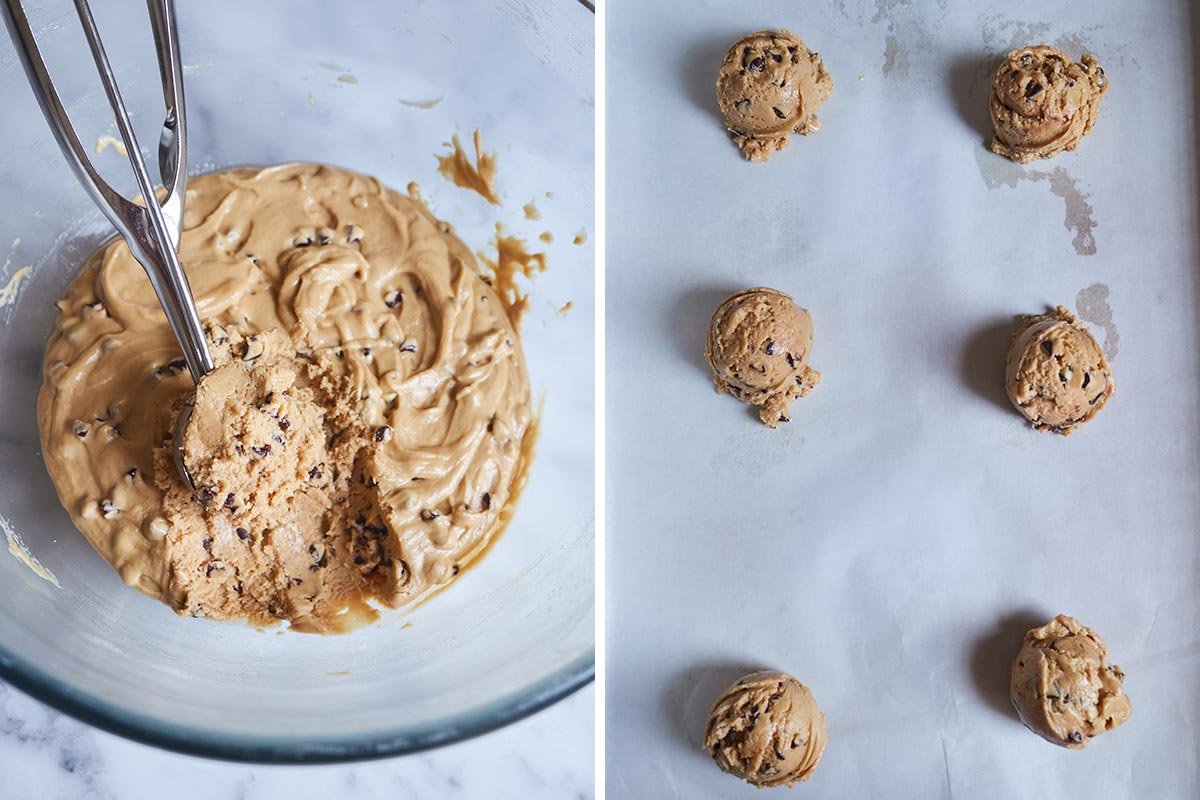
6. Scoop about 35g (1½–2 tablespoons) of dough per cookie, roll into balls, and place on the tray with space between each.
7. Bake for 10–12 minutes until the edges are lightly golden and the centers remain soft. For a bakery-style finish, press a few extra chocolate chips on top right after baking.
8. Let the cookies rest on the tray for a few minutes, then transfer to a wire rack to cool completely.
Must-Know Tips for Perfect Twin Chocolate Chip Cookies Every Time
Measure Flour Correctly: Be careful with your flour measurement cause too much flour will cause your cookies to turn out heavy and dry instead of soft and chewy. The best way to get rid of this problem is to use a scale if you don’t have one then always spoon the flour into your measuring cup and level it off rather than scooping directly. This simple step can help you out every time you bake.
Don’t Overmix the Dough: One small step that makes a big difference in your cookies is how much you mix the dough. It might feel natural to keep mixing until everything looks perfectly smooth, but in cookie baking, less really is more.
As soon as the flour is added, mixing too much starts to develop gluten in the dough. While gluten is helpful in bread, in cookies it can lead to a tougher, denser texture instead of that soft, tender bite we all love. Overmixed dough often results in cookies that feel slightly heavy and less delicate.
The goal is to mix just until everything comes together. The dough doesn’t need to look perfectly smooth—slightly uneven or a few streaks of flour are completely fine at that stage. Once you add chocolate chips or other mix-ins, a gentle fold is all it takes to bring everything together.
Chill the Dough (Optional): It is my highly recommended to chill the dough even for a short time if you do so it will not only benefit the flavor but also gives the cookie dough time to redistribute the moisture more evenly which improves the overall texture of the cookie. It also keeps cookies from spreading too much so that they turn out to be thicker and chewier.
Don’t Overbake: The safest way is to take the cookies out of the oven before they look completely done (which is at least a couple of minutes after you get the result you want from the touch test and the visual appearance of the color). Cookies will keep cooking from the heat retained after they are taken out of the oven.
How To Store Your Cookies:
To keep your homemade chocolate chip cookies fresh, proper storage is important.These simple tips will help keep your cookies tasting good.
Store your chocolate chip cookies in an airtight container at room temperature. This will keep them fresh, soft and chewy for up to 5 days.If you want to keep them longer you can freeze cookies.They will stay good for up to 2 months. Just make sure they are cool before you store them. You can also freeze cookie dough balls, then bake them fresh when you want. This way you can have homemade twin chocolate chip cookies anytime. You get to enjoy your cookies fresh and warm.
Twin Chocolate Chip Cookies
Equipment
- Kitchen measuring scale/cups
- Baking sheets or parchment sheets
- Mixing bowls
- Whisk
- Spatula
- Strainer
- Medium cookie scoop
- Wire cooling rack
Ingredients
- ½ cup and 1 tablespoon (126g) unsalted butter, soften
- ½ cup (110g) Brown sugar Packed
- ⅓ cup (60g) Granulated sugar
- 1 whole egg at room temperature (about 50g)
- 1 teaspoon vanilla extract
- 1 and ½ cups (190g) all purpose flour
- ½ teaspoon baking soda
- ¼ teaspoon salt
- 1 cup (180g) twin chocolate chip
Instructions
- Preheat your oven to 350°F (175°C) and lining a baking tray with parchment paper.
- In a separate bowl, whisk together the flour, baking soda, and salt. This ensures the leavening agent is evenly distributed, giving you perfectly risen cookies.
- In a mixing bowl, add your softened butter. Using a whisk, hand mixer, or stand mixer, beat it gently until smooth and creamy. Now add the brown sugar and granulated sugar. Continue mixing until the mixture turns light, fluffy, and slightly pale—this step is key for that soft, tender texture in your cookies.
- Add the egg along with the vanilla extract, then mix until everything is fully incorporated. At this stage, the batter should appear smooth, silky, and slightly glossy.
- Gradually add the dry ingredients into the wet mixture. Fold gently using a spatula or mix on low speed. Be careful not to overmix—stop as soon as a soft dough forms.
- Add the Chocolate Chips. Fold in your twin chocolate chips. Make sure they’re evenly spread throughout the dough so every bite gets that rich chocolate goodness.
- Scoop out portions of dough (about 35g, 1½–2 tablespoons of dough per cookie each if you want to follow your serving size) and roll them lightly into balls. Place them on your prepared baking tray, leaving space between each one—they will spread as they bake.
- Bake for 10–12 minutes, or until the edges are lightly golden while the centers still look soft. This contrast gives you that perfect chewy texture.
- For a more polished, bakery-style look, you can gently press a few extra chocolate chips on top of the cookies right after baking. This simple step enhances their appearance and makes them look more appealing.
- Let the cookies rest on the tray for a few minutes before transferring them to a wire rack. They’ll continue to firm up slightly as they cool.