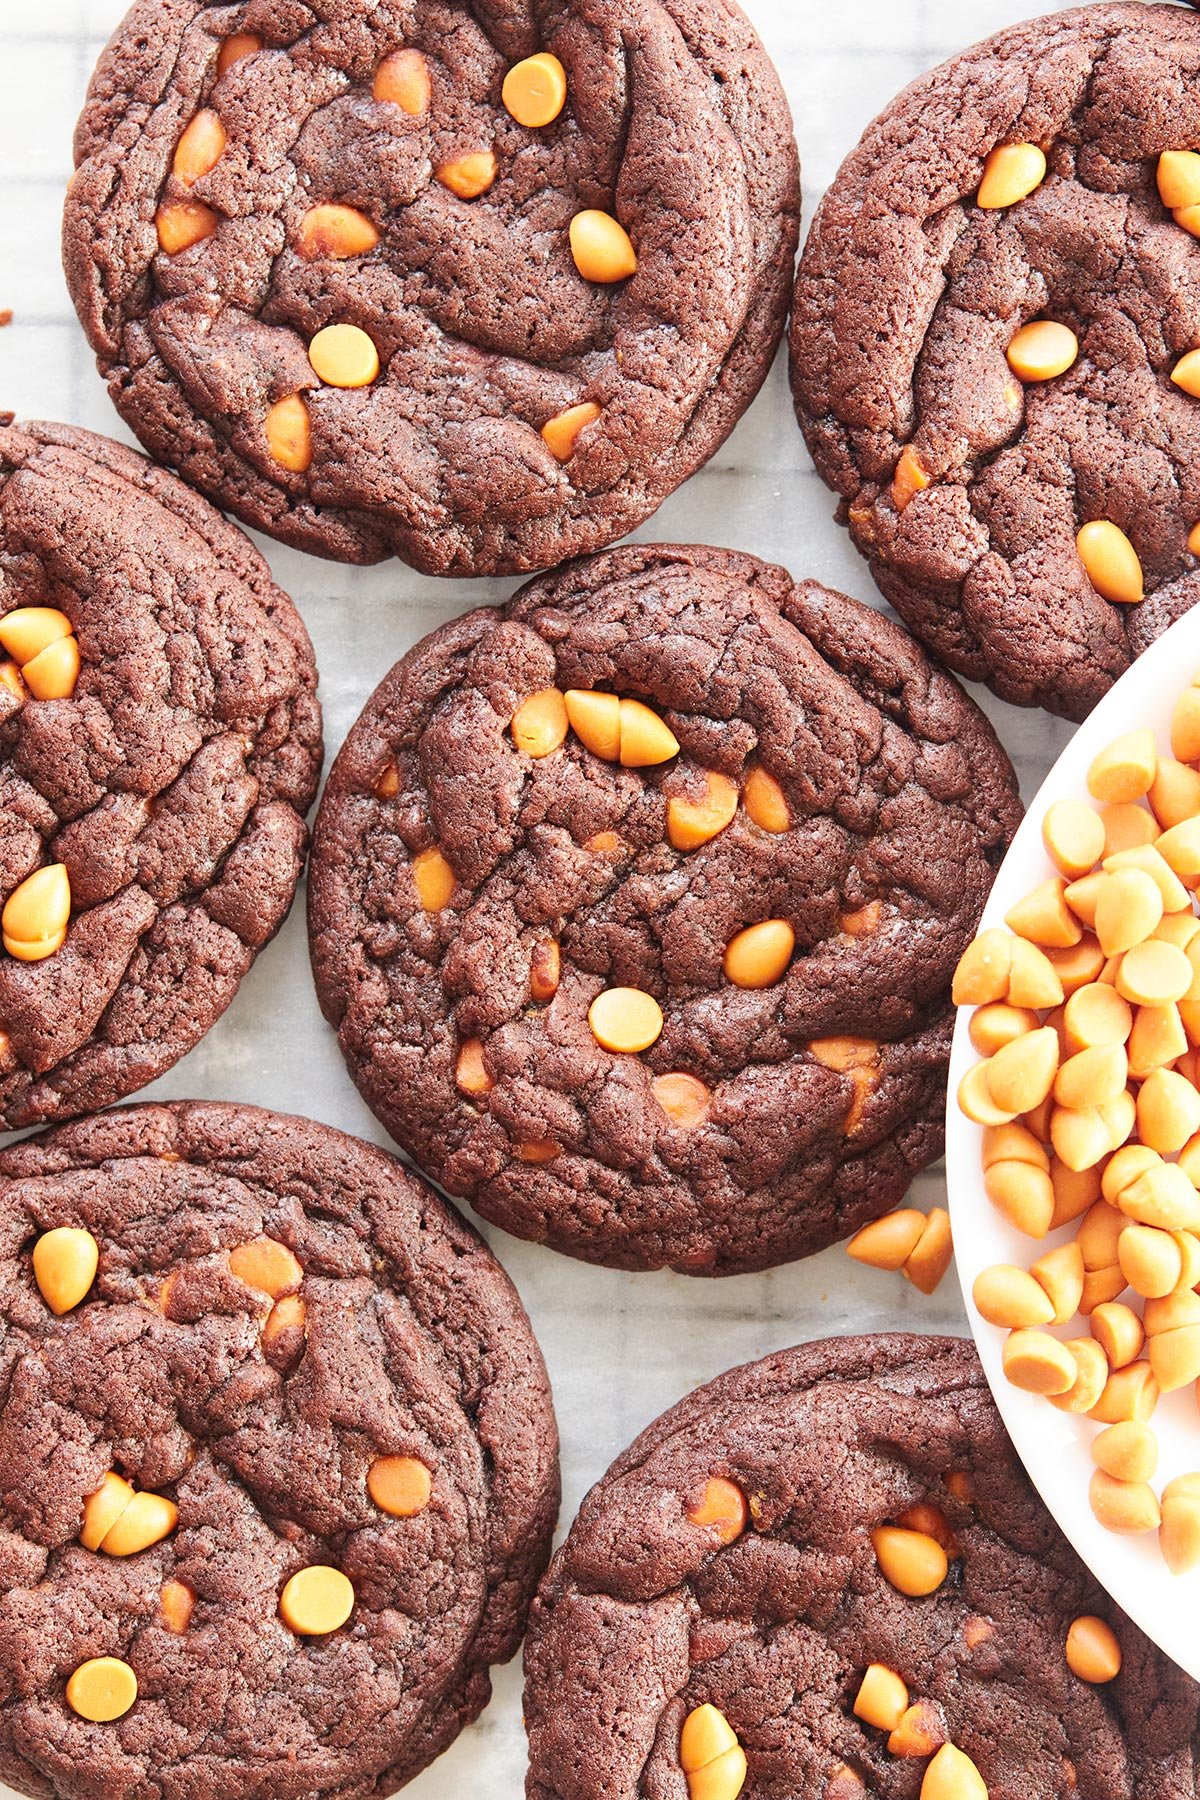
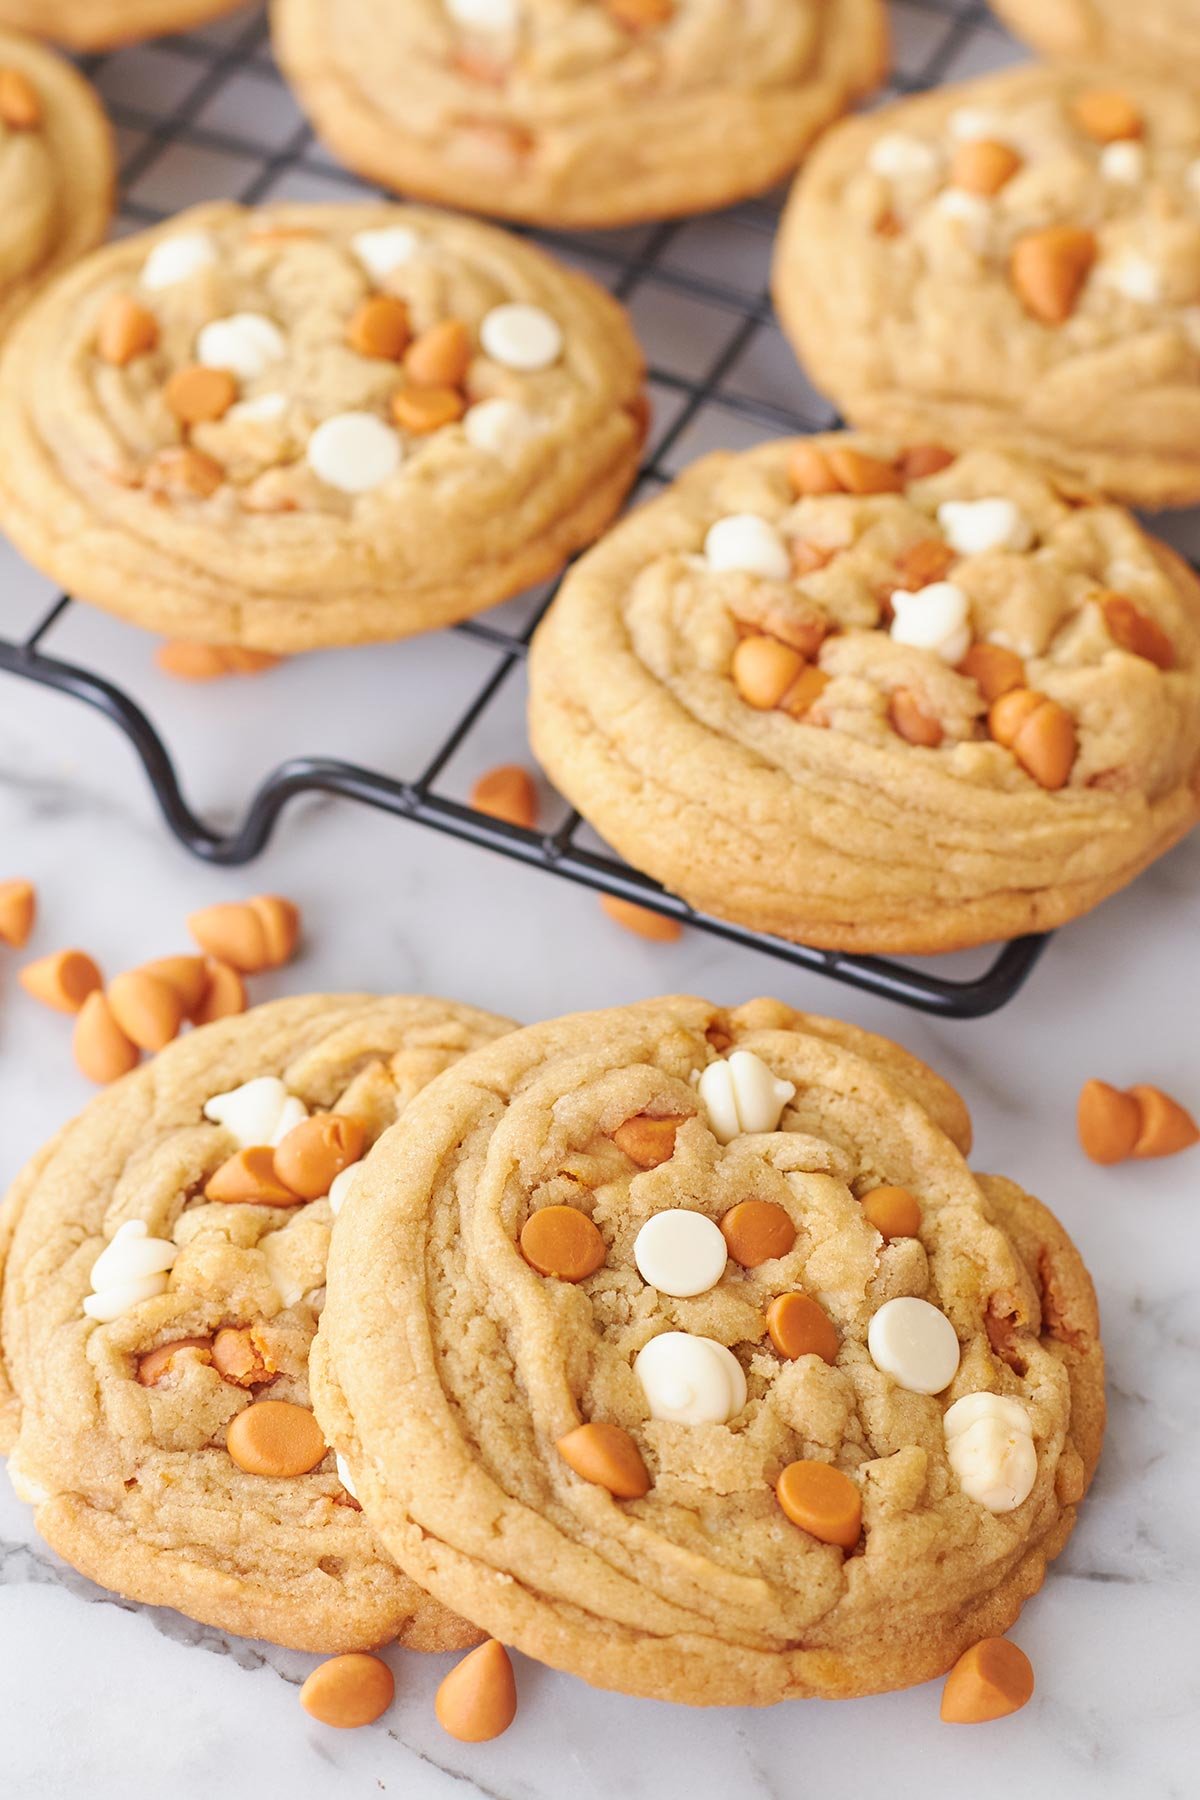
These Butterscotch White Chocolate Chip Cookies are, without a doubt, the absolute crown jewel of my baking tray. If you have ever been torn between the buttery richness of creamy white chocolate and the deep, rich punch of warm butterscotch chocolate, let me tell you, you no longer have to choose. I love making these when I want something a little more special than a classic chocolate chip cookie. There’s no complicated technique here, all you need is some simple pantry ingredients. They disappeared off the cooling rack in less than ten minutes, and my family has begged for them every single week since.
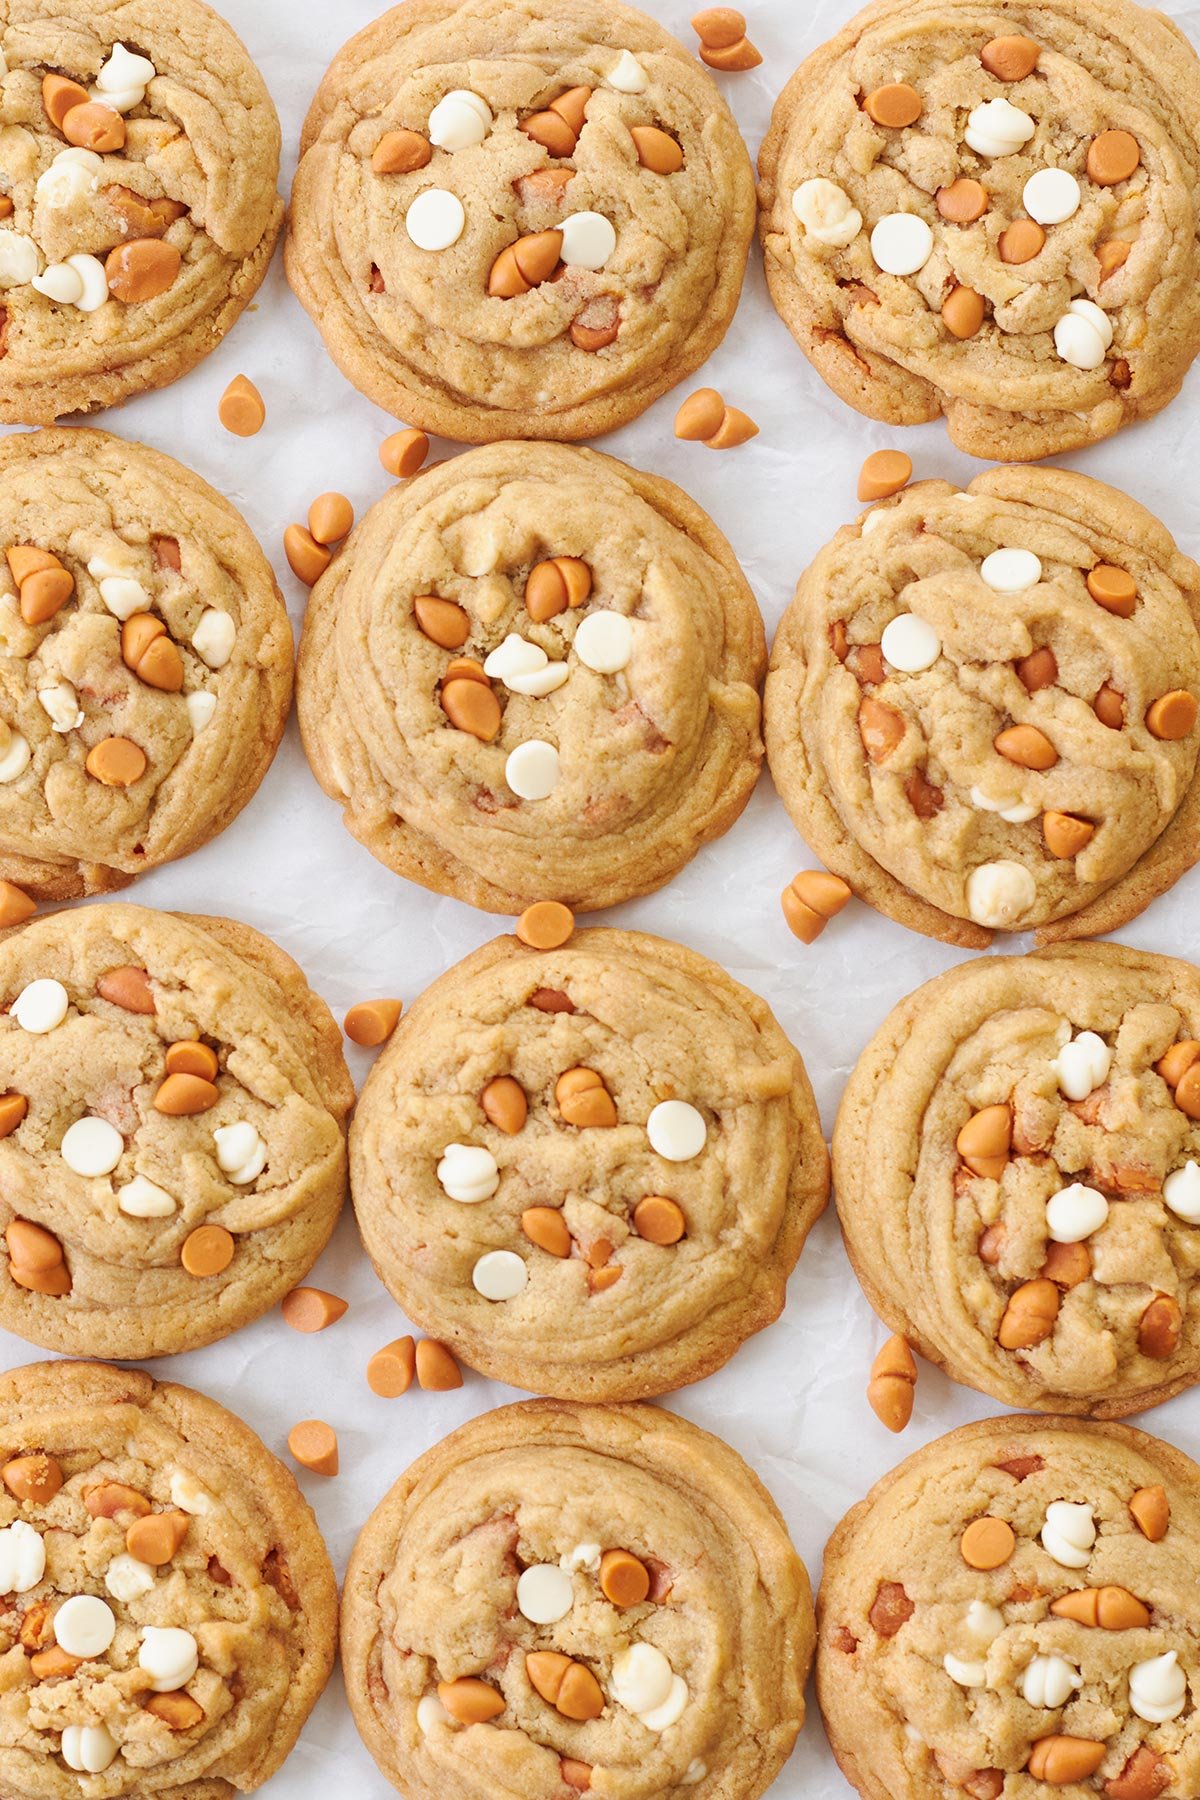
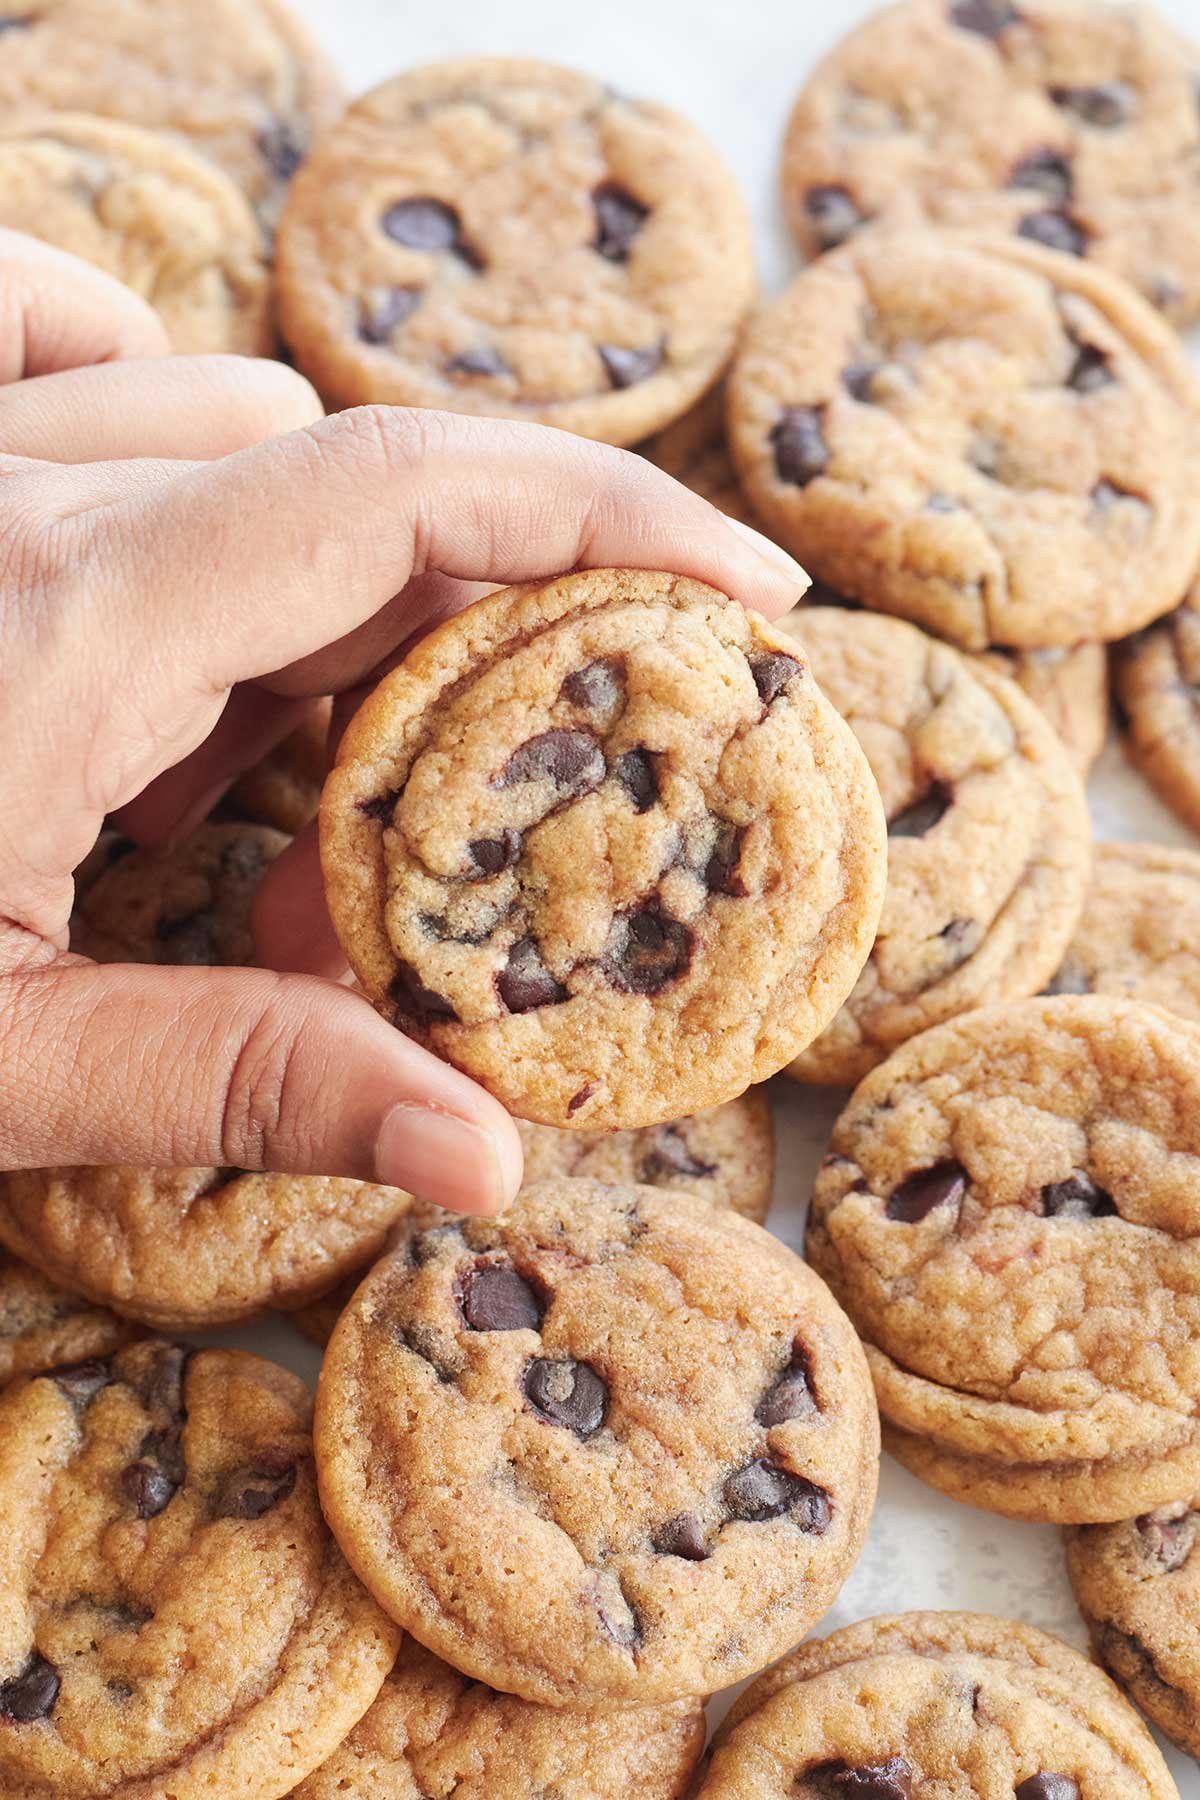
If you love that bakery-style texture with golden edges and a soft, chewy center, you might also want to try my Bakery Style Chocolate Chip Cookies.
Why You’ll Love This Butterscotch Cookies
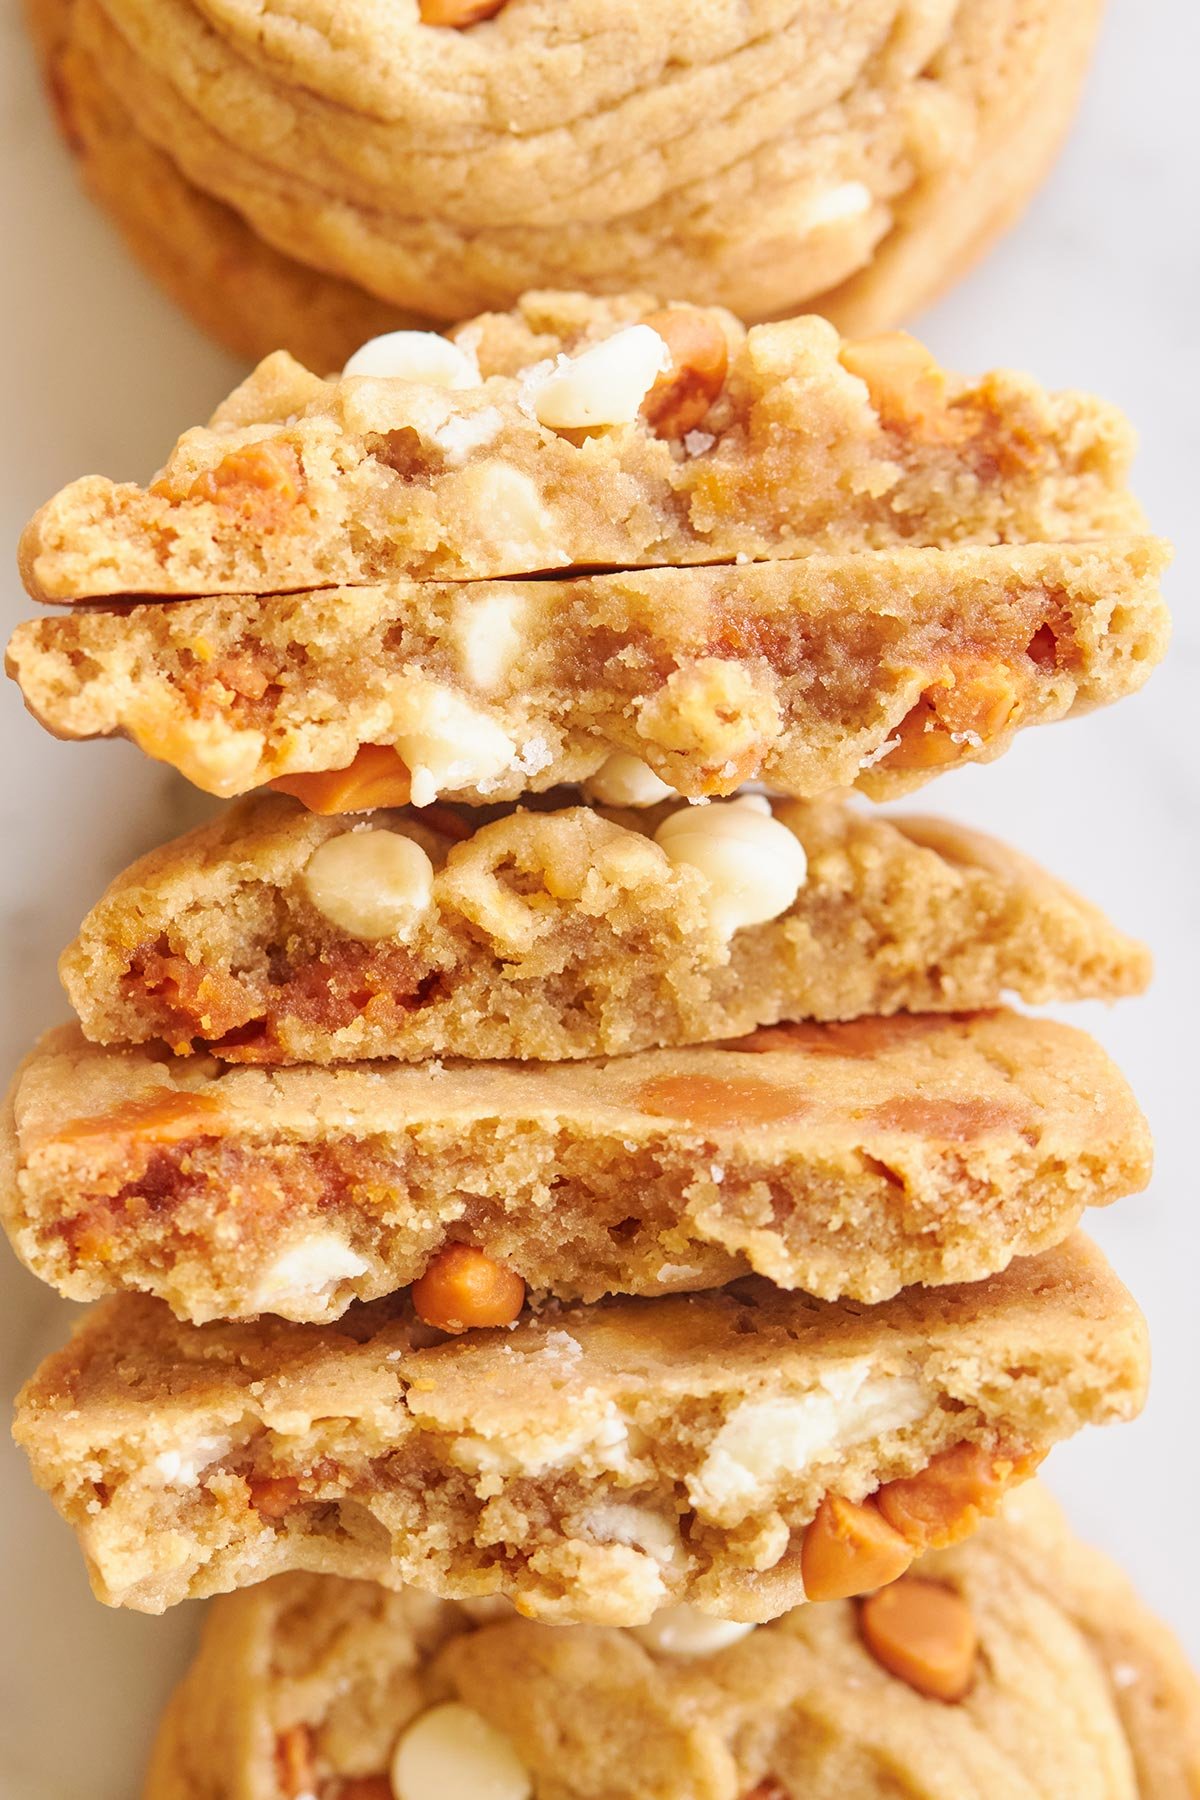
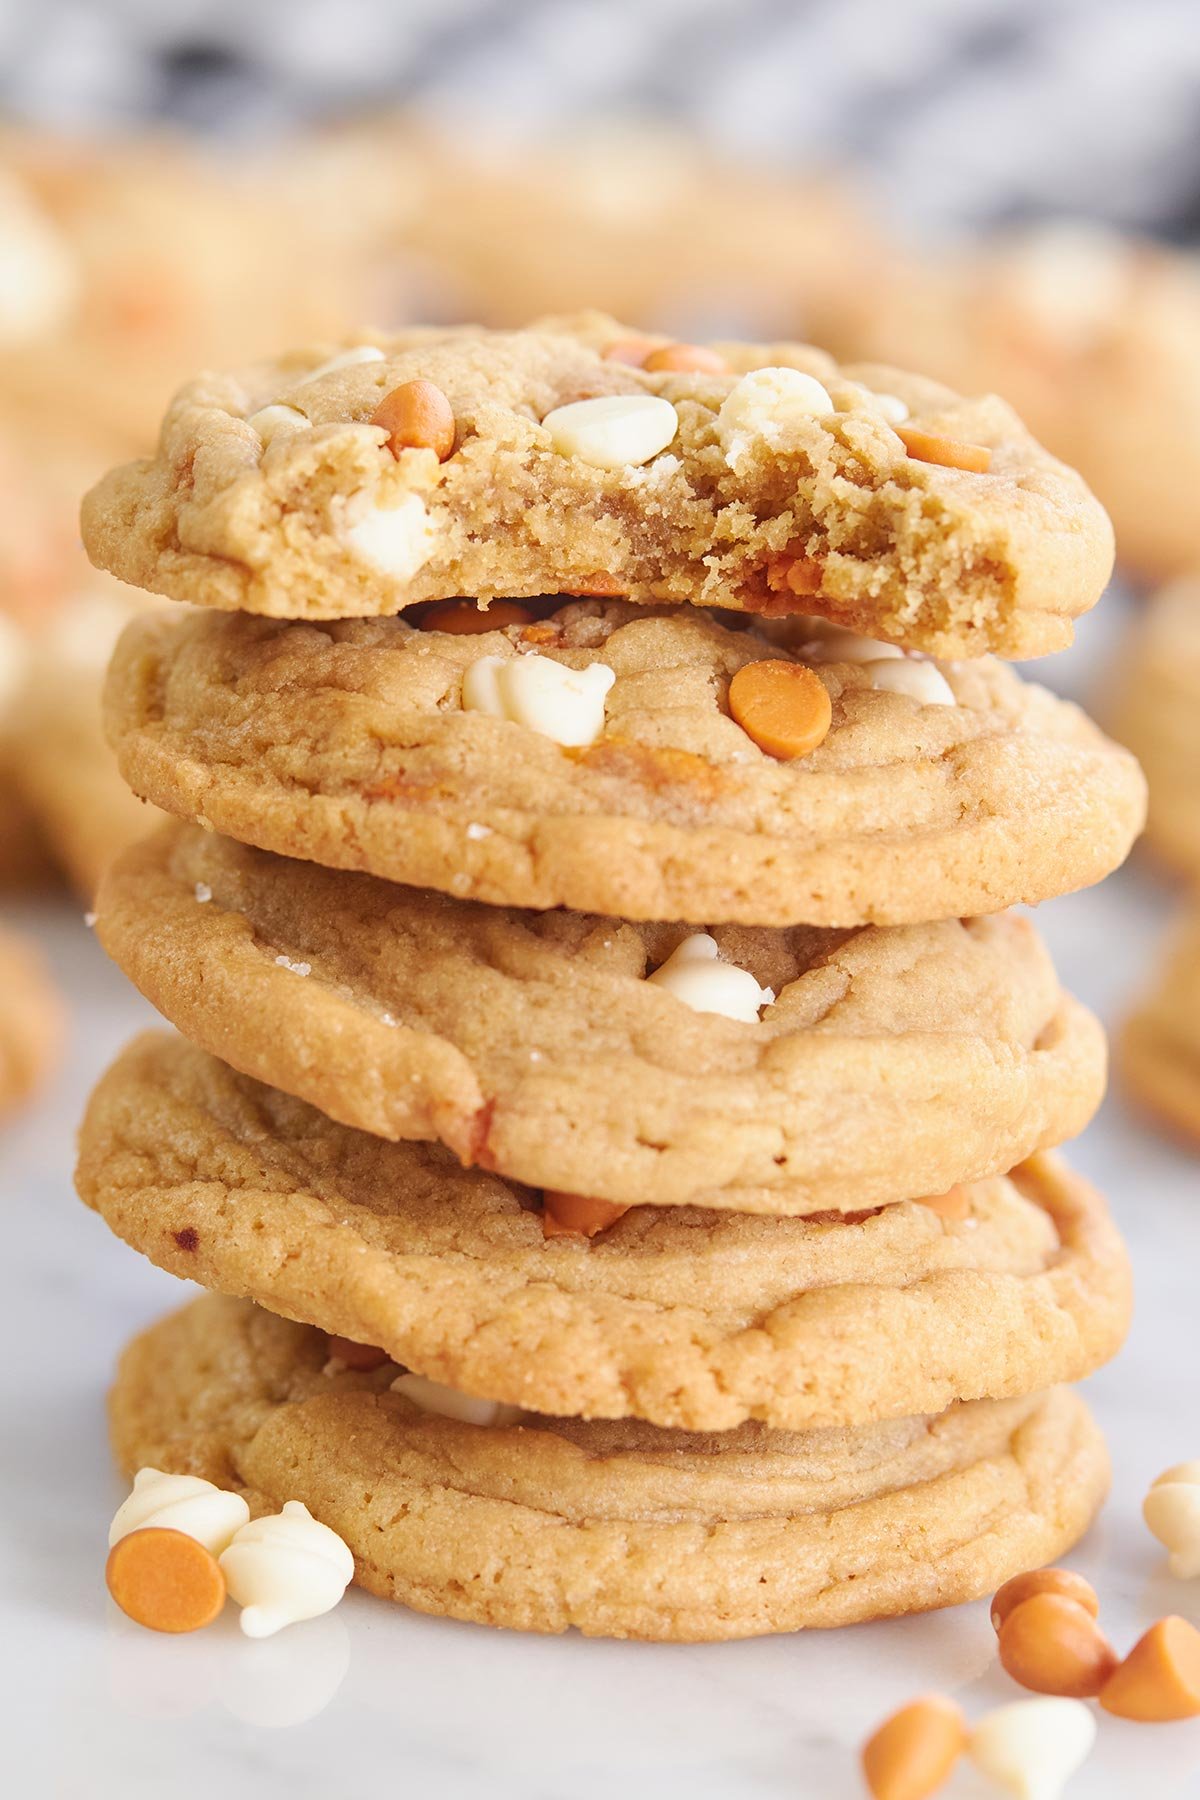
Texture Perfection in Every Bite : You’ll find crunchy caramelized , light golden edges with a soft, slightly thick, and ultra-chewy center that will make you fall in love with these cookies.
The Ultimate Sweet & Salty Balance: Milky white chocolate and rich butterscotch chocolate are a match made in dessert heaven. That unique sweetness makes these cookies extra special.
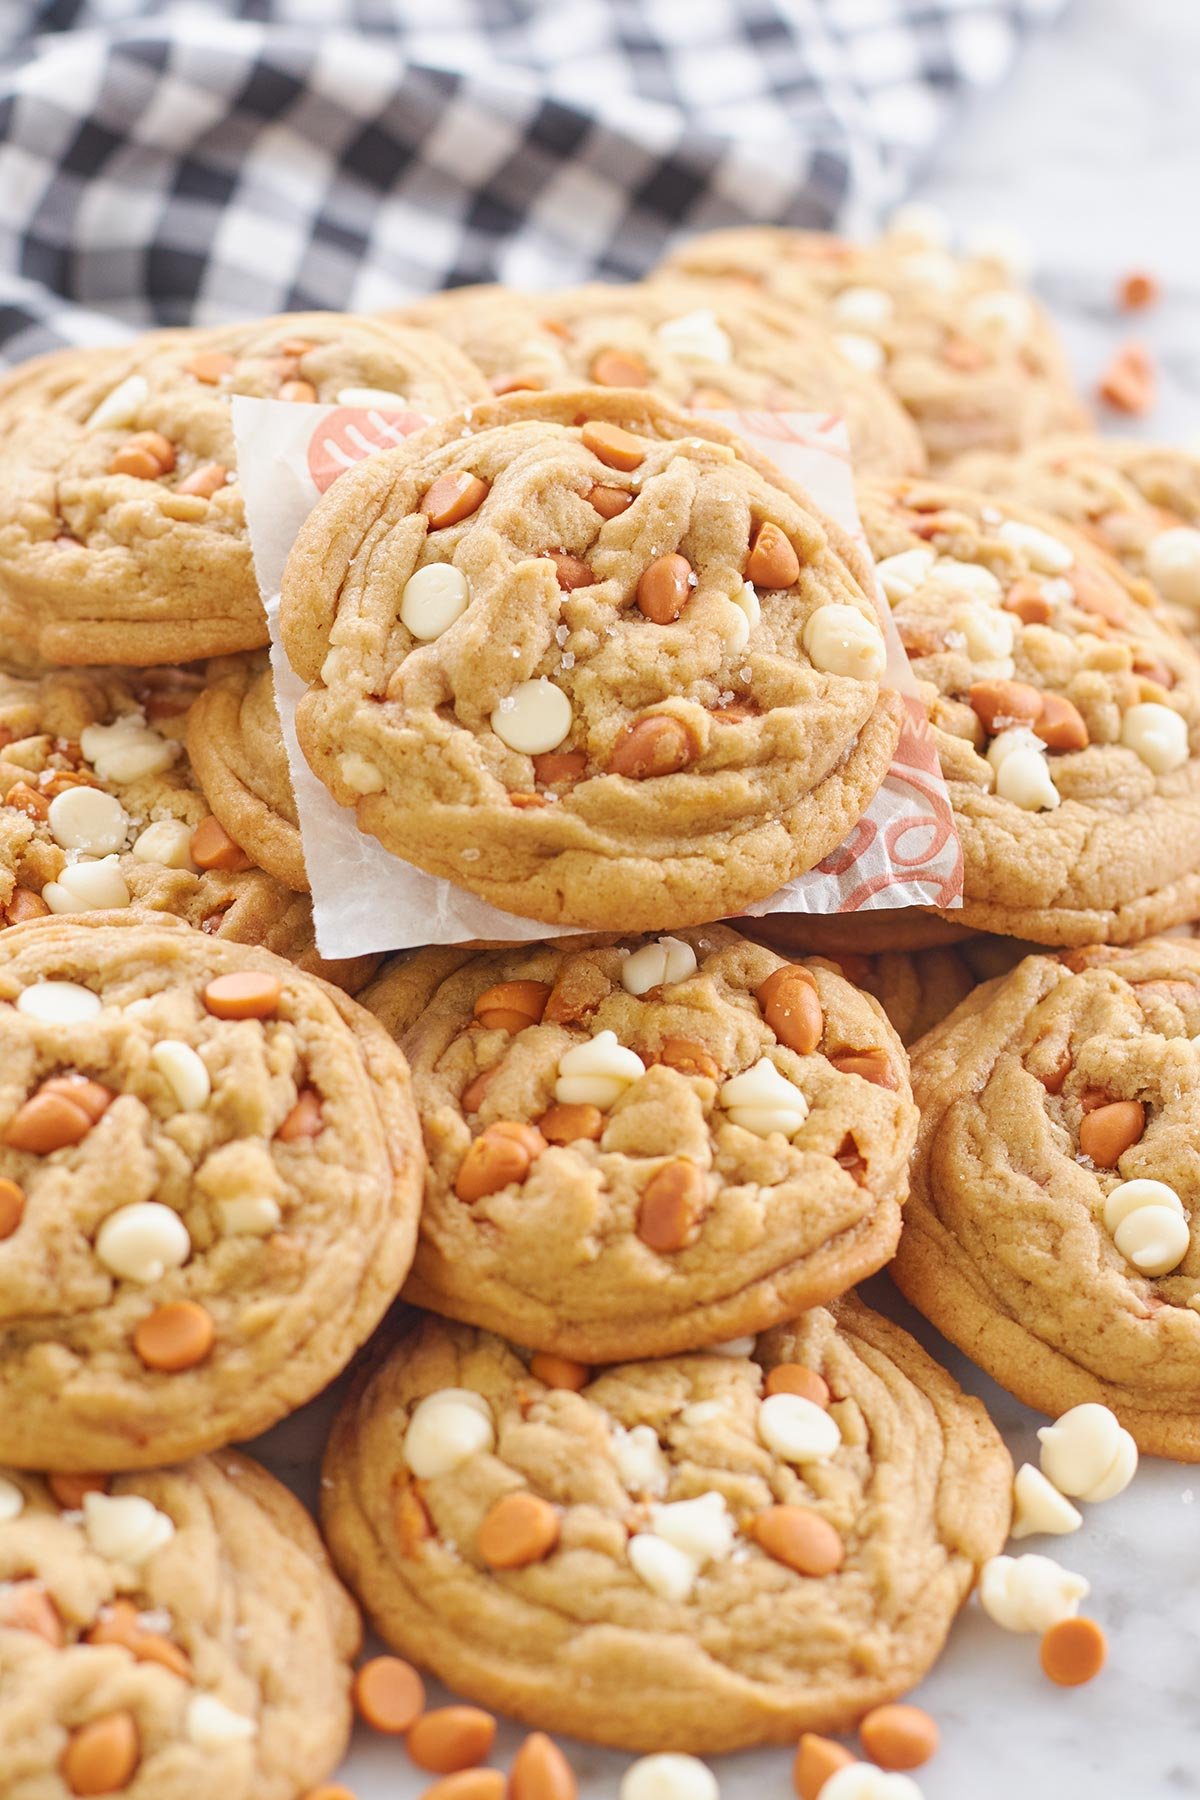
Bakery Quality at Home: They look and taste like they came straight out of a high-end bakery store, but they are just made with simple, everyday ingredients.
Easy to make: You can make the dough with a mixing bowl and a hand mixer or sturdy whisk. No complicated techniques or instructions, just mix, swirl in the butterscotch chips, scoop, and bake. Every step mentioned in this recipe is very easy to follow.
Freezer-Friendly Dough: You can easily scoop and freeze the dough balls to bake fresh, warm cookies on demand whenever a craving hits.
The Secret Baking Science: Why This Recipe Works
High Ratio of Dark Brown Sugar: I use a slightly higher proportion of dark brown sugar in this recipe, brown sugar is full of molasses which adds deep flavor, attracts moisture (hygroscopic properties), and ensures the cookies stay soft. It also brings a deeper caramel-like flavor that works beautifully with the butterscotch cookie.
Cornstarch for Extra Softness (My Secret Charm): That’s my secret ingredient in this recipe. A touch of cornstarch helps break up the gluten network just enough to keep the crumb tender and delicate rather than cakey, while also helping the cookies maintain their structure.
Creamy Meets Caramelly (The Flavor Power-Combo): White chocolate and salted caramel are truly a match made in baker’s paradise. The silky, melt-in-your-mouth sweetness of white chocolate seamlessly wraps around the deep, buttery richness of golden caramel flavor with just the right touch of salt. Together, they create a delicious balance of sweet and salty in every bite. If you love the creamy sweetness of white chocolate, don’t miss my White Chocolate Cranberry Cookies, where white chocolate is paired with tart dried cranberries for a completely different flavor combination.
Chilling the Dough (Not mandatory but highly recommended): Letting the dough rest in the fridge hydrates the flour and cools the fat. It is highly recommended from my experience to chill the dough even for a short time like 30 minutes. If you don’t want to, that’s completely fine.
Ingredients you’ll need for Butterscotch White Chocolate Chips Cookies
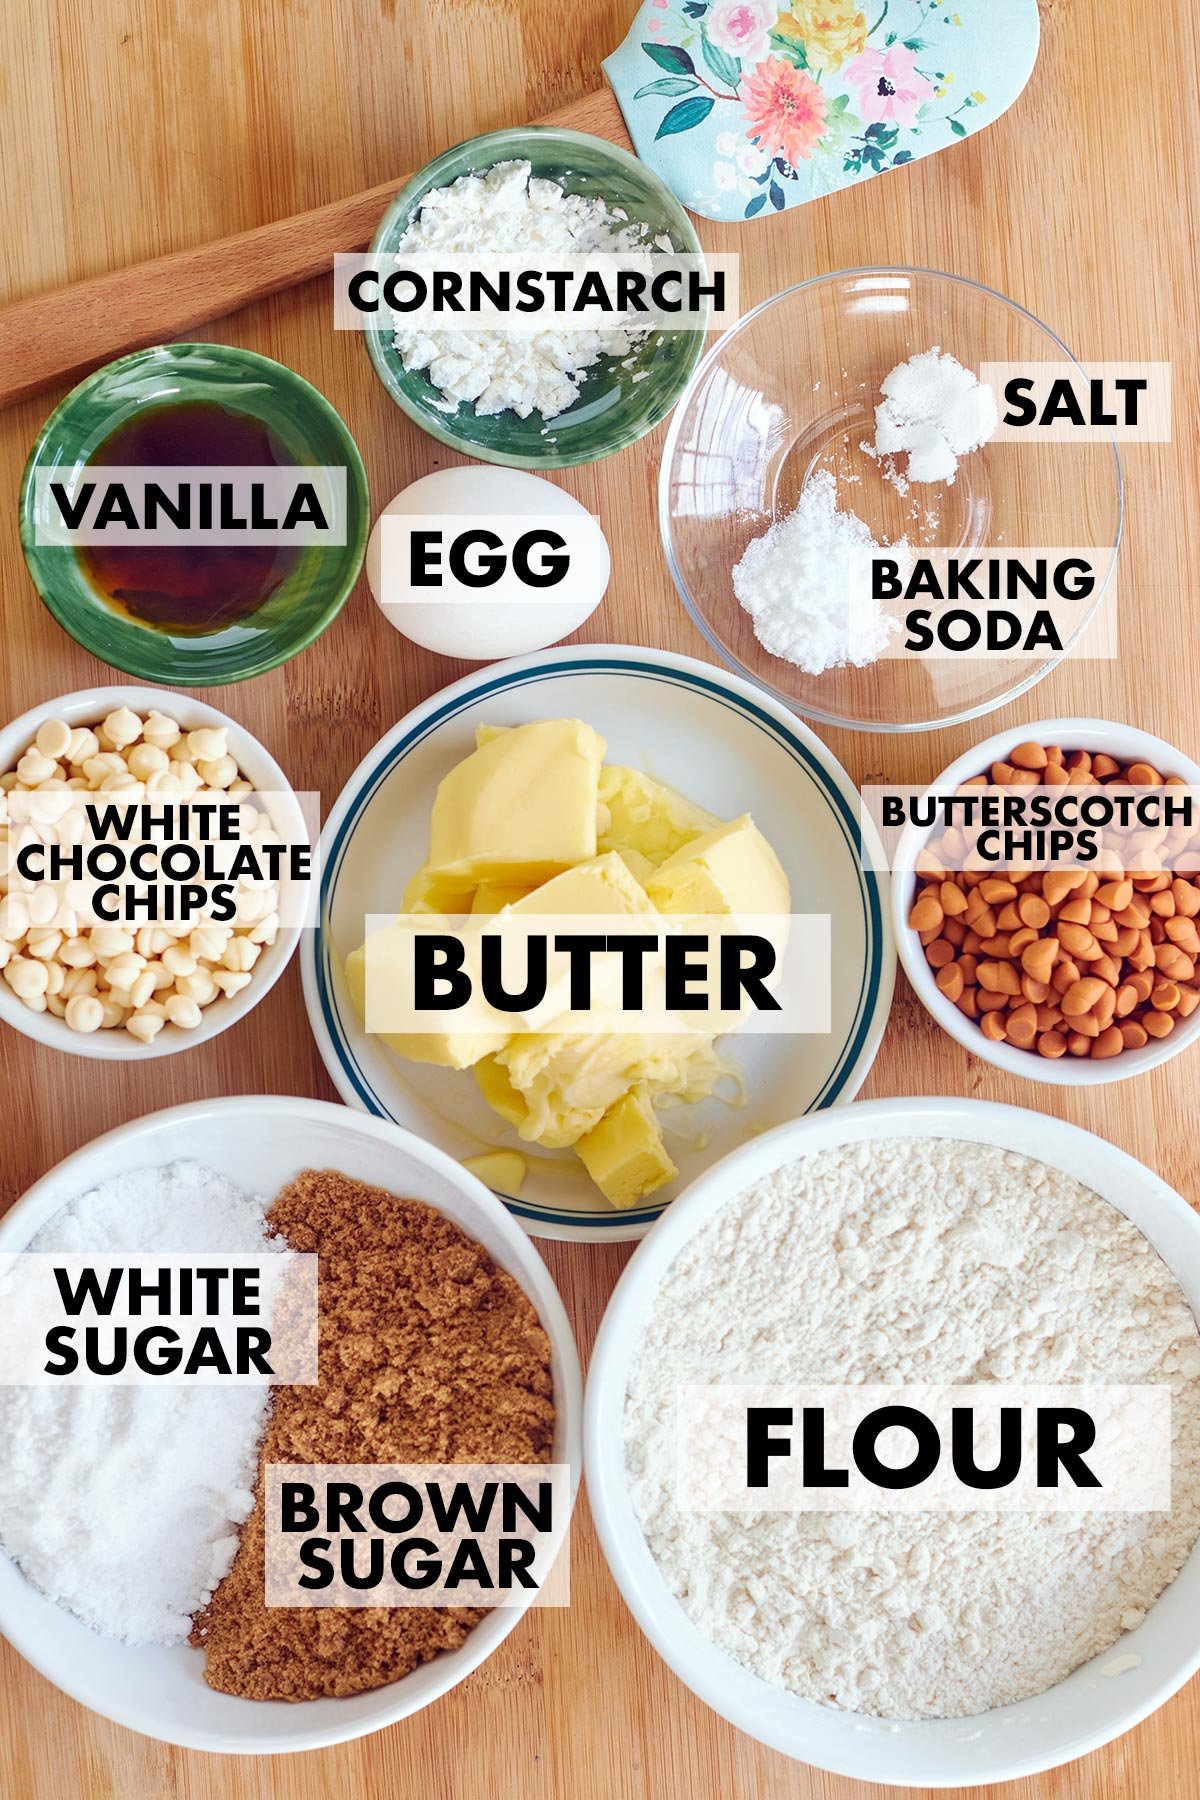
All-purpose flour: Use regular all-purpose flour for a balanced cookie structure. Weigh correctly if possible for the most consistent results.
Baking soda: I always prefer using baking soda in my cookie recipes and don’t recommend baking powder. Baking powder can make cookies puffier and more cake-like, while baking soda helps create the chewy texture and beautifully golden, crisp edges I’m looking for.
Salt
Butter: I use unsalted butter in this recipe. In my opinion, this gives you better control over the amount of salt in the finished cookies. But you can use salted butter as well, no issues at all. Just omit the added salt and your butter should be softened to room temperature.
And if you’re someone who loves an extra-deep buttery flavor, my Brown Butter Chocolate Chip Cookies are definitely worth trying.
Brown sugar & Granulated sugar: I use both brown sugar and granulated sugar. Brown sugar helps create that soft, chewy center while complementing the caramel. Granulated sugar helps with sweetness, spreading and gives the edges a little more structure.
Egg: Make sure it’s at room temperature so it incorporates smoothly into the butter mixture.
Vanilla Extract
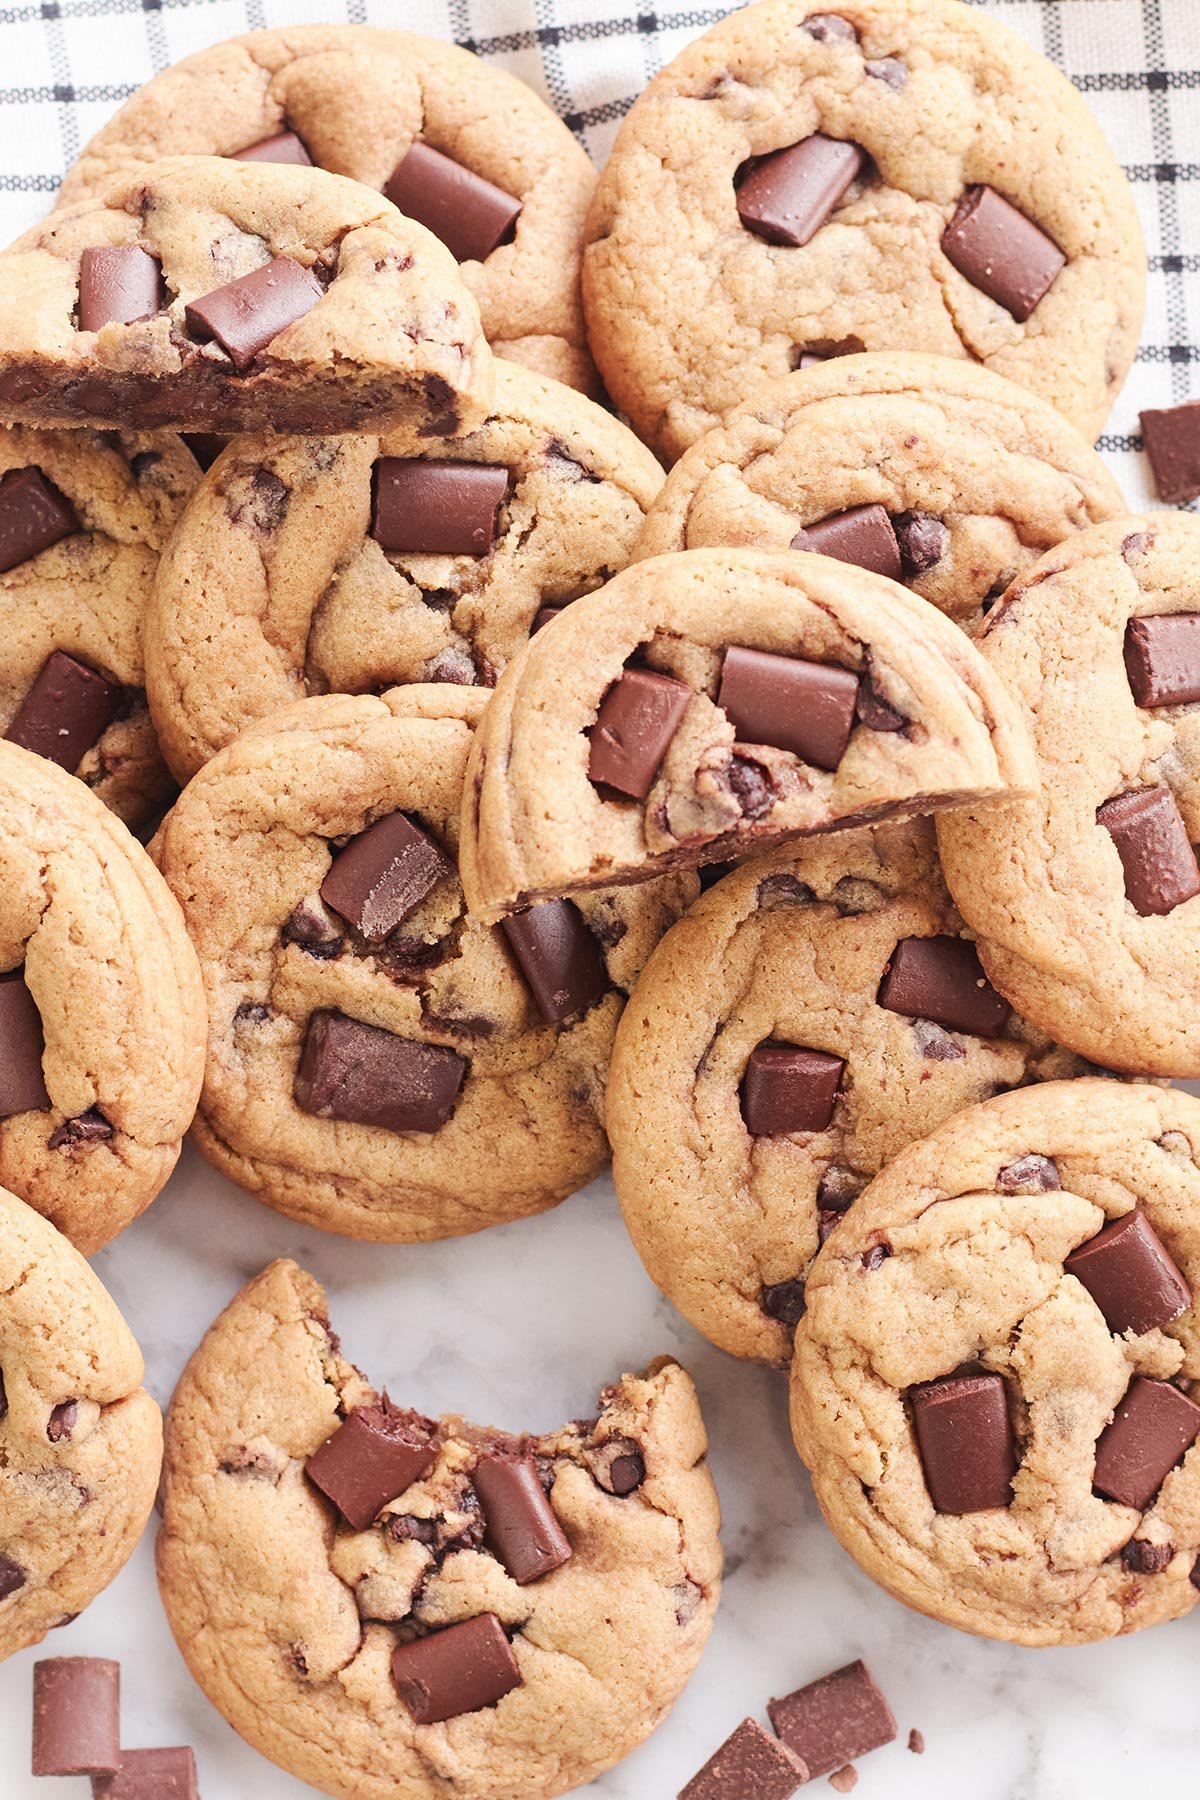
Chocolate Chips: For these cookies, I use a delicious combination of two types of chocolate: white chocolate chips and butterscotch-flavored chocolate chips. The creamy sweetness of white chocolate pairs beautifully with the rich, buttery caramel notes, while the hint of salt helps balance the sweetness and adds extra depth of flavor. Of course, you can customize the chocolate combination to your liking. If you love the deeper, slightly bittersweet flavor of dark chocolate paired with rich, caramel-like sweetness, you’ll also want to try my Butterscotch Chocolate Chip Cookies.
And don’t forget to reserve a few chocolate chips for the end! As soon as the cookies come out of the oven, gently press a few extra chocolate chips on top while they’re still warm. This simple little step gives the cookies that beautiful, bakery-style finish and makes them look even more irresistible.
Flaky sea salt: Finish the cookies with a light sprinkle of flaky sea salt. It adds a delicate salty contrast that balances the sweetness and brings out the buttery caramel and chocolate flavors.
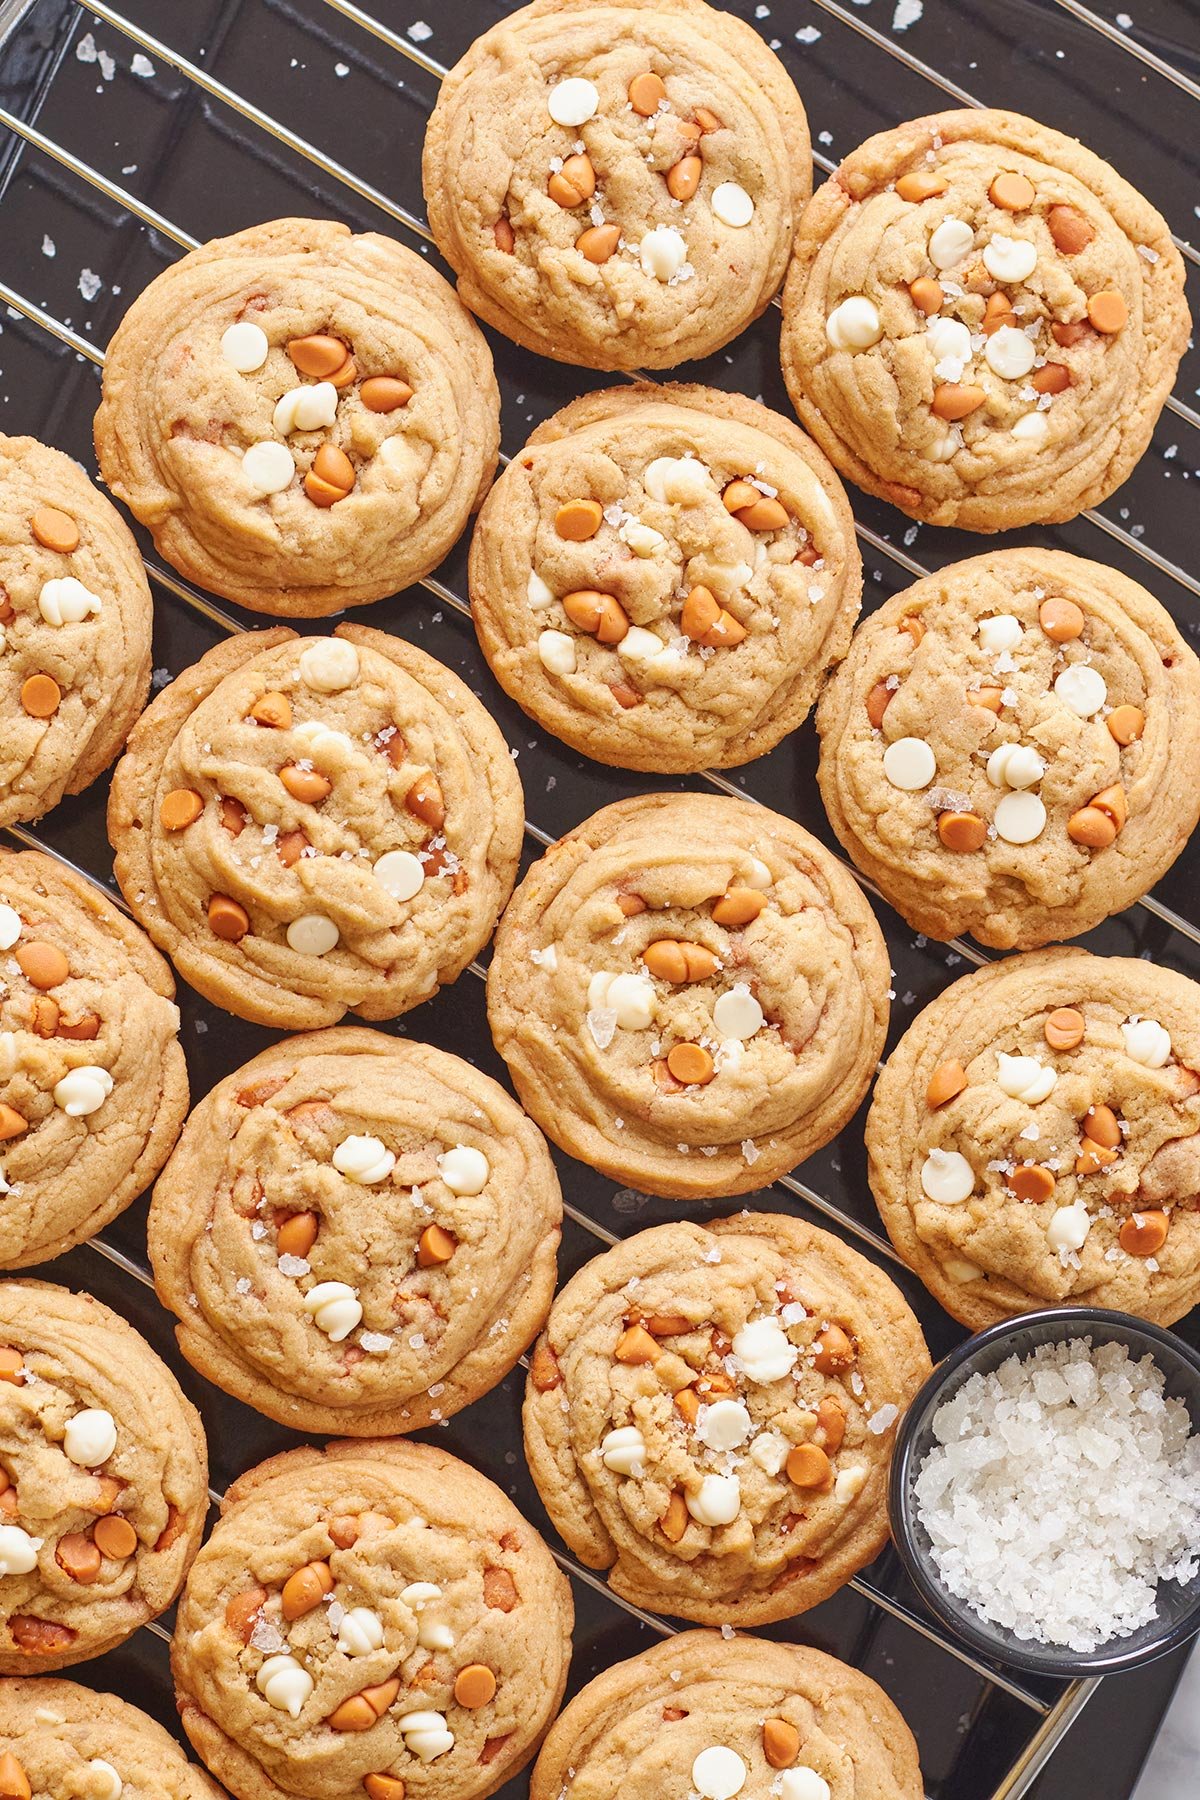
How to Make Butterscotch White Chocolate Chip Cookies
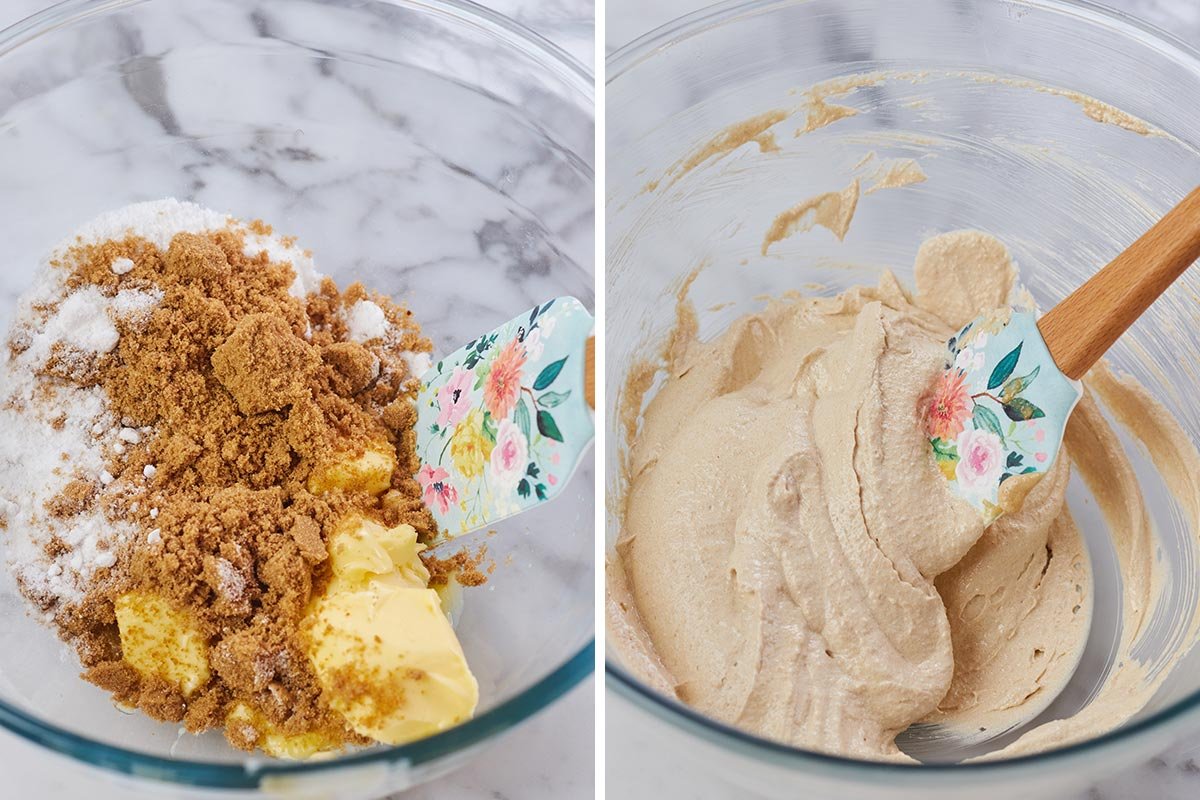
Step1: Start by adding the softened butter, brown sugar, and granulated sugar to a large mixing bowl. Using a stand mixer or hand mixer, beat everything together until the mixture is smooth, creamy, and slightly fluffy.
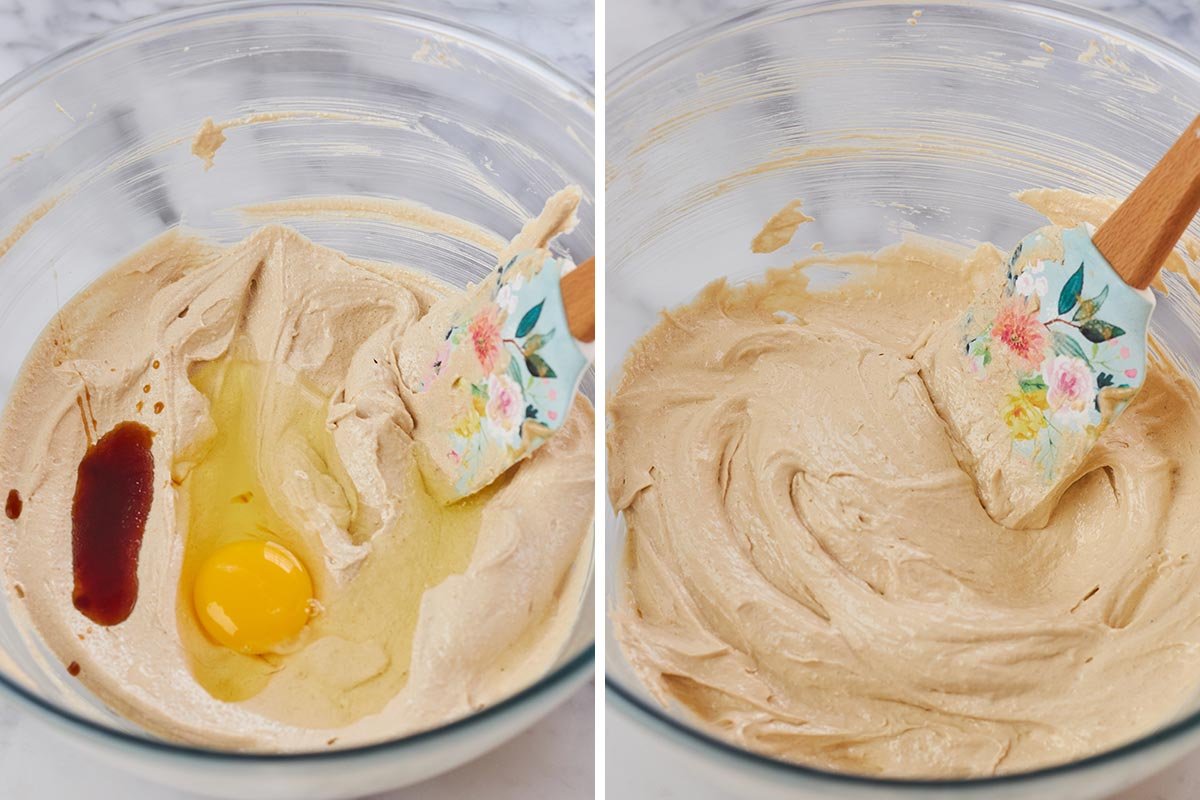
Step2: Crack in the egg and pour in the vanilla extract. Mix again until everything is fully combined and the mixture looks silky and even.
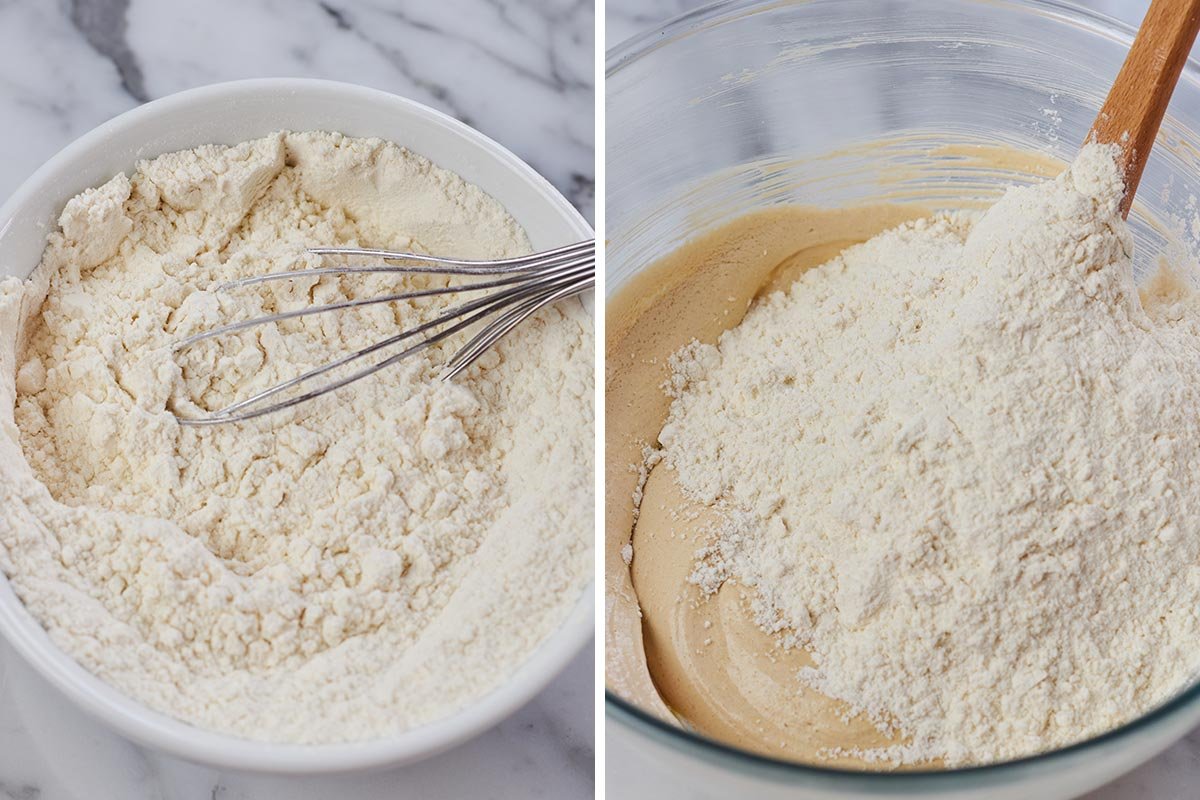
Step3: In another bowl, whisk together the flour, baking soda, cornstarch and salt. This helps everything distribute evenly so you don’t end up with uneven bites later. Now, add the dry ingredients into the wet mixture. Mix just until the dough starts coming together. Try not to overmix.
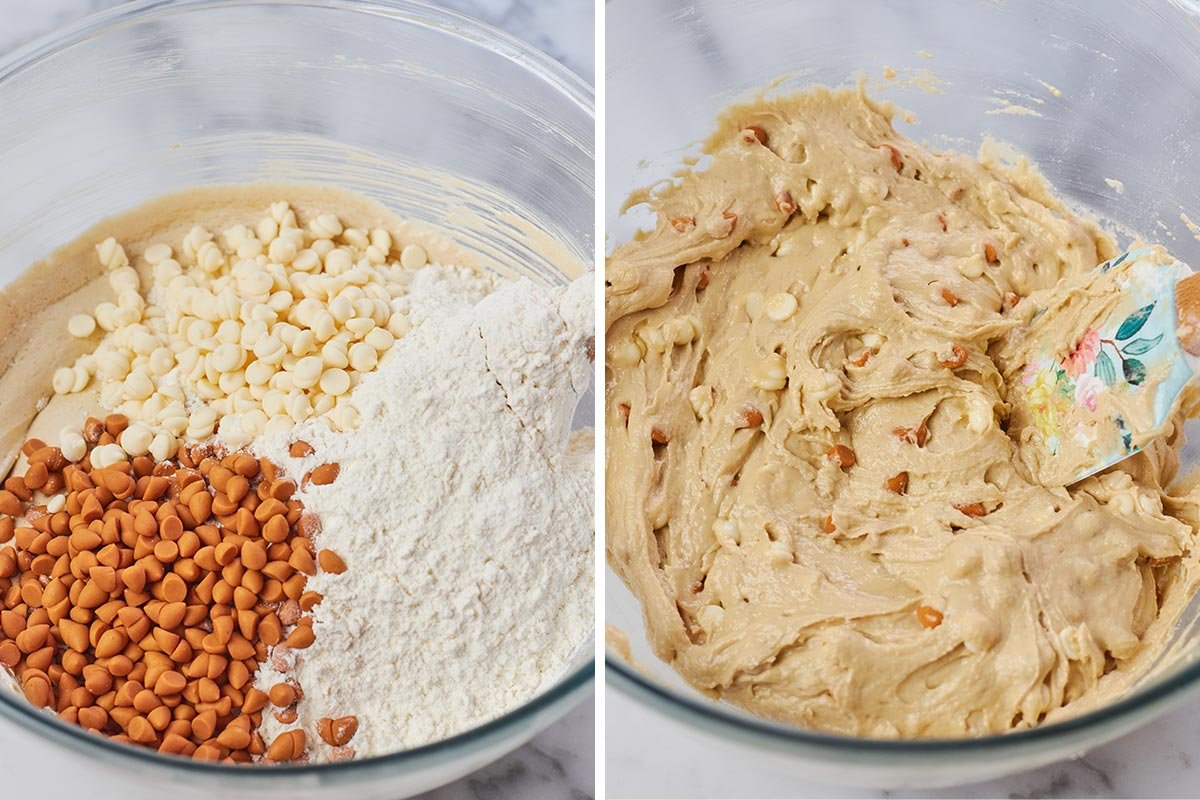
Step4: Add your chocolate chips gently and fold them into the dough.
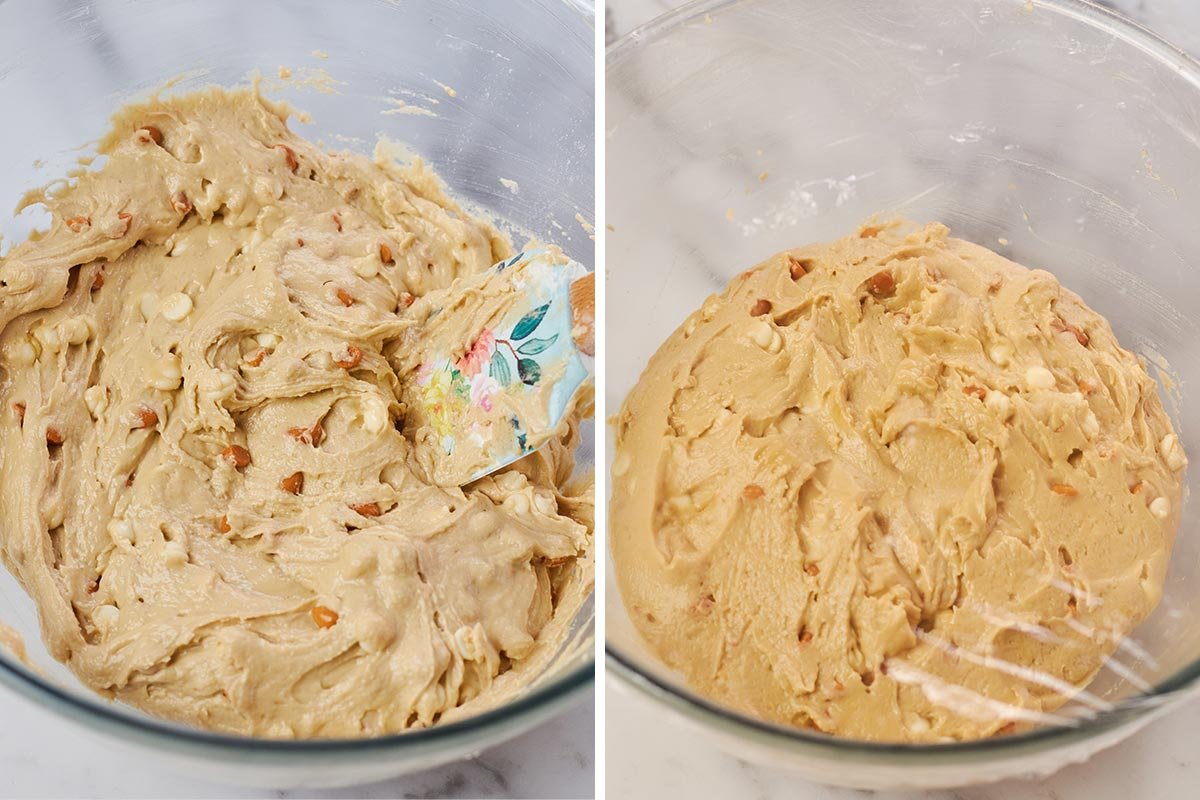
Step5: Cover the dough and let it chill. It’s optional if you want to skip it.
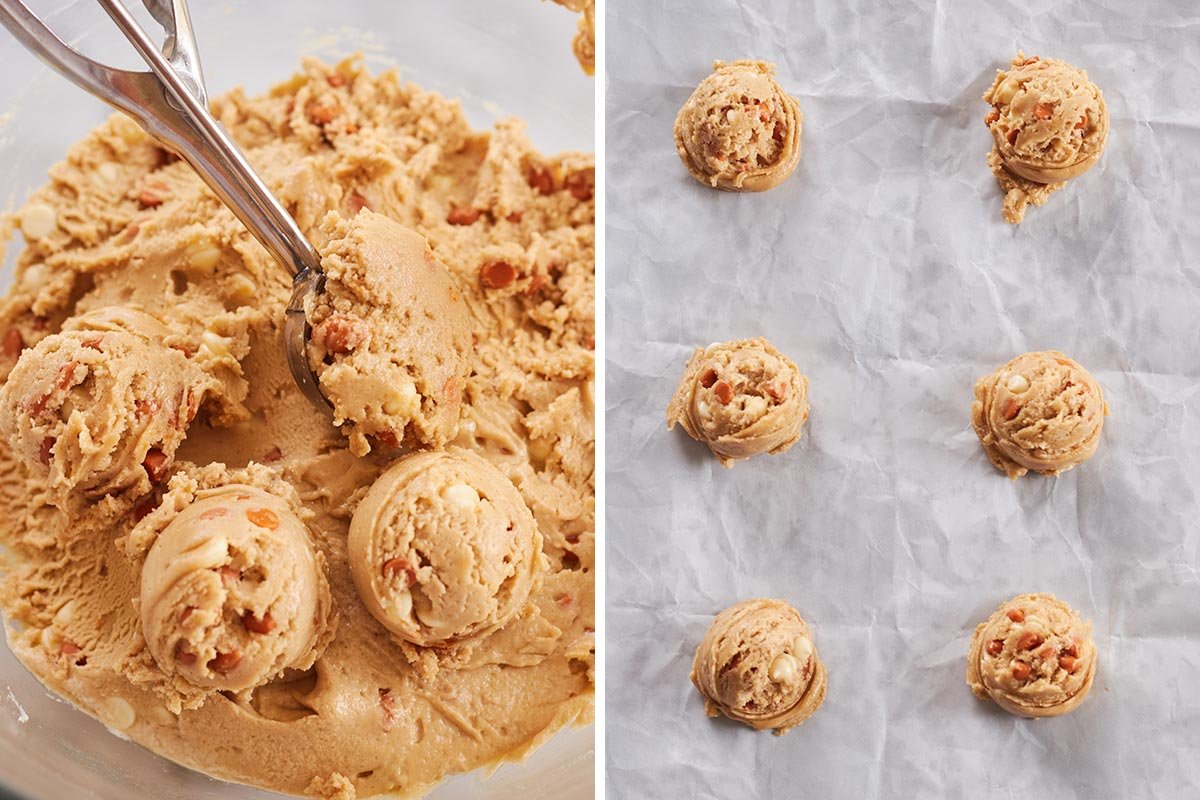
Step6: Scoop the dough using about 2 tablespoons or a medium cookie scoop (approximately 30g per cookie). Place the dough balls onto a parchment-lined baking sheet, leaving enough space between each one for the cookies to spread as they bake.
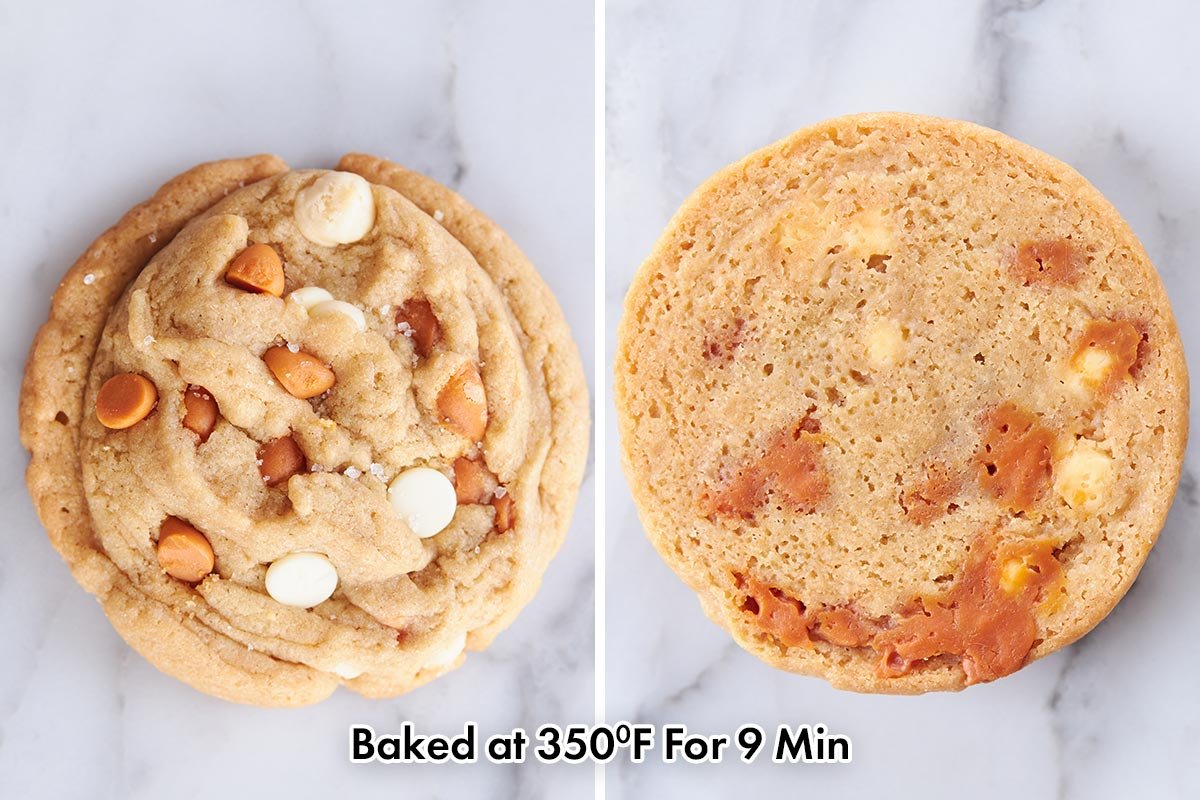
Step6: Bake in a preheated oven at 350°F (175°C) for 9–10 minutes, until the edges are lightly golden and set while the centers still look soft.
Expert Tips for Perfect Cookies
Measure Your Ingredients Correctly: For the best texture and flavor, accuracy is key, especially with flour. Always use a kitchen scale for precision, or use the “spoon and level” method: fluff your flour with a spoon, scoop it gently into your measuring cup, and sweep off the excess with the flat edge of a knife.
Watch the baking time: White chocolate burns easily, and caramel can harden if overcooked. Every oven behaves differently so keep an eye on your cookies. My suggestion would be: start checking around the 10-minute mark. Pull them out when the centers still look slightly underdone—they will finish setting on the warm baking sheet.
Don’t overmix after adding flour: Mix just until the flour disappears fully, then stop. Overmixing can develop too much gluten, resulting in tougher cookies.
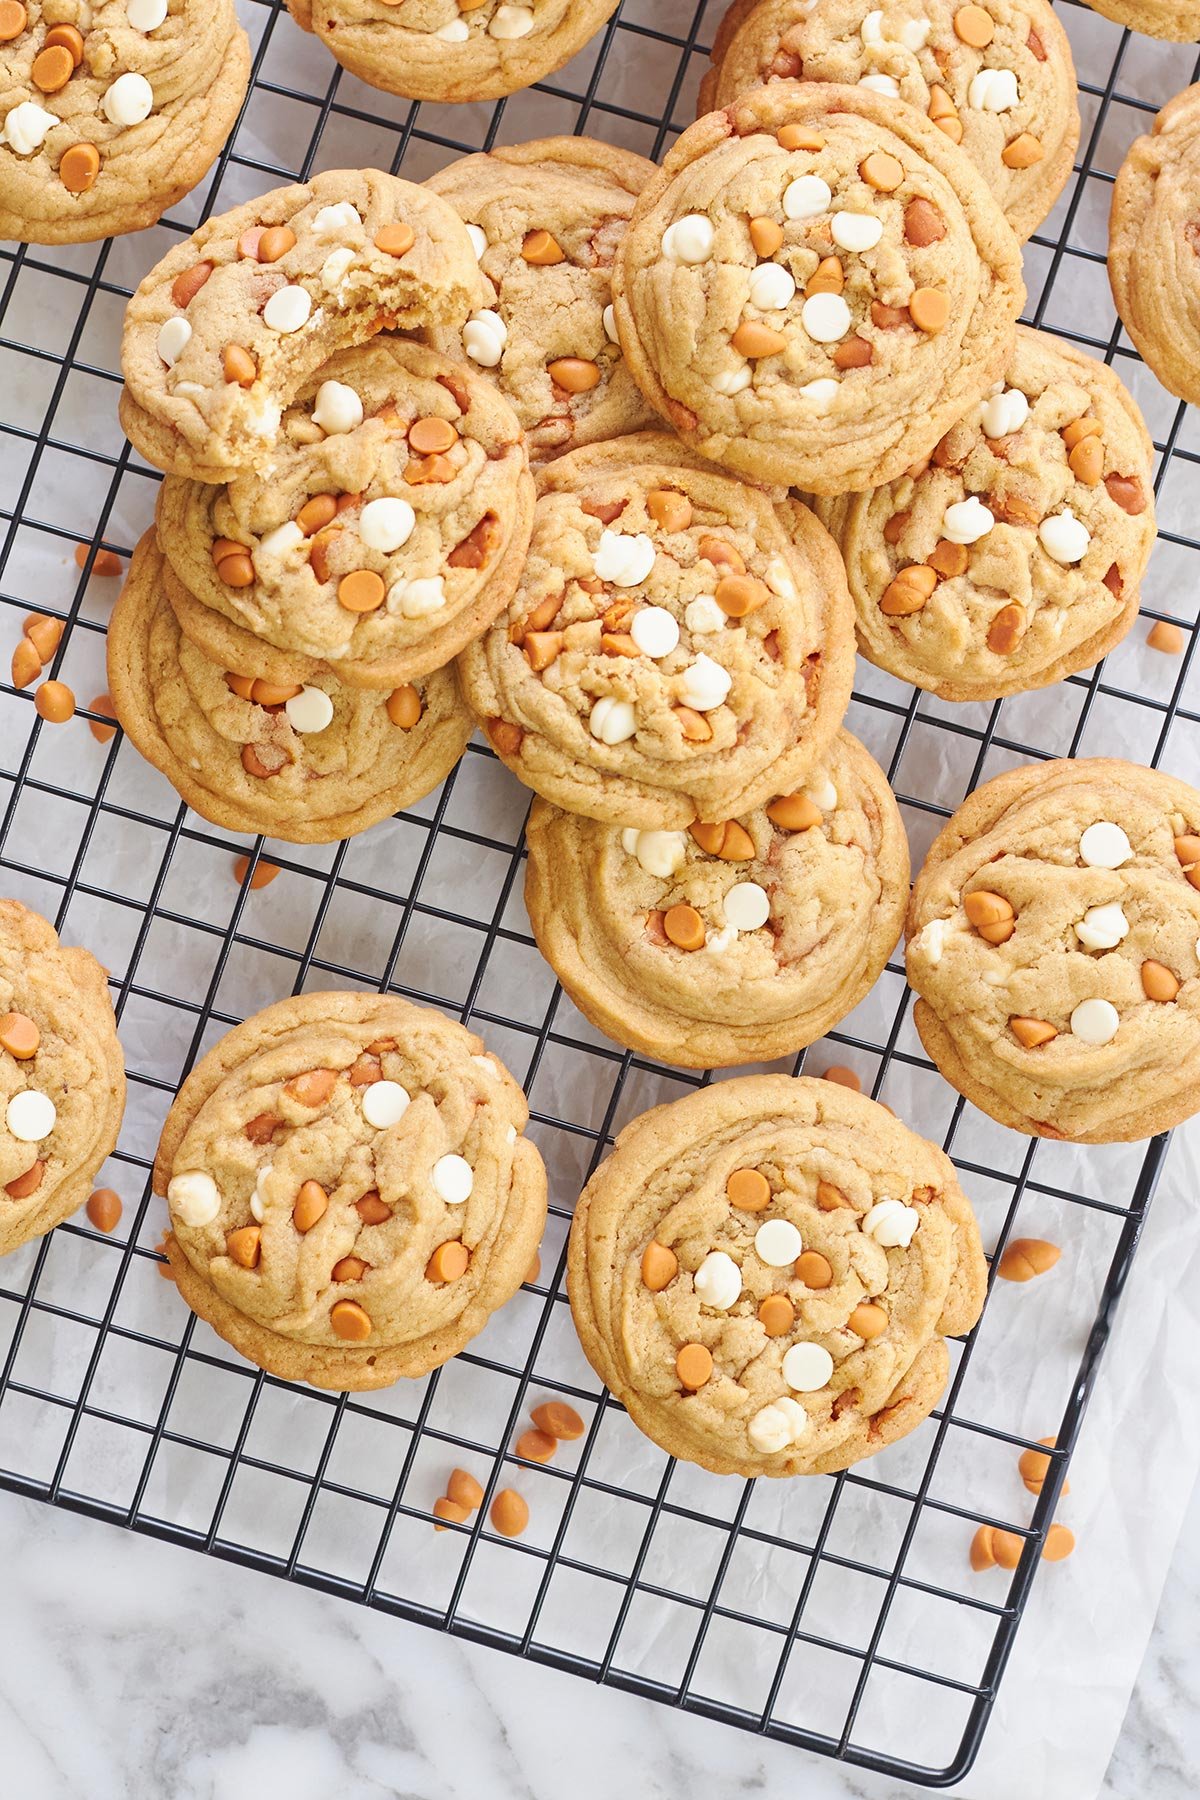
Add toppings while they’re warm: If you want those beautiful white chocolate pockets on top (I just love this!!), press extra chips into the cookies immediately after baking and get the most appetizing look from a simple trick.
Use Parchment Paper or Silicone Mats: Caramel can stick to ungreased pans like glue. Parchment paper ensures an easy, mess-free release.
Storage & Freezing Instructions
Room Temperature: If you want to keep baked cookies fresh, just store them in an airtight container at room temperature. They’ll last about five days.
For freezing baked cookies: Let them cool completely, then layer them with parchment paper in a freezer-safe container. They stay good for up to 3 months. When you’re ready to eat, just thaw them at room temperature or pop them in the microwave for about 10 seconds.
Freezing Cookie Dough: If you prefer to freeze the dough, scoop it into balls and set them on a baking sheet. Freeze until they’re solid—usually it takes about 1 hour. Then transfer them into a zip-top freezer bag and keep them for up to 3 months. When you want to bake, just stick them straight in the oven at 350°F (175°C). Add an extra minute or two to the baking time, and you’re good to go.
Want to make a smaller batch? If you don’t need a full batch of cookies, my Small Batch Chocolate Chip Cookies are a great option. They’re designed for those times when you want just a few soft, chewy cookies without having lots of leftovers and minimal cleanup.
Frequently Asked Questions
Avoid overbaking them. Take them out when the edges are set and lightly golden but the centers still look slightly soft. Store the cooled cookies in an airtight container to retain their moisture.
This recipe is designed to be baked without a mandatory chilling step. You can easily make these cookies by following these simple steps, and there’s no need to chill the dough first. However, I highly recommend chilling the dough if you have the time—it can make a noticeable difference in the final texture and flavor of the cookies.
Yes! You can make the dough and keep it covered in the refrigerator for up to 3 days before baking. Just let it sit at room temperature for 10–15 minutes before scooping if it becomes too hard to handle.
If this recipe has you in the mood for more bakery-worthy cookies, be sure to explore some of my other favorites:
Double Chocolate Chip Cookies
Classic Twin Chocolate Chip Cookies
Costco Chocolate Chip Cookies
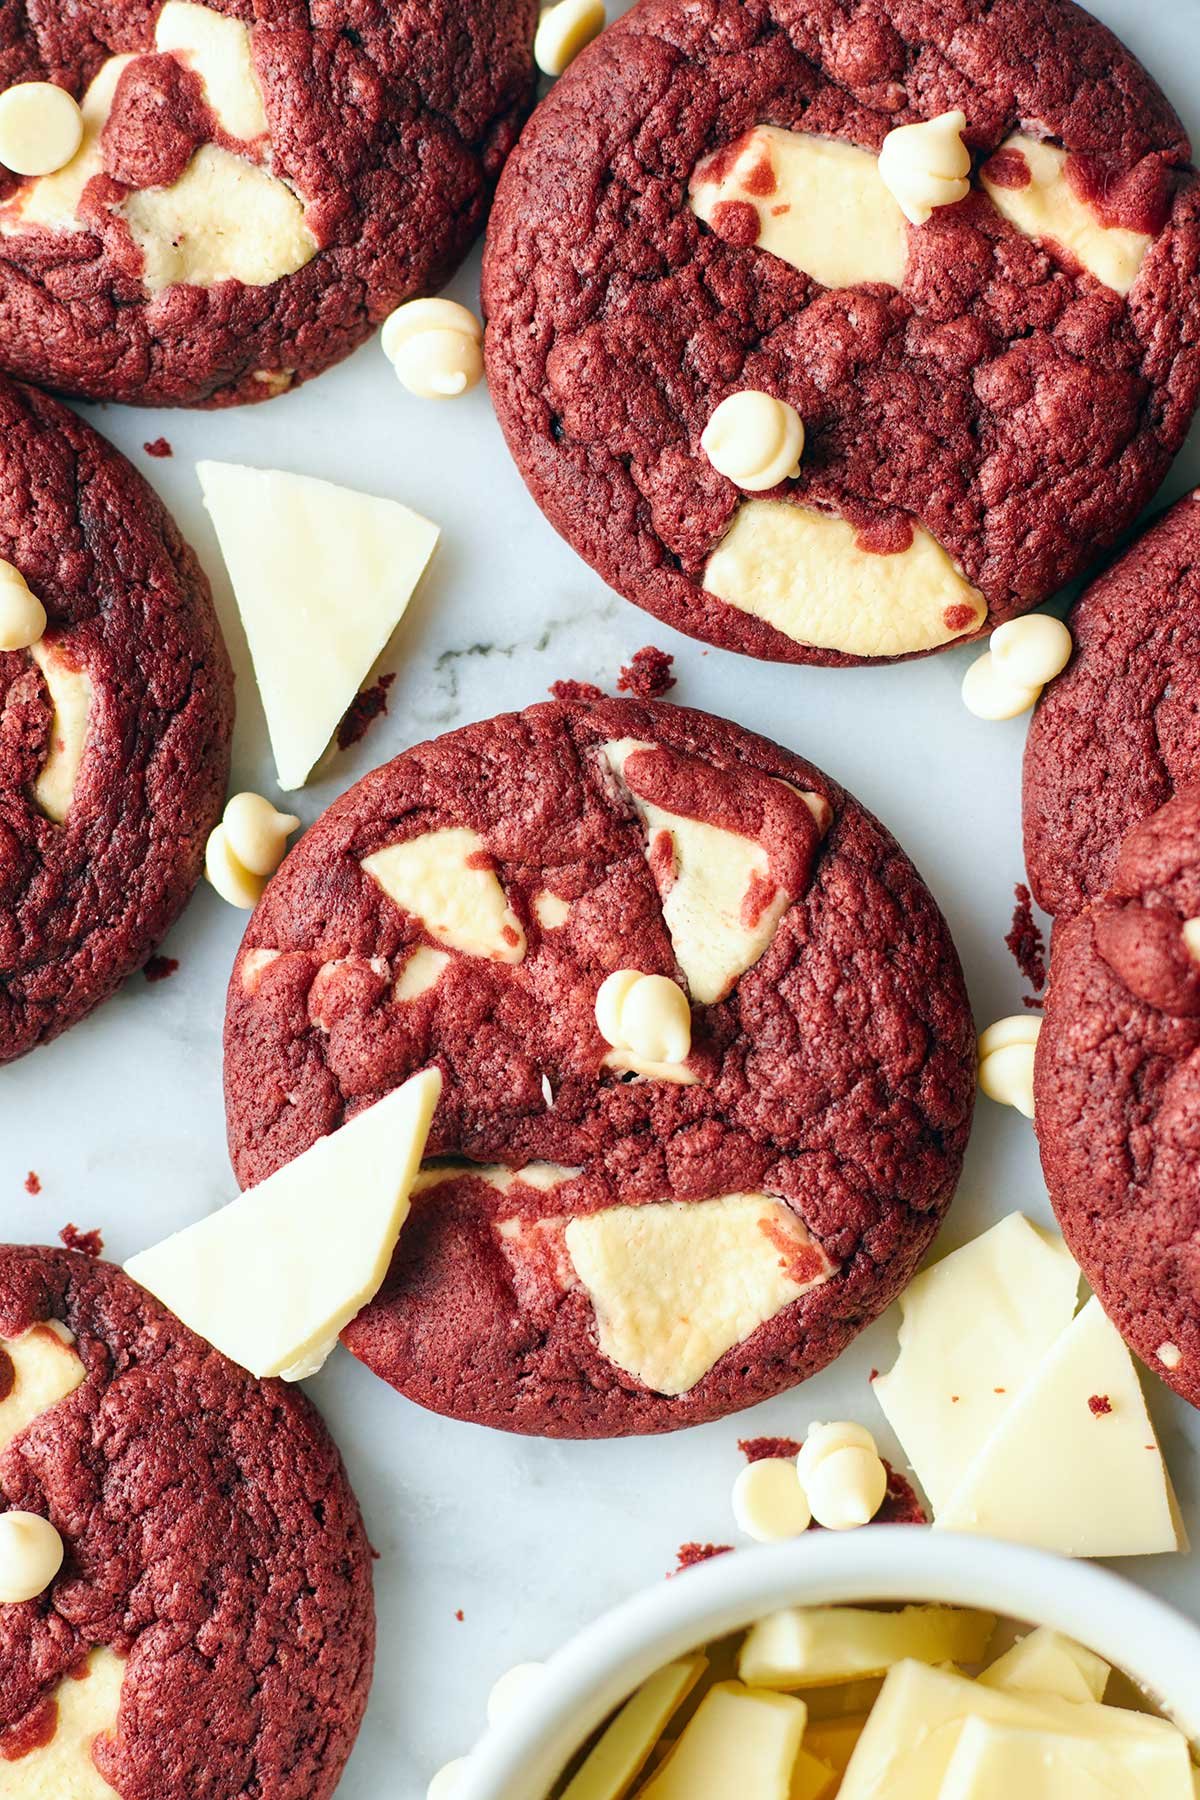
Red Velvet Sugar Cookies
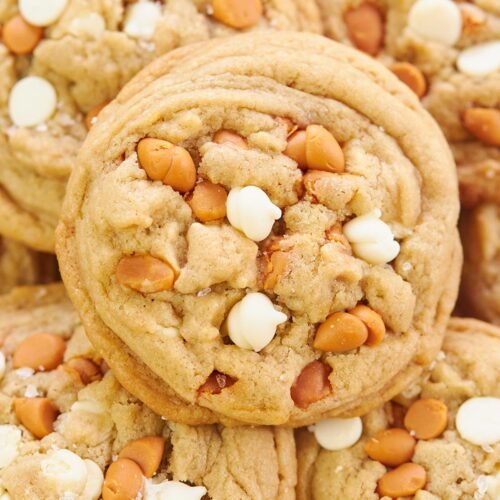
Butterscotch White Chocolate Chip Cookies
Equipment
- Kitchen measuring scale/cups
- Baking sheets or parchment sheets
- Mixing bowls
- Whisk
- Spatula
- Strainer
- Medium cookie scoop
- Wire cooling rack
Ingredients
- 2 cups (250g) all-purpose flour
- 2 teaspoon cornstarch
- ½ teaspoon baking soda
- ¼ teaspoon salt
- ⅔ cup (150g) unsalted butter, softened
- ½ cup (110g) packed brown sugar
- ½ cup (90g) granulated sugar
- 1 large egg
- 1 ½ teaspoon vanilla extract
- ¾ cup (150g) white chocolate chips (Extra for topping)
- ¾ cup (150g) butterscotch chocolate chips (Extra for topping)
Instructions
- Add the softened butter, brown sugar, and granulated sugar to a large mixing bowl. Beat on medium speed for about 2–3 minutes, until the mixture looks creamy, smooth, and slightly lighter in color. Scrape down the sides of the bowl as needed so everything mixes evenly.
- Mix in the egg and vanilla until fully incorporated. Mix until the dough looks smooth and evenly combined.
- In a separate bowl, whisk together the flour, baking soda, cornstarch and salt. Add the dry ingredients to the butter mixture gradually, mixing on low speed or folding gently with a spatula. Stop mixing as soon as you no longer see streaks of dry flour. Overmixing can make the cookies less tender.
- Add the chocolate chips and gently fold them into the dough. Try not to overwork the dough at this point; you just want the chocolate evenly distributed throughout.
- Cover the dough and let it chill in the refrigerator. While chilling isn’t necessary for this recipe, it can help the cookies hold their shape and gives the flavors a little more time to develop. If you’re short on time, you can skip this step and bake the cookies right away.
- Scoop the dough using about 2 tablespoons or a medium cookie scoop (approximately 30g per cookie). Place the dough balls onto a parchment-lined baking sheet, leaving enough space between each one for the cookies to spread as they bake.
- Bake in a preheated oven at 350°F (175°C) for 9–10 minutes, until the edges are lightly golden and set while the centers still look soft.
- Let the cookies sit on the baking sheet for a few minutes after baking. Then transfer them to a wire rack to cool completely. They’ll firm up as they cool but stay soft and chewy inside.